Overview
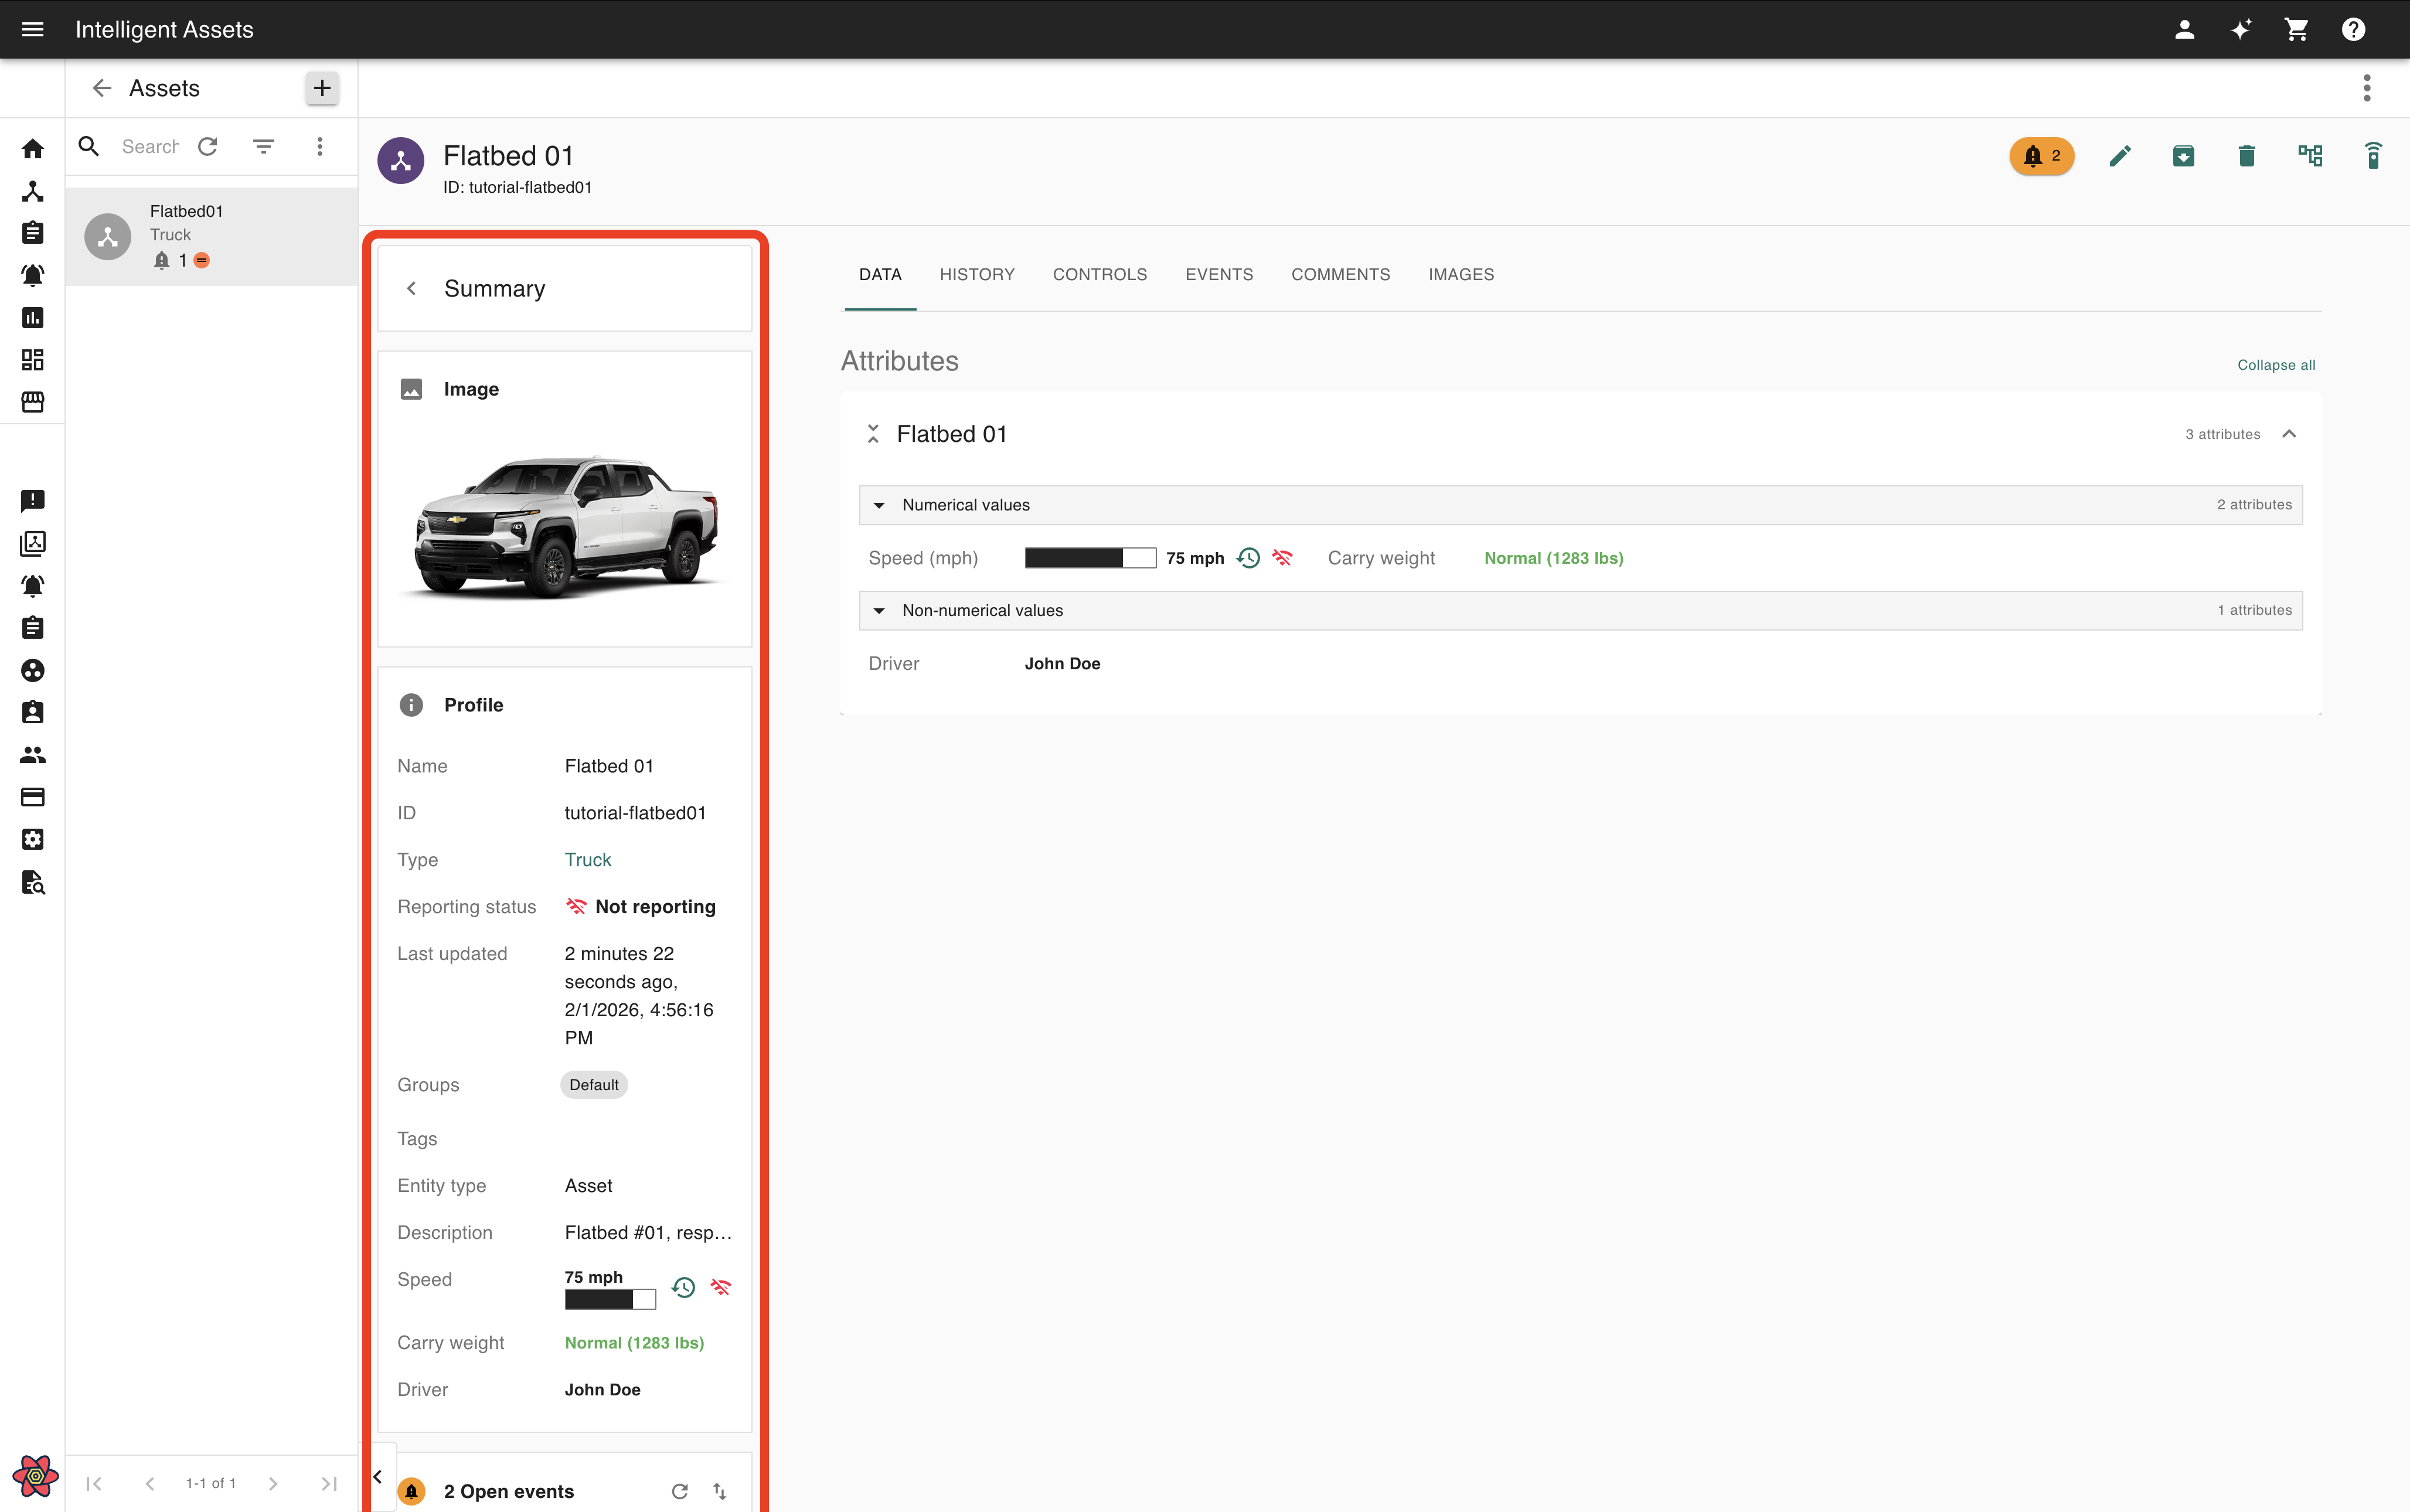
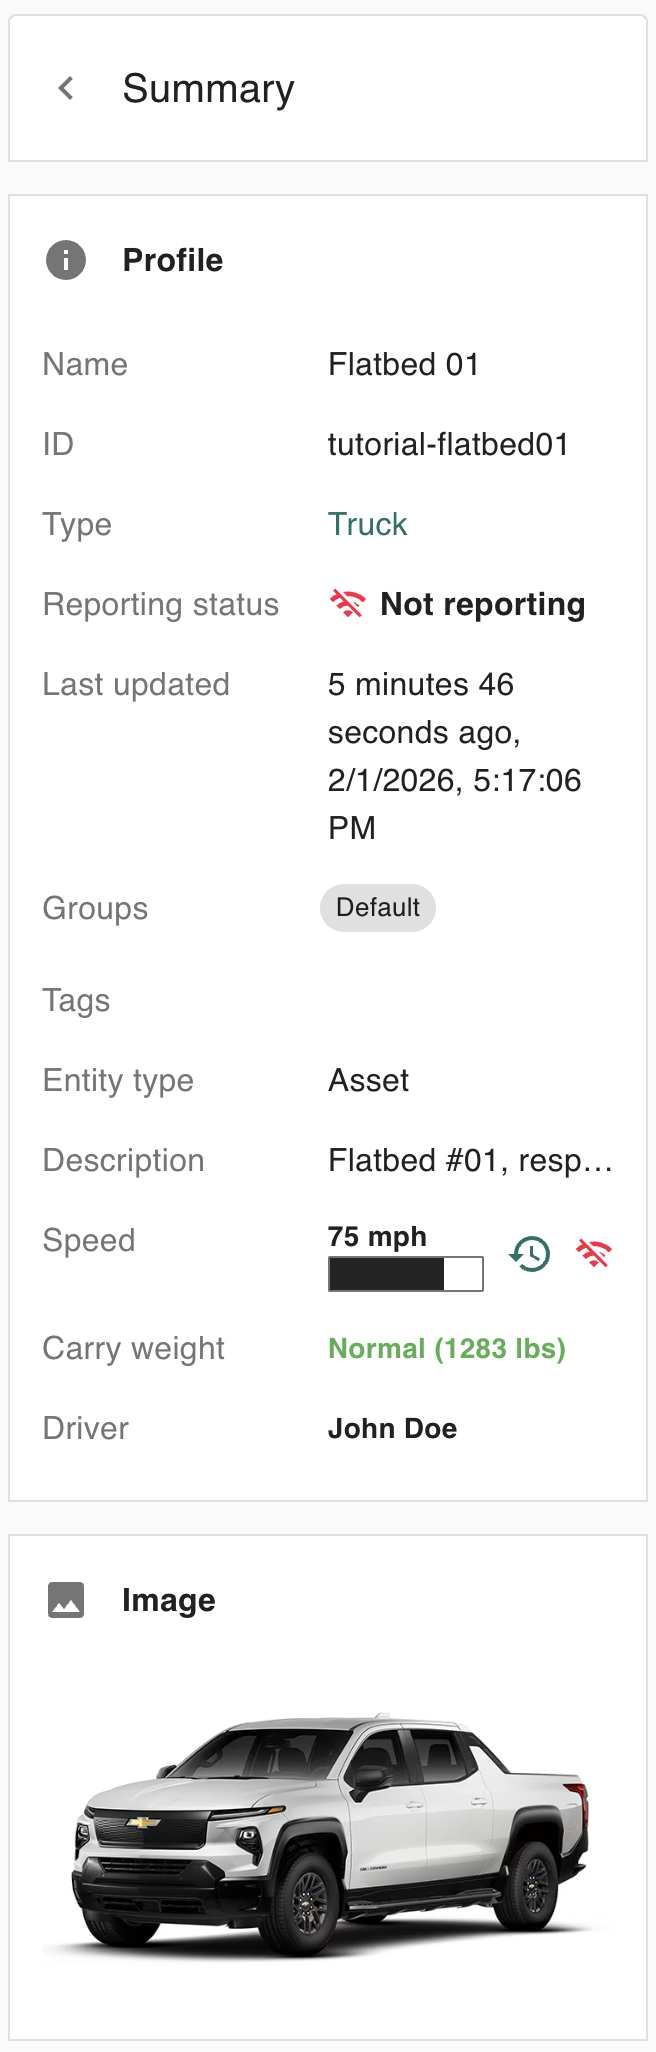
When viewing an asset’s details, or when viewing a specific asset from the home page, the user now sees the asset summary drawer to the left of the main contents. As the administrator, you have the ability to customize what content appears in this drawer on a per-asset type basis.
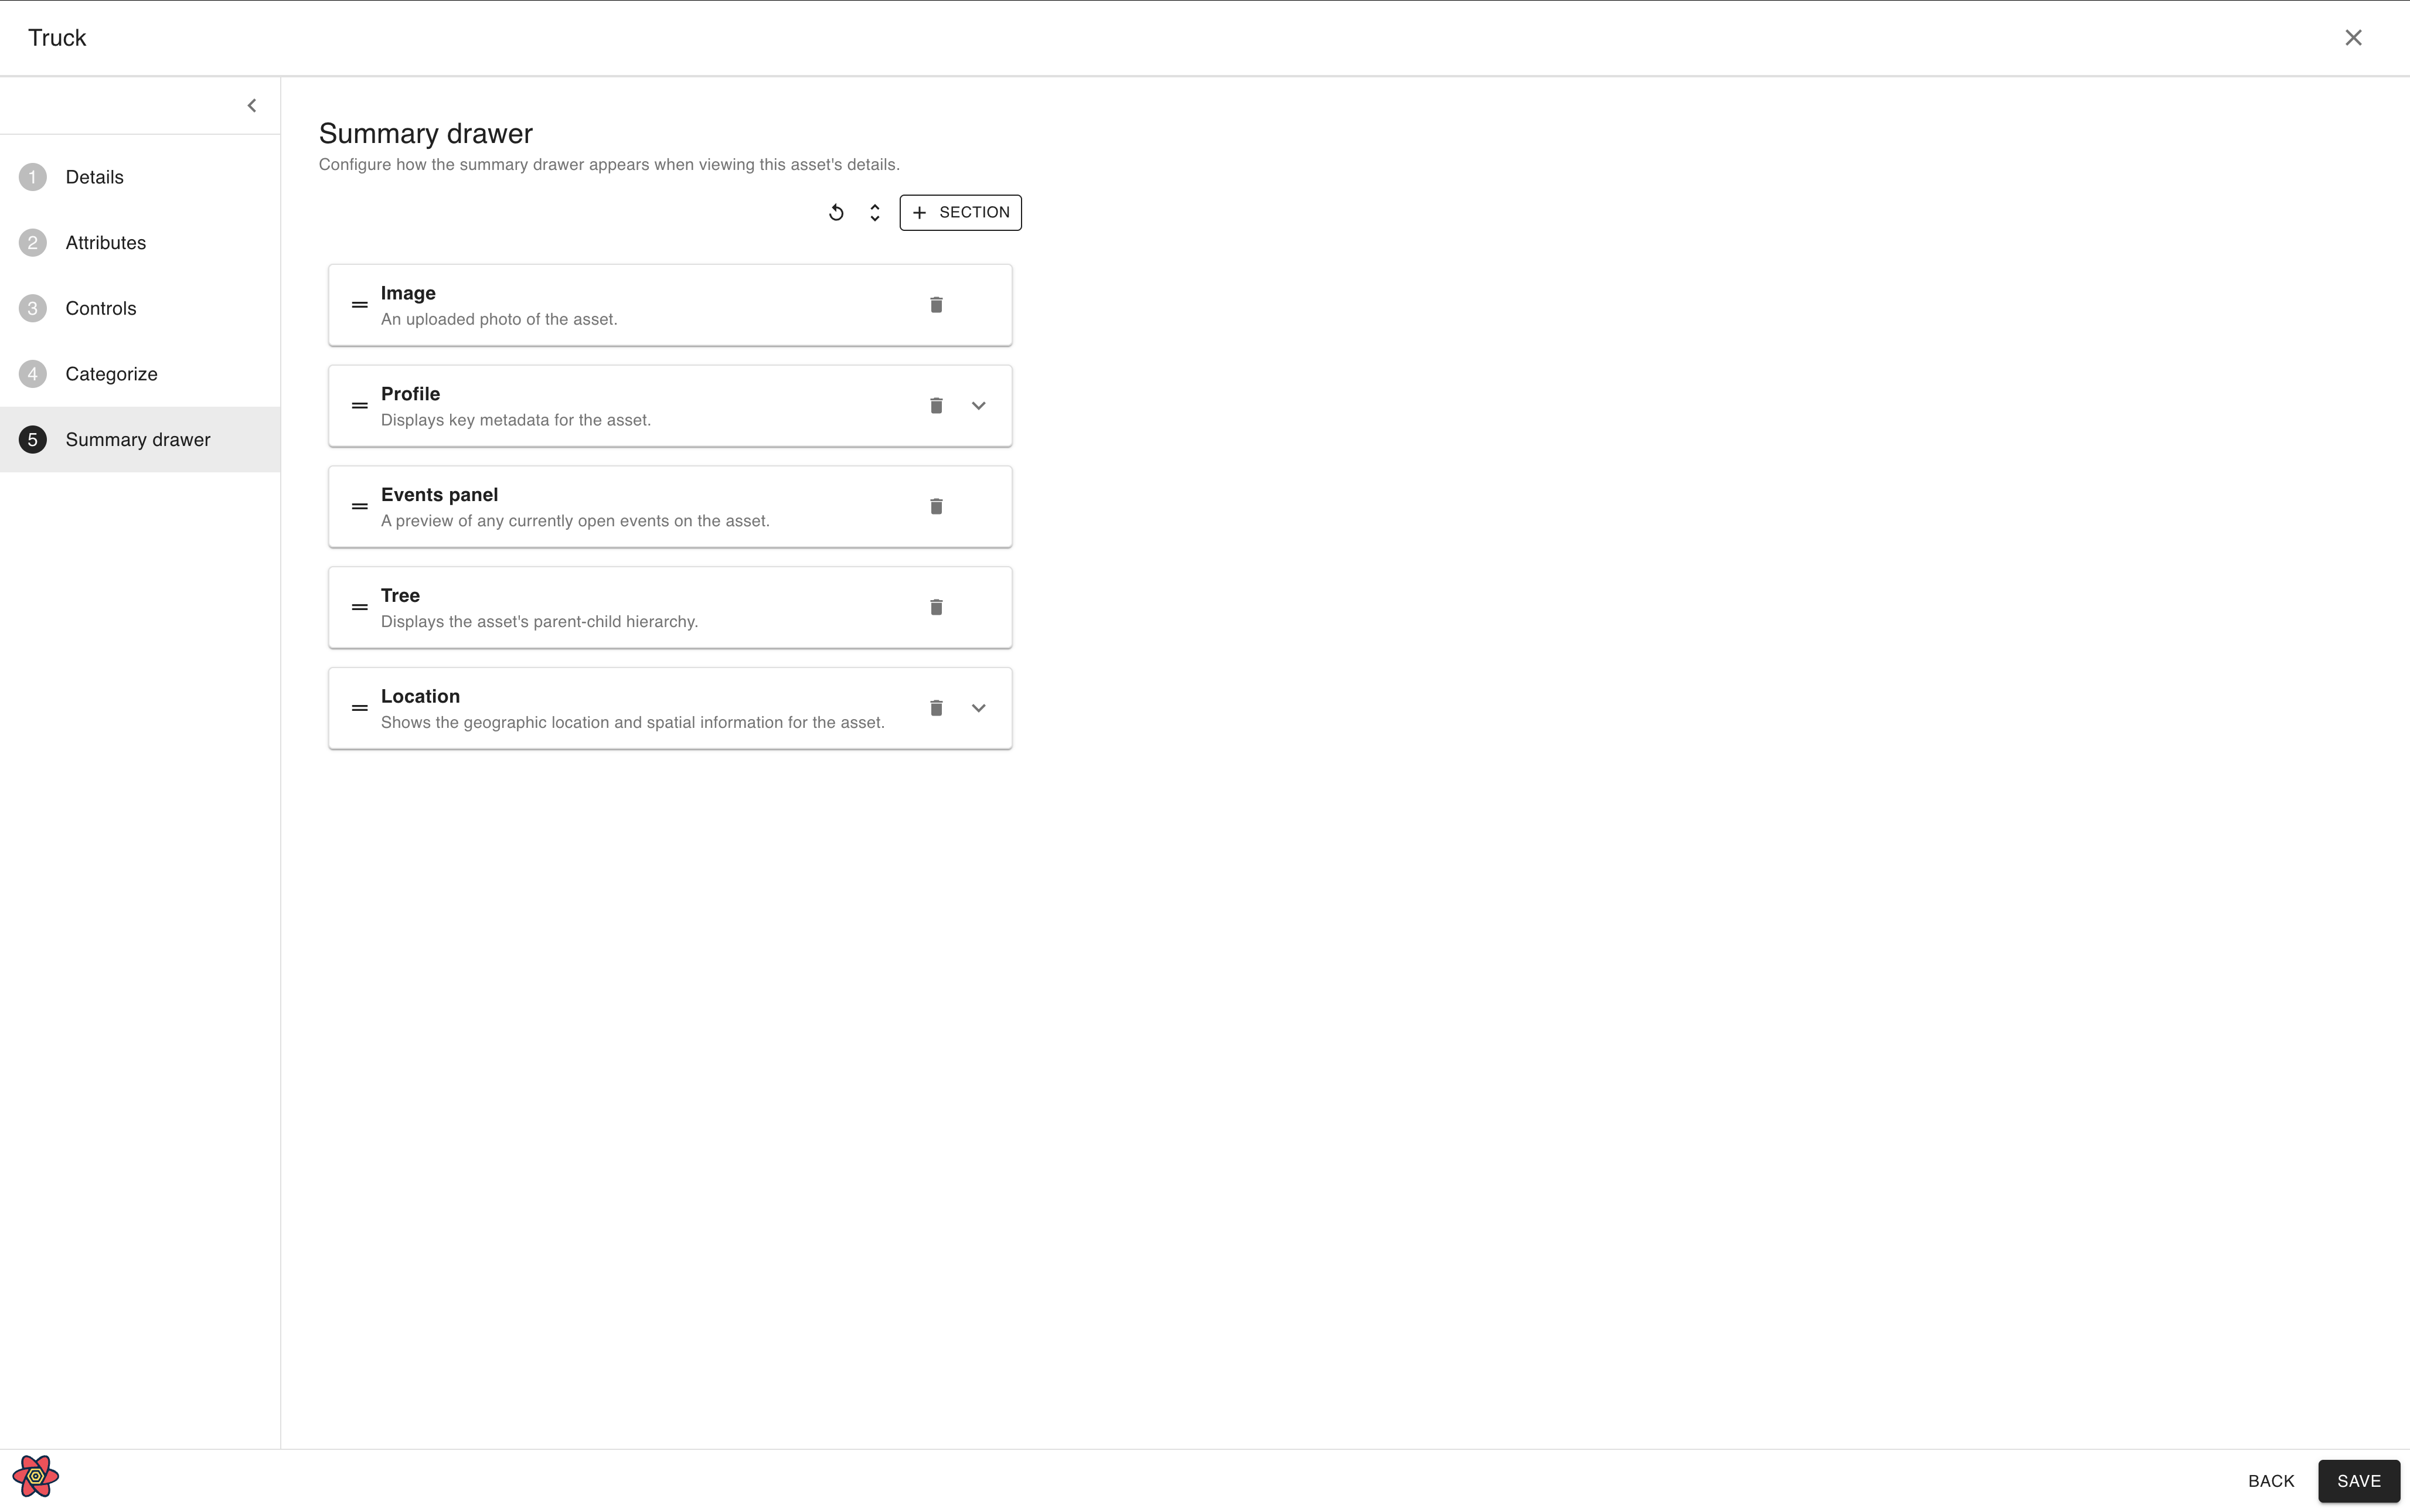
The sections included in this summary drawer are as follows:
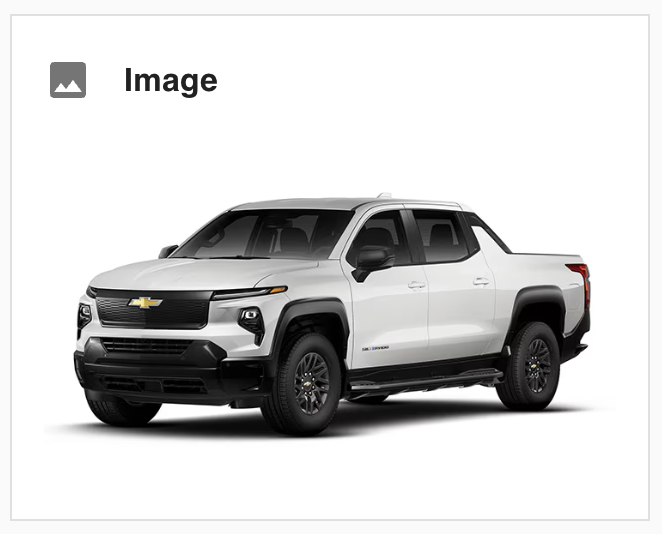
Image: includes an image of the asset.
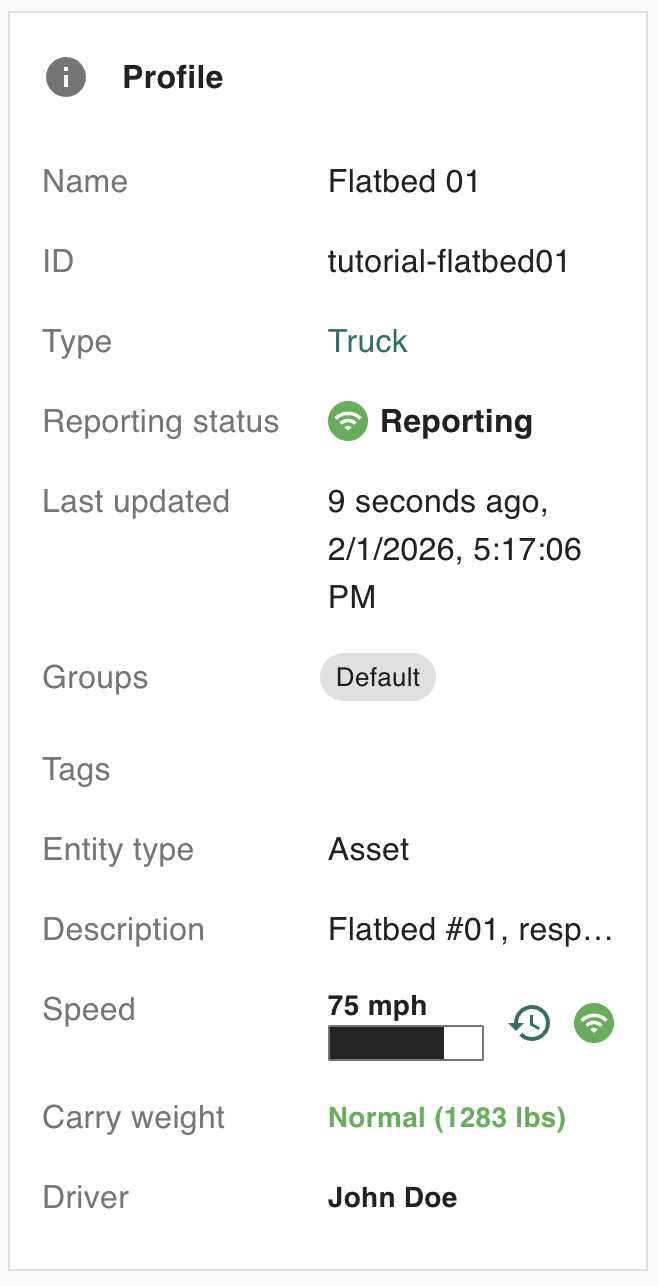
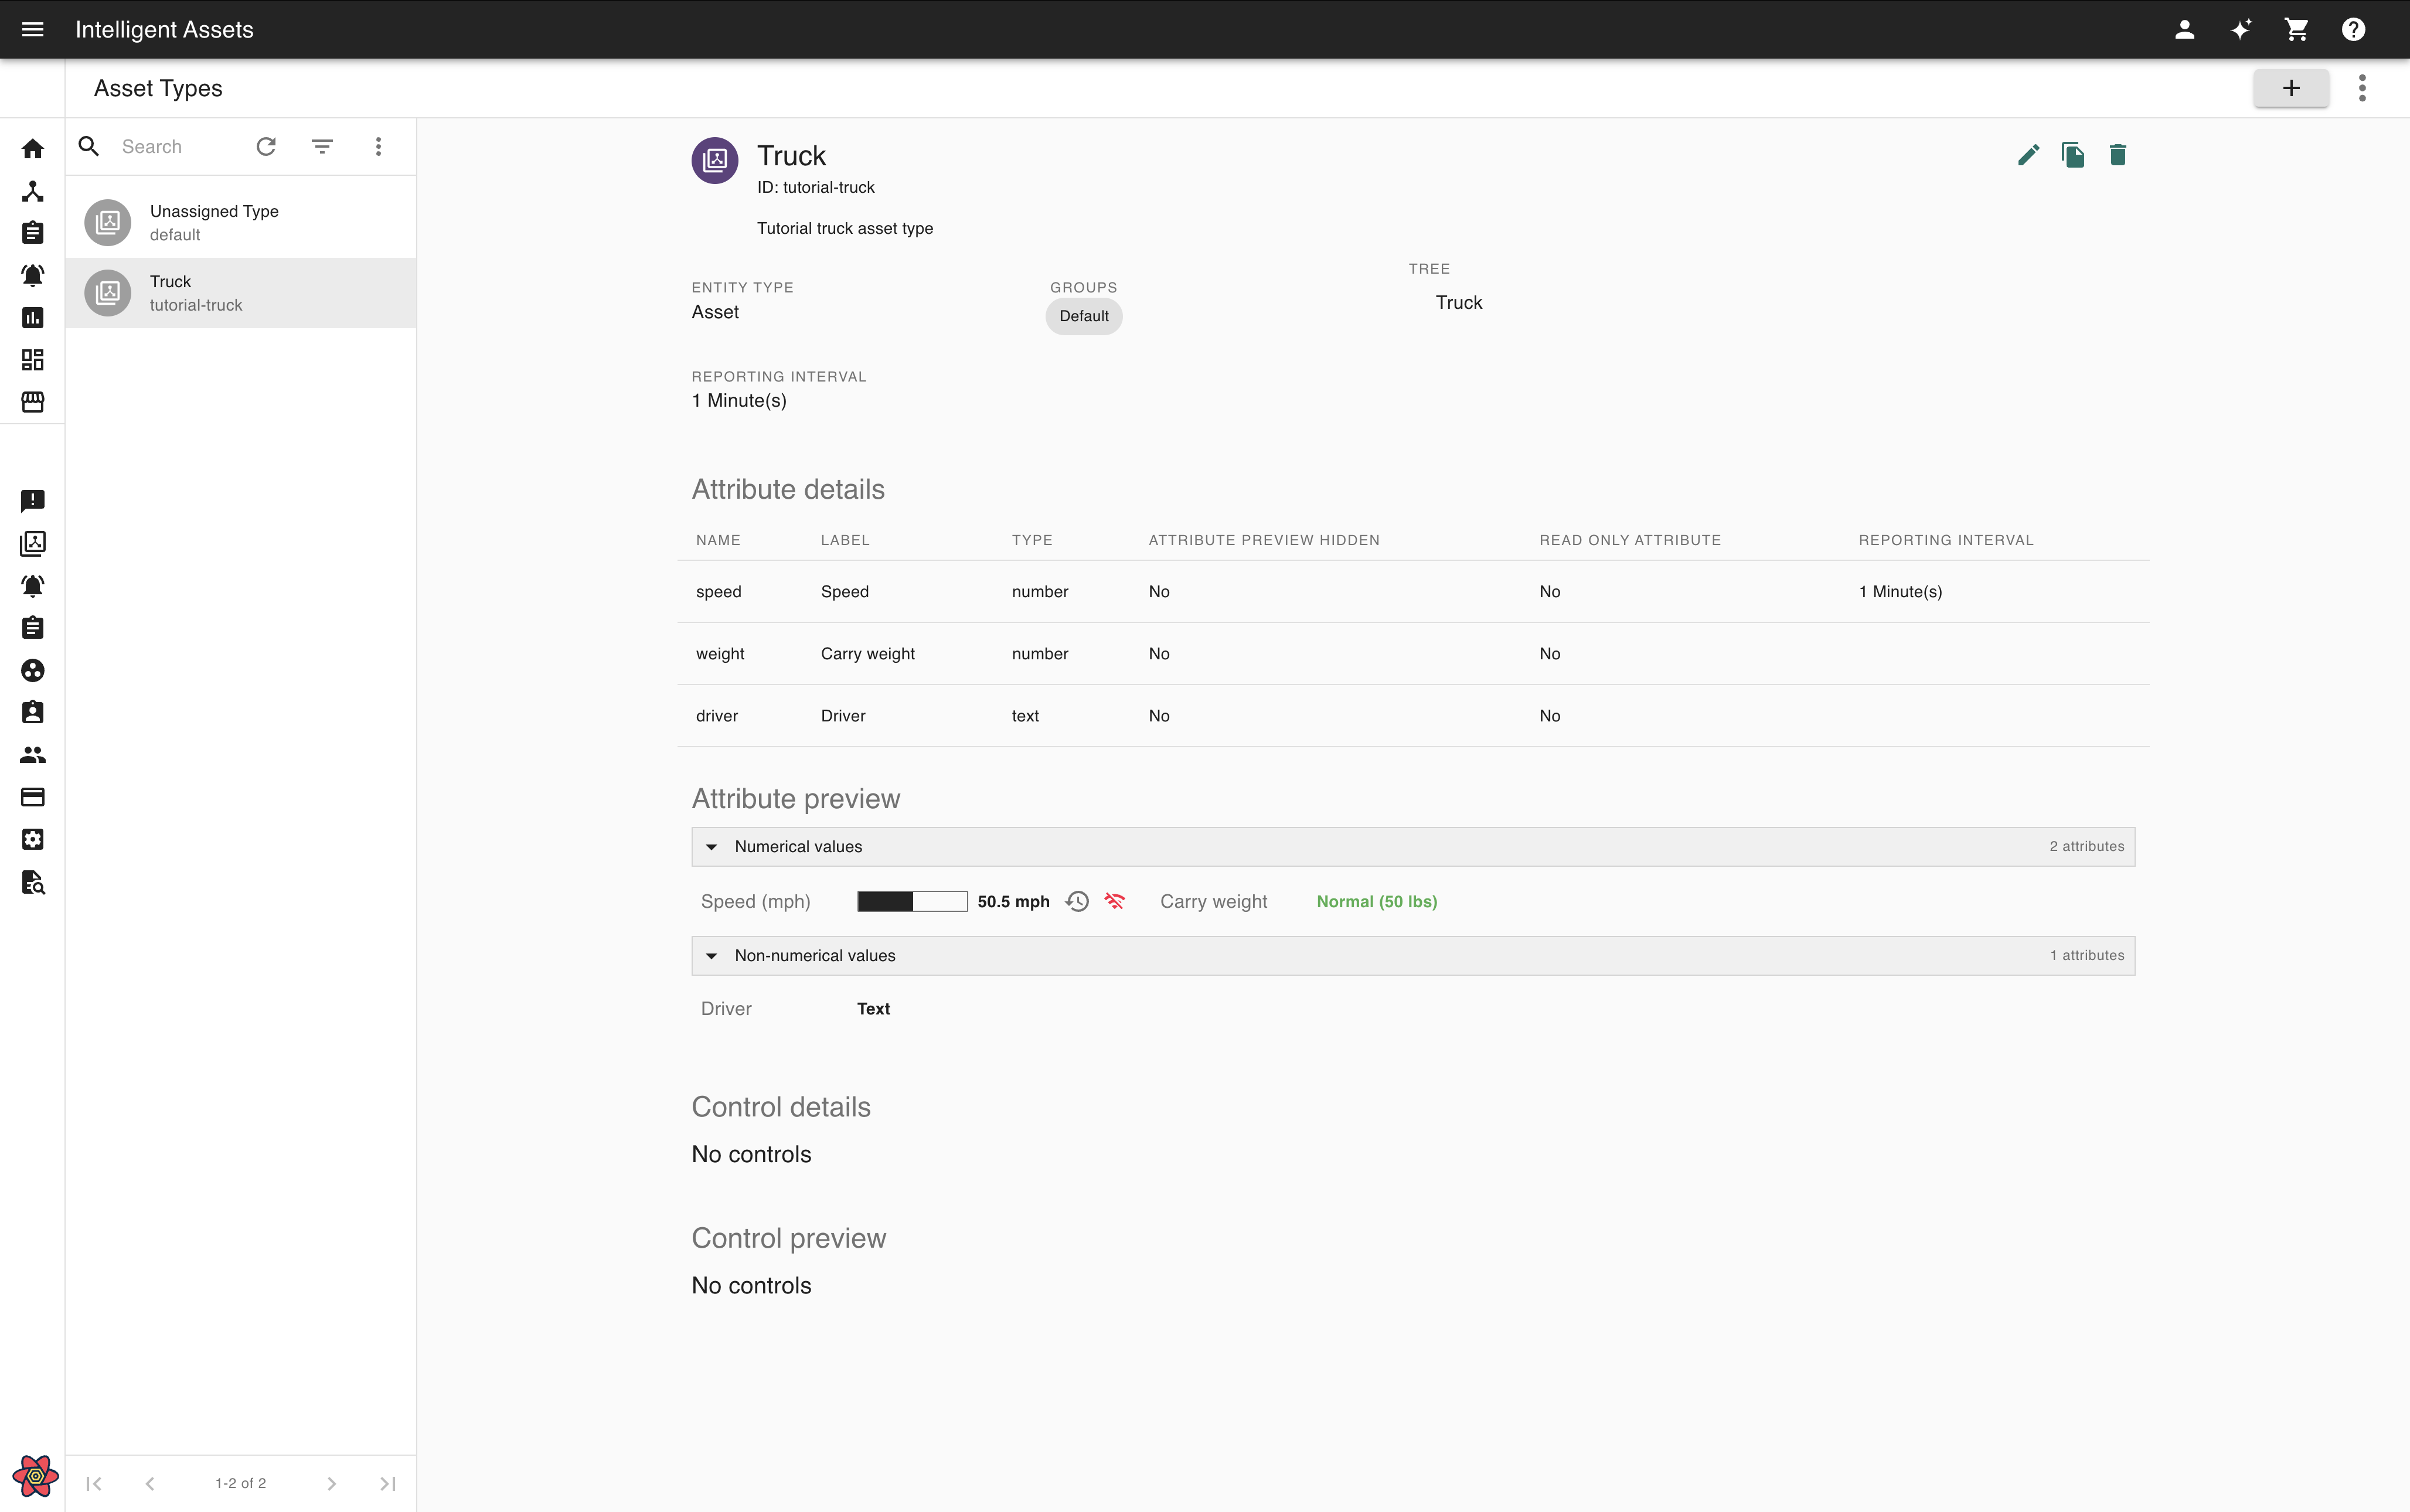
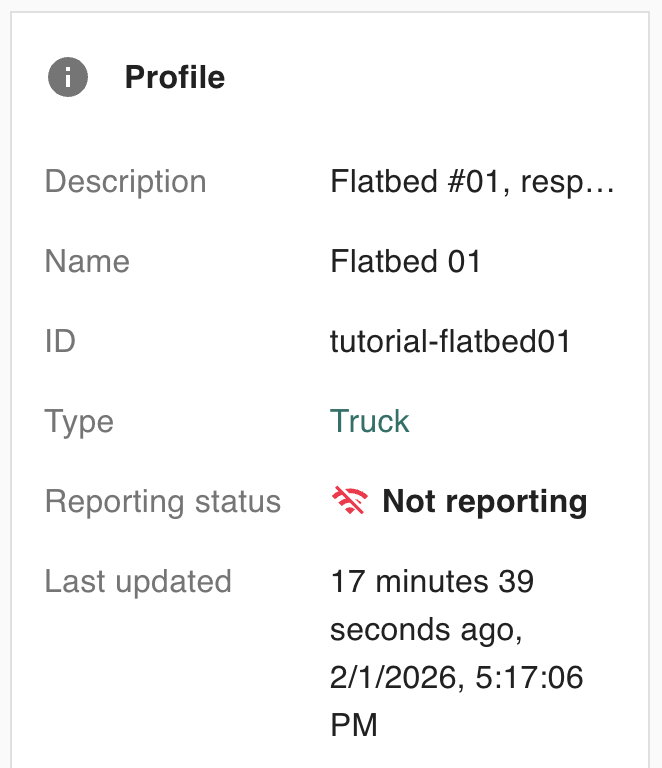
Profile: includes basic information about the asset, including but not limited to its name, ID, description, and various attributes assigned to that asset. (In the case of a “Truck” asset type, this may include attributes like the speed, weight, and driver of the truck).
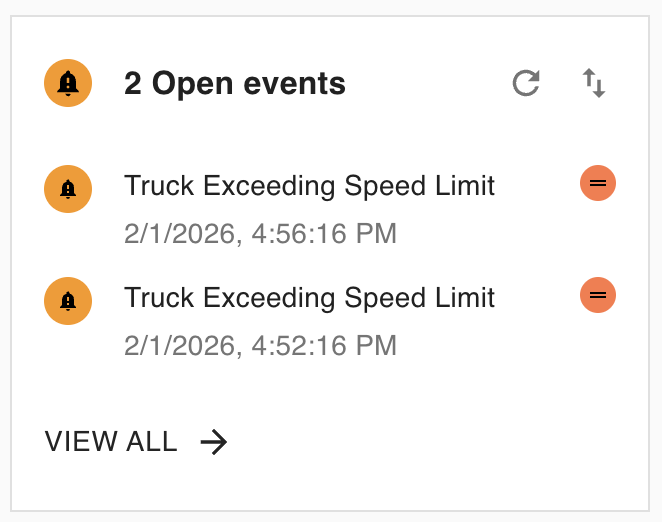
Events: this includes any open (i.e., unresolved) events belonging to that asset.
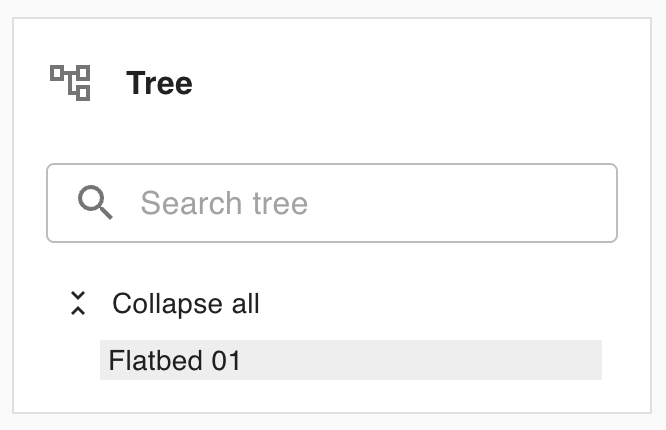
Tree: a tree illustrating this asset’s parent and child assets.

Location: includes information pertaining to the asset’s location, including plotting its location on a map.
Configuring the contents of the asset type’s summary drawer
Opening an asset type’s summary drawer settings
-
Go to the Asset Types page and select the asset type in question.
-
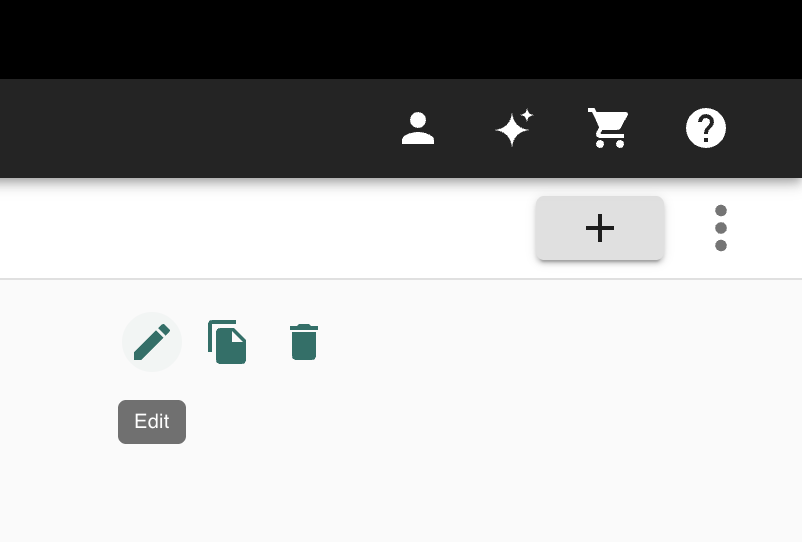
Select the Edit icon button in the top-right hand corner of the page. This will open the asset type edit dialog.
-
Select the Summary drawer step on the left-hand side of the newly-opened dialog box.
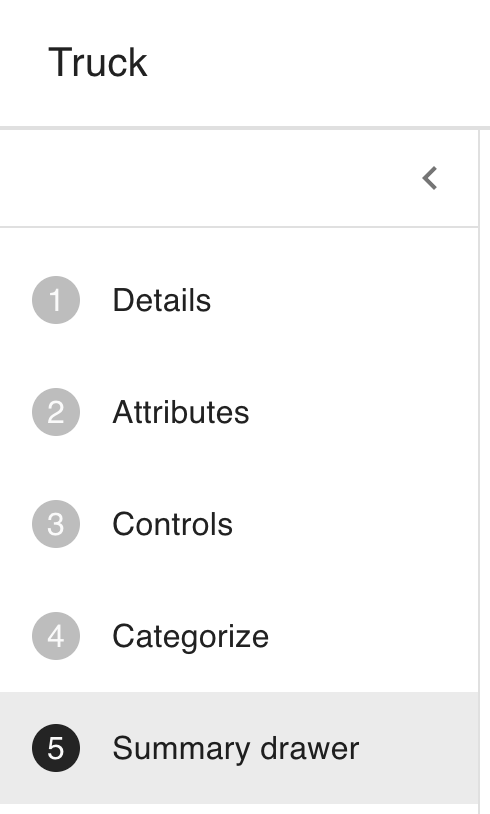
-
You will now see the Summary drawer settings. This allows you to change how the summary drawer appears for Intelligent Assets users when viewing an asset of this type.
Rearranging, showing and hiding elements within the Profile or Location sections
The Profile and Location sections of the asset summary drawer contain multiple sub-elements that can be individually shown or hidden and rearranged in any order.
Rearranging elements
To rearrange elements within the Profile or Location sections, first click the expand/collapse icon button to the right of the section name:

With the section editor open, you can now drag-and-drop an element to where you’d like it to appear:
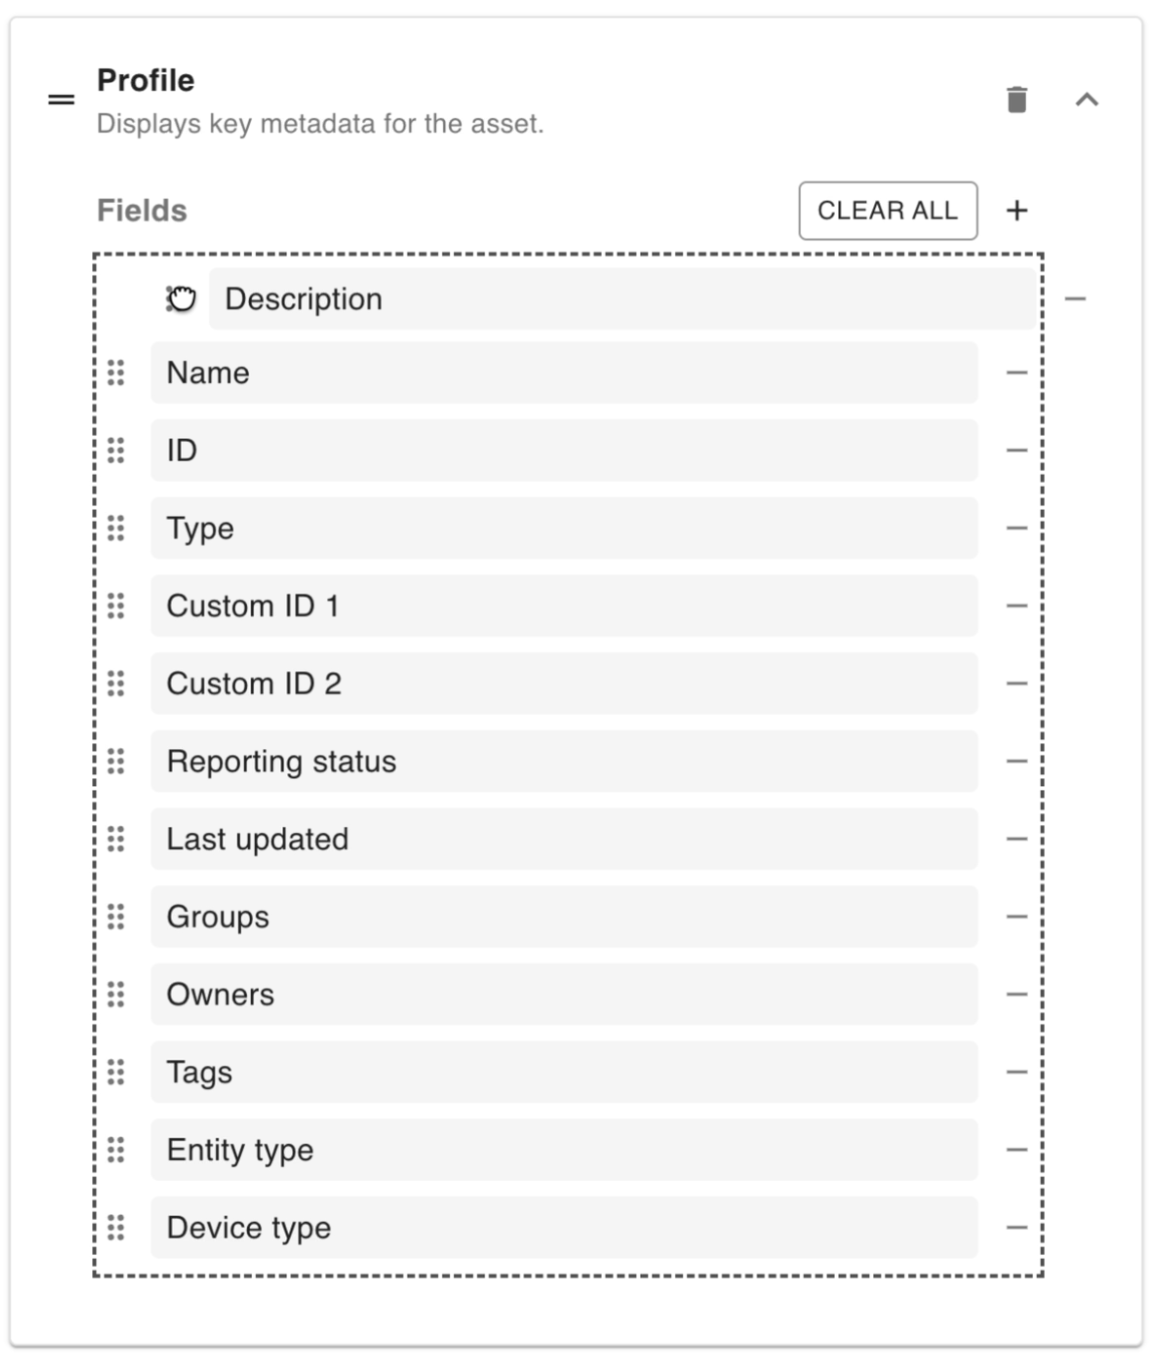
For example, dragging the description to the top would cause it to appear before any other element within the Profile section:
Hiding an element
To show or hide a specific element, you can perform one of two actions. You can hit the subtract ( ![]()
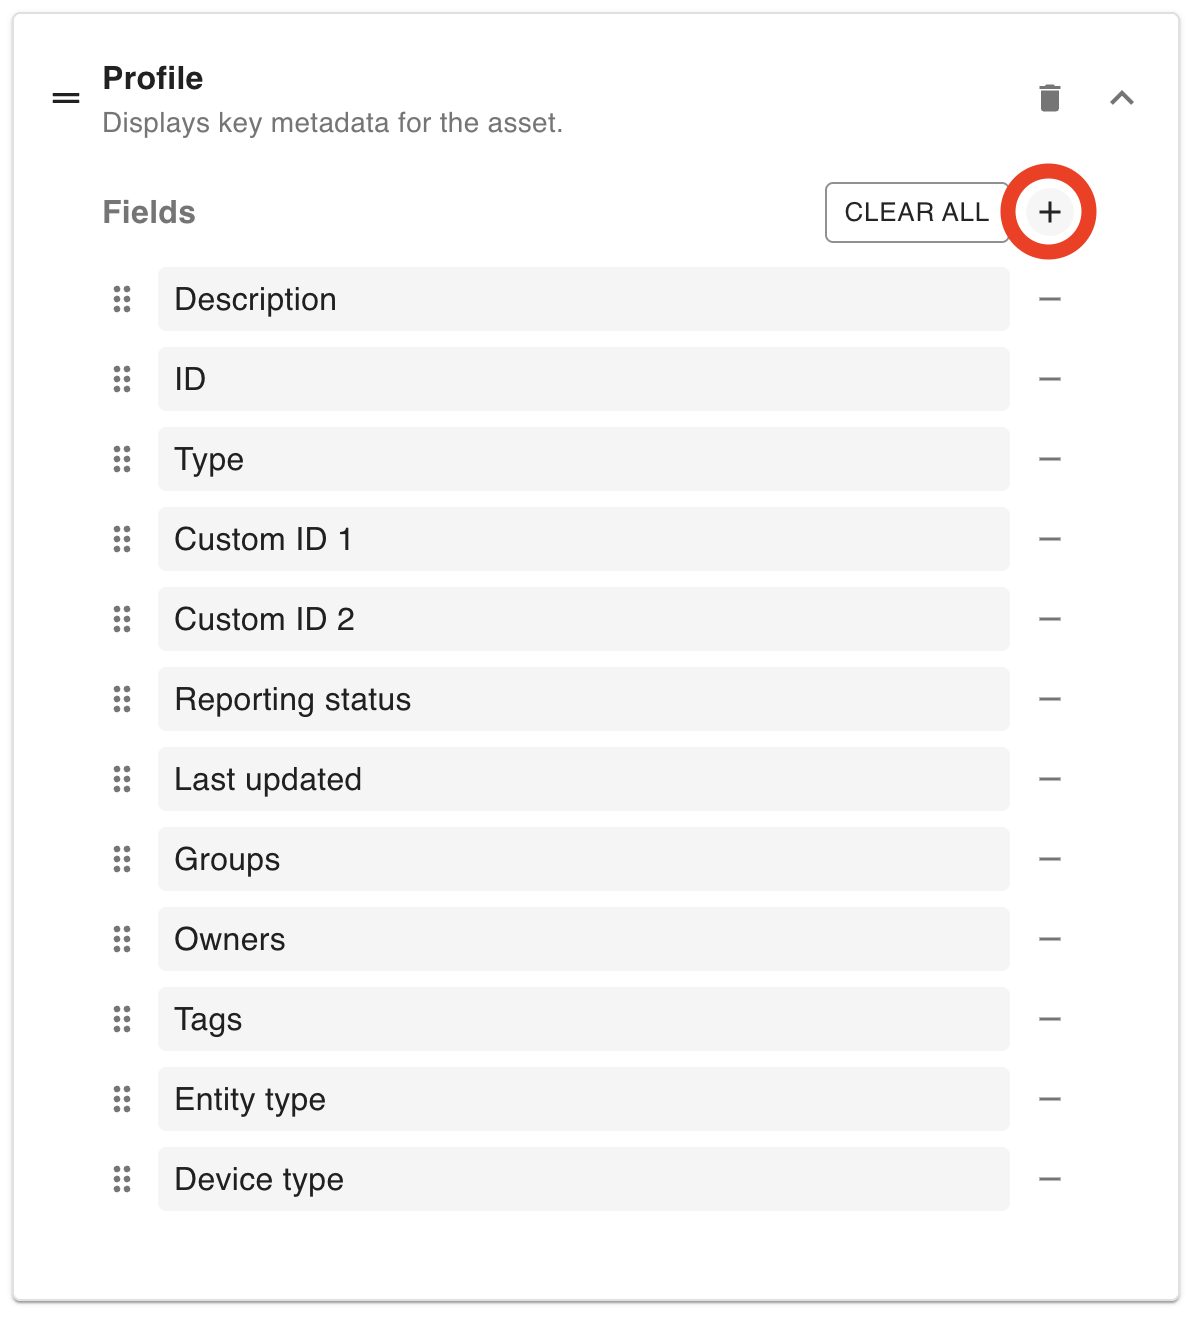
Alternatively, you can first hit the plus ( ![]()
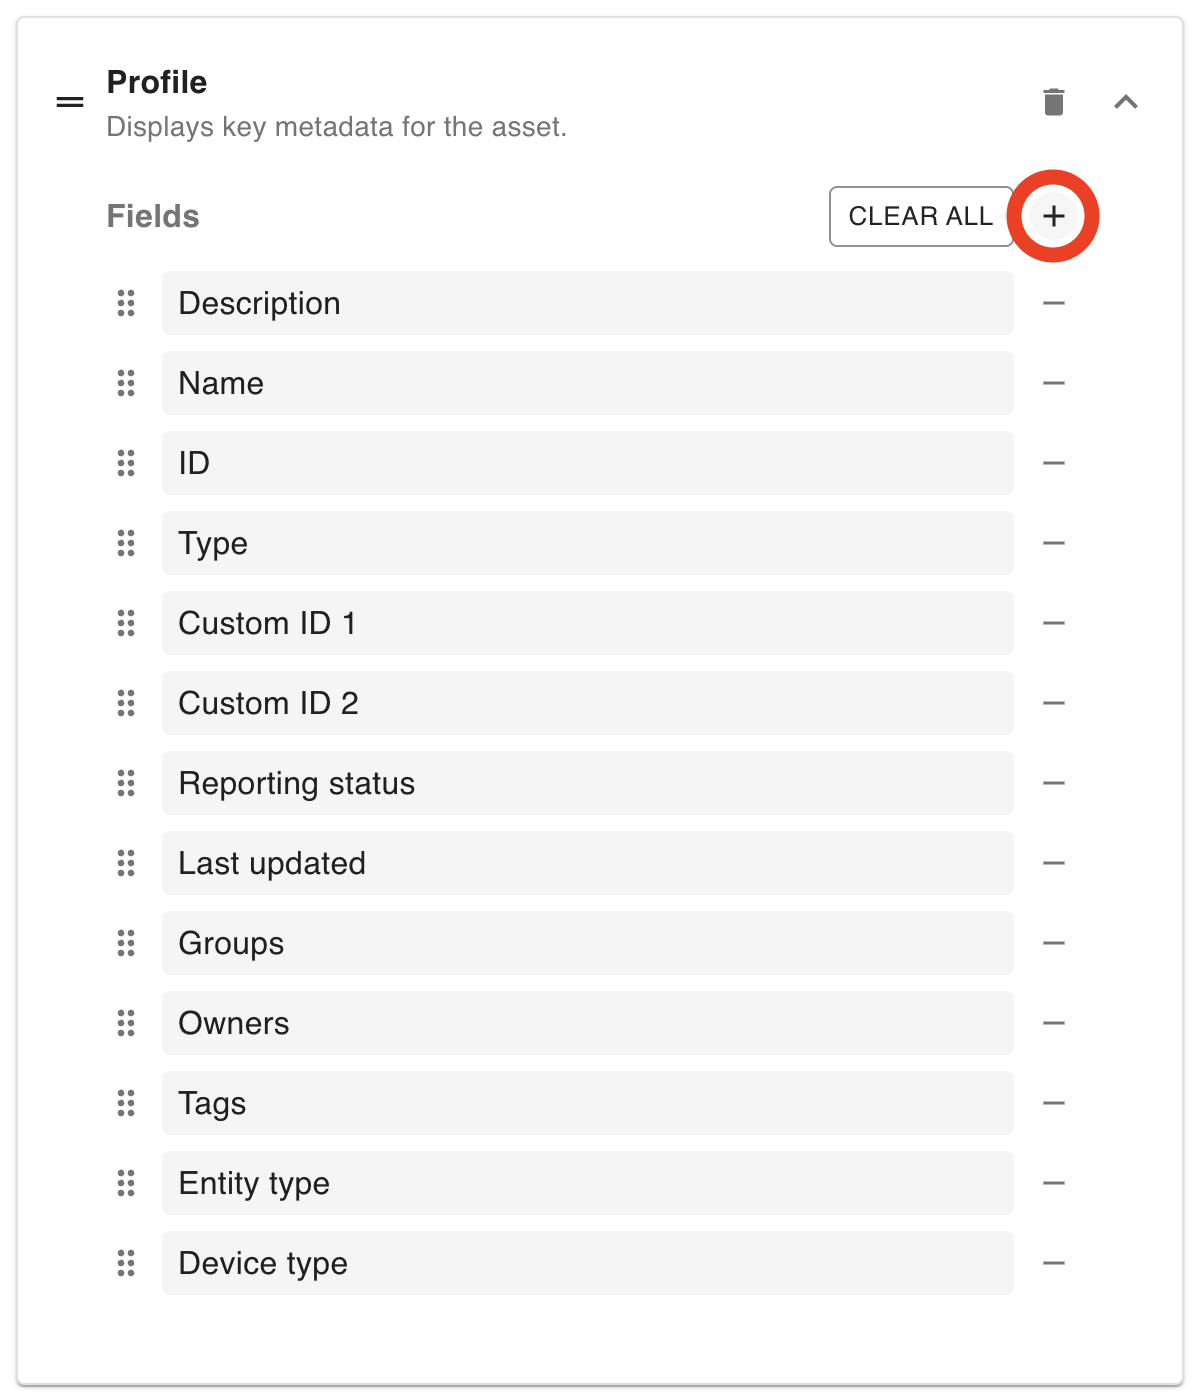
This will open the element checkbox menu. From here, you can uncheck an element to hide it:
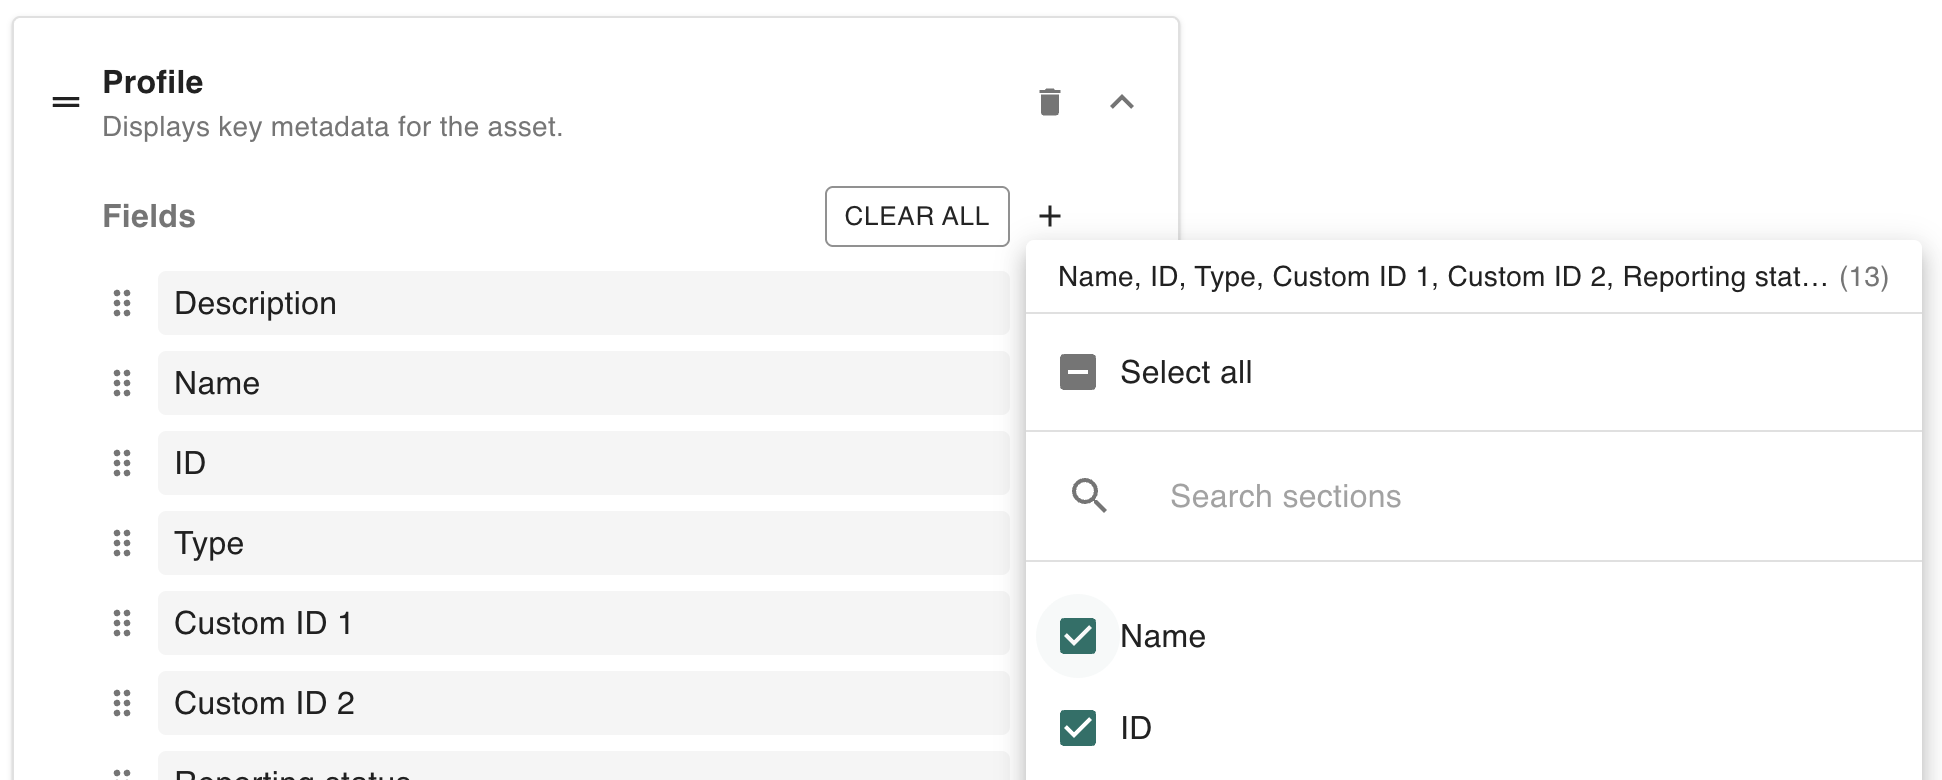
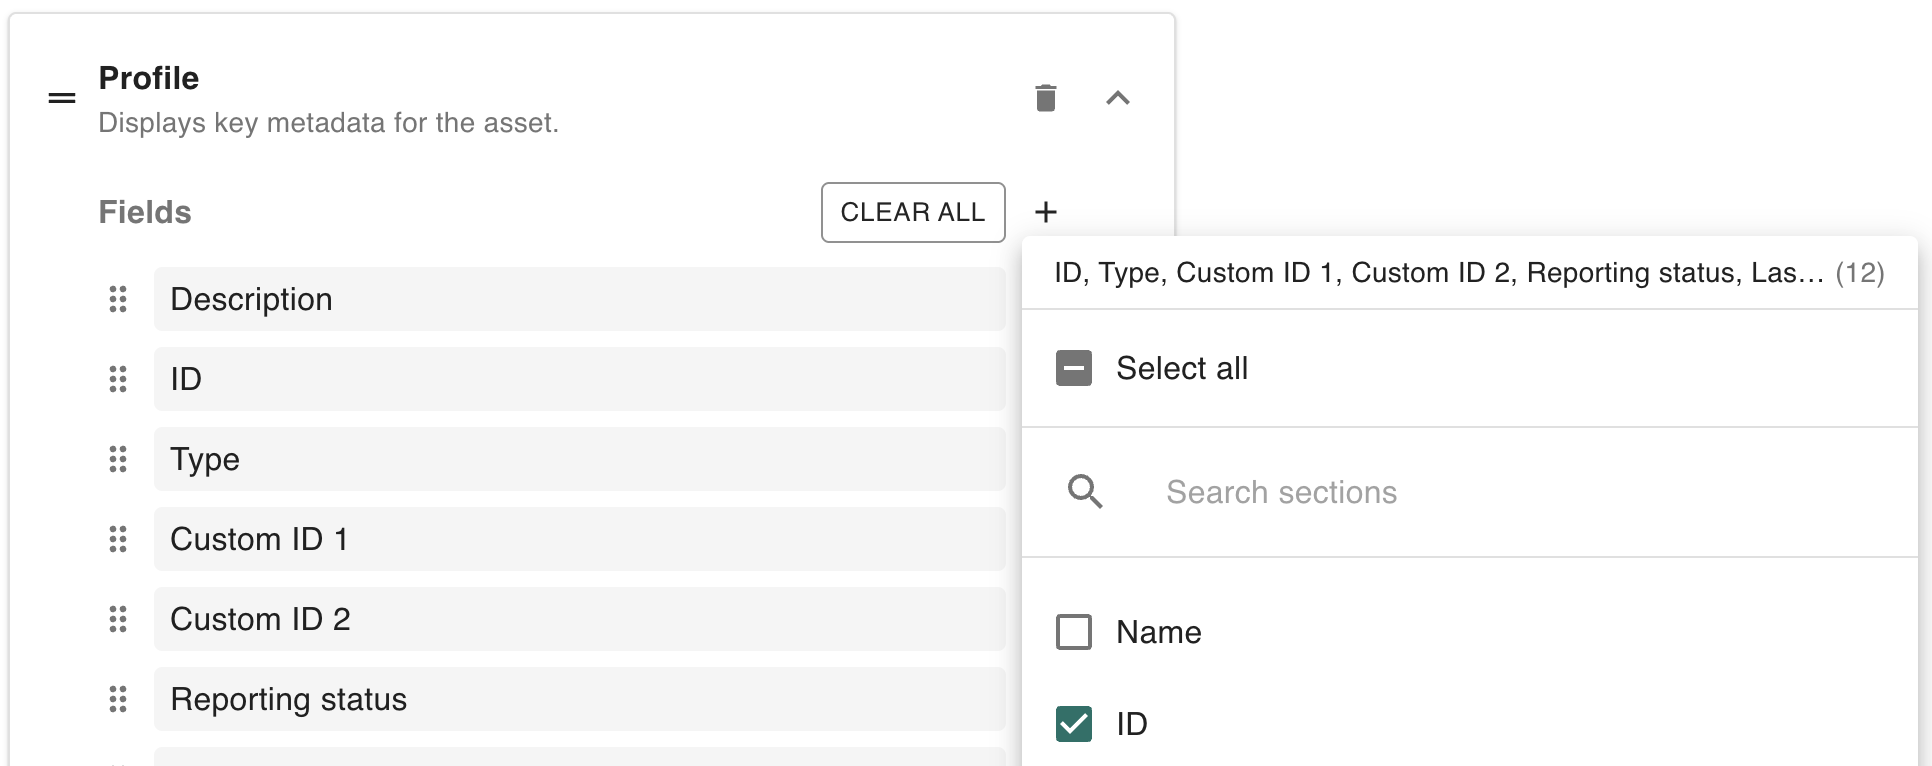
Notice how unchecking the Name property hides it from the Fields list to the left.
In either case, the field is now hidden from that section:
Note that Name no longer appears where it once was (underneath the ID).
Showing an element
To show an element that was previously hidden, first click the plus ( ![]()
Then, in the element checkbox menu that appears, re-check the element in question:
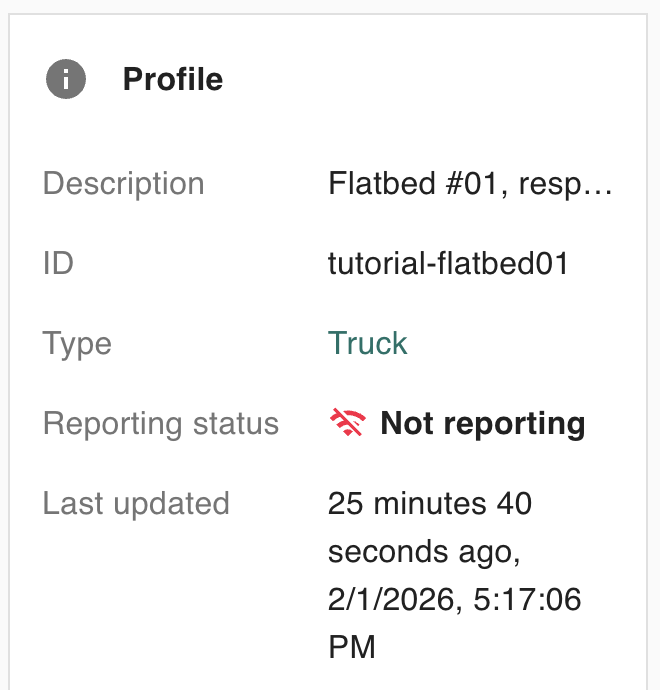
This will cause the element to appear again when viewing the asset summary drawer:
Note: for the Profile section specifically, attributes are hidden by default. They can be shown by following the steps above.
Showing/hiding all elements at once
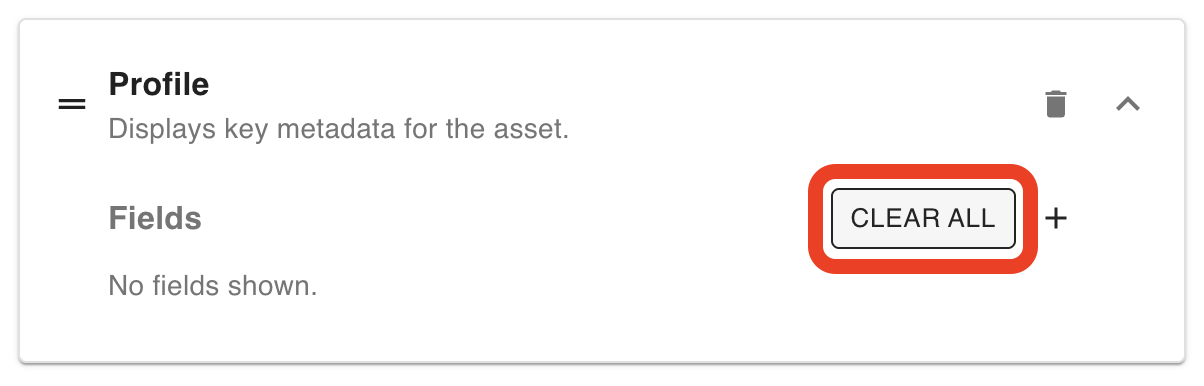
To hide all elements within a section at the same time, you can either click the Clear all button within the section editor:
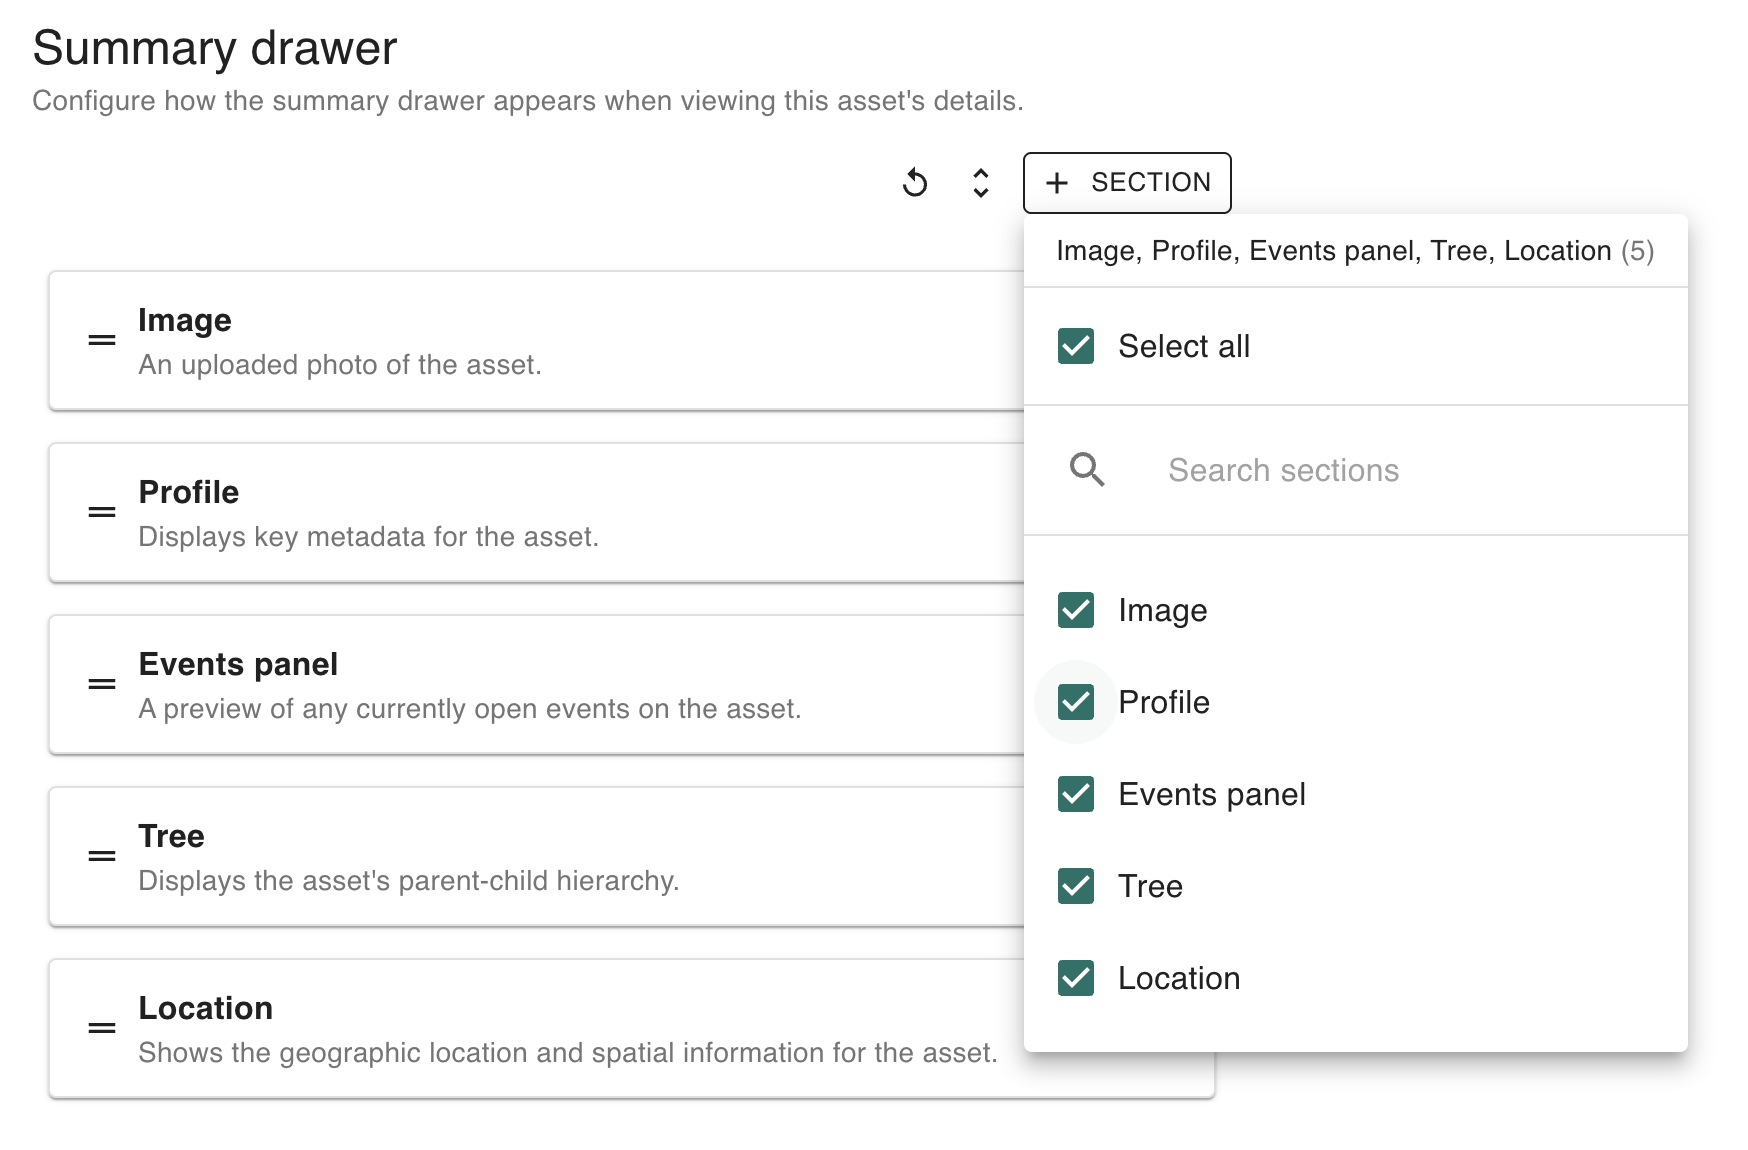
Or you can hit the plus ( ![]()
Followed by clicking the Select all checkbox until it’s empty:
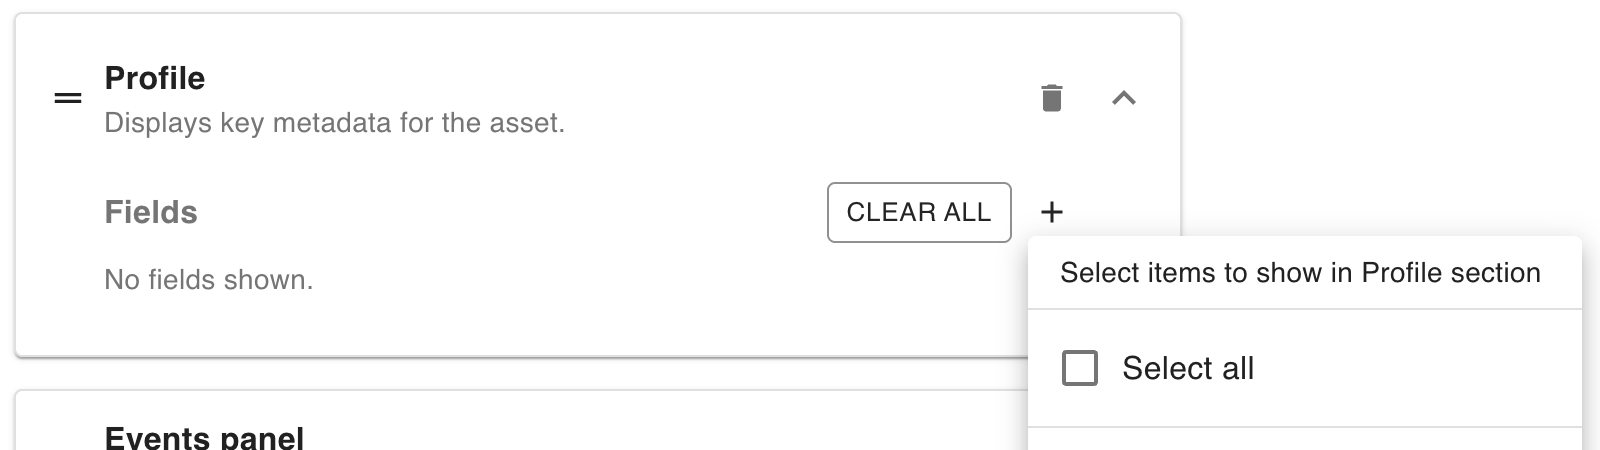
To show all elements within a section, click the plus ( ![]()
Followed by clicking the Select all checkbox until it appears with a checkmark inside:
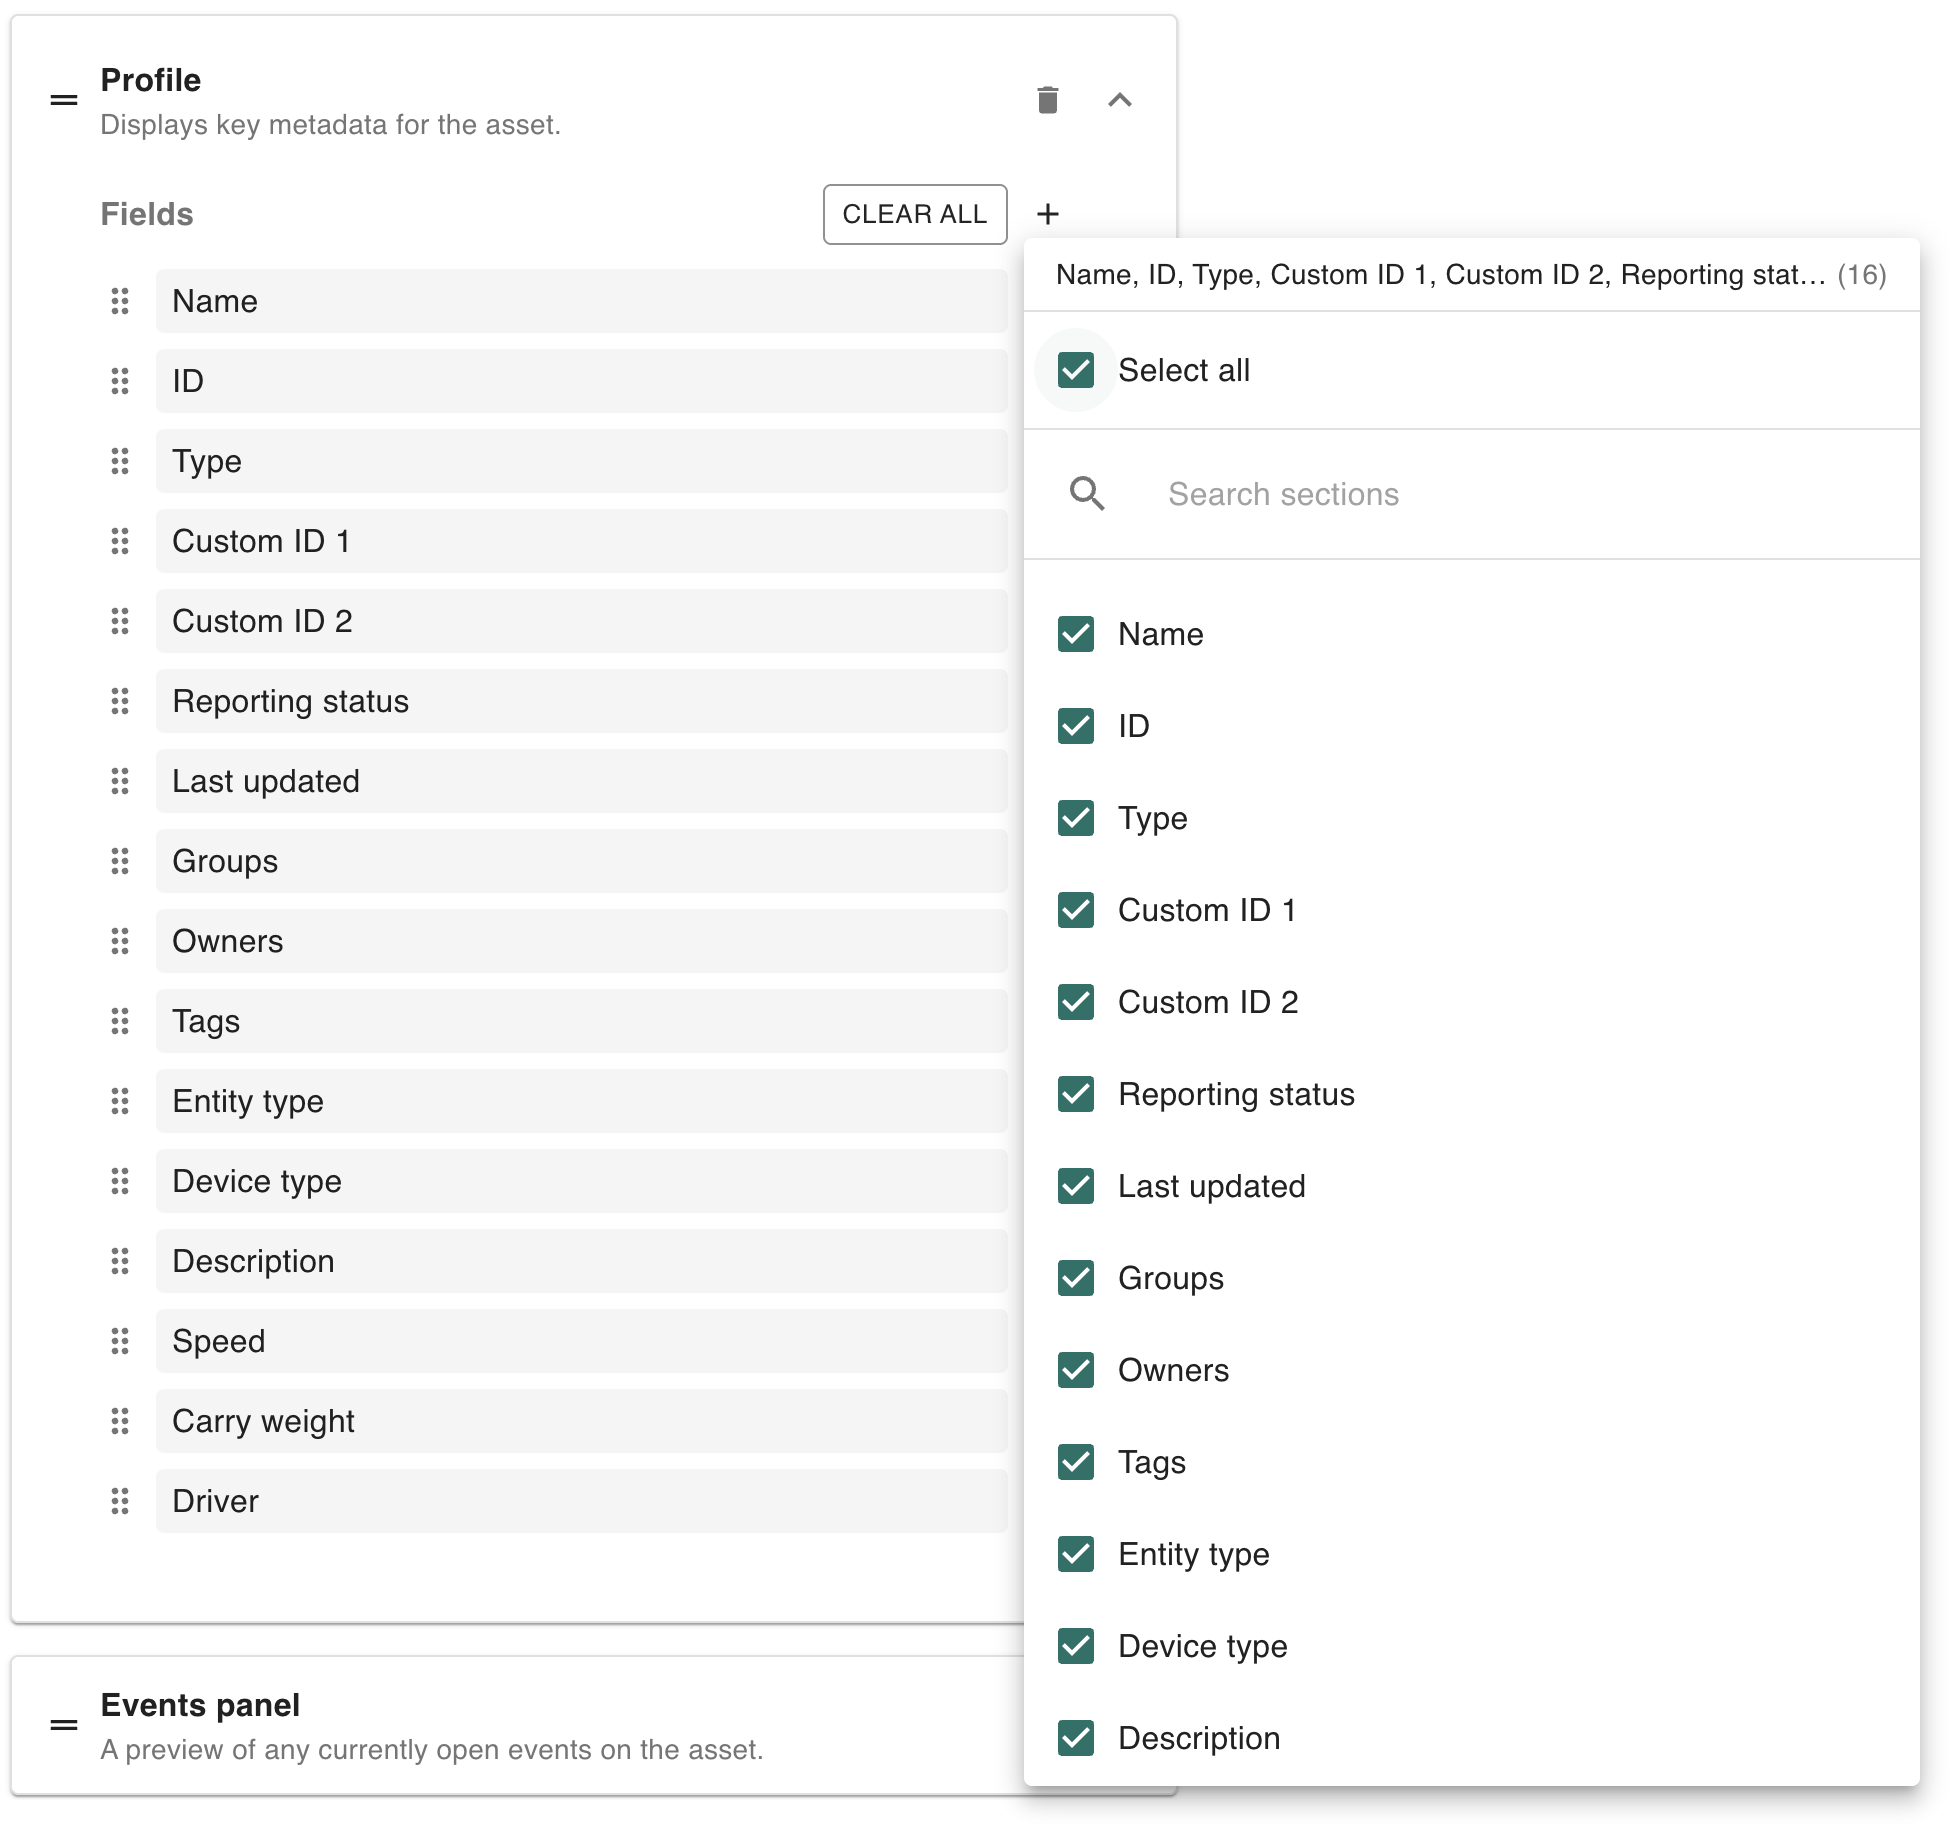
This shows all elements within a section. For the Profile section, this will also show all attributes of the asset.
Changing section order
To change the order in which a section appears, simply drag-and-drop the section to the appropriate position:
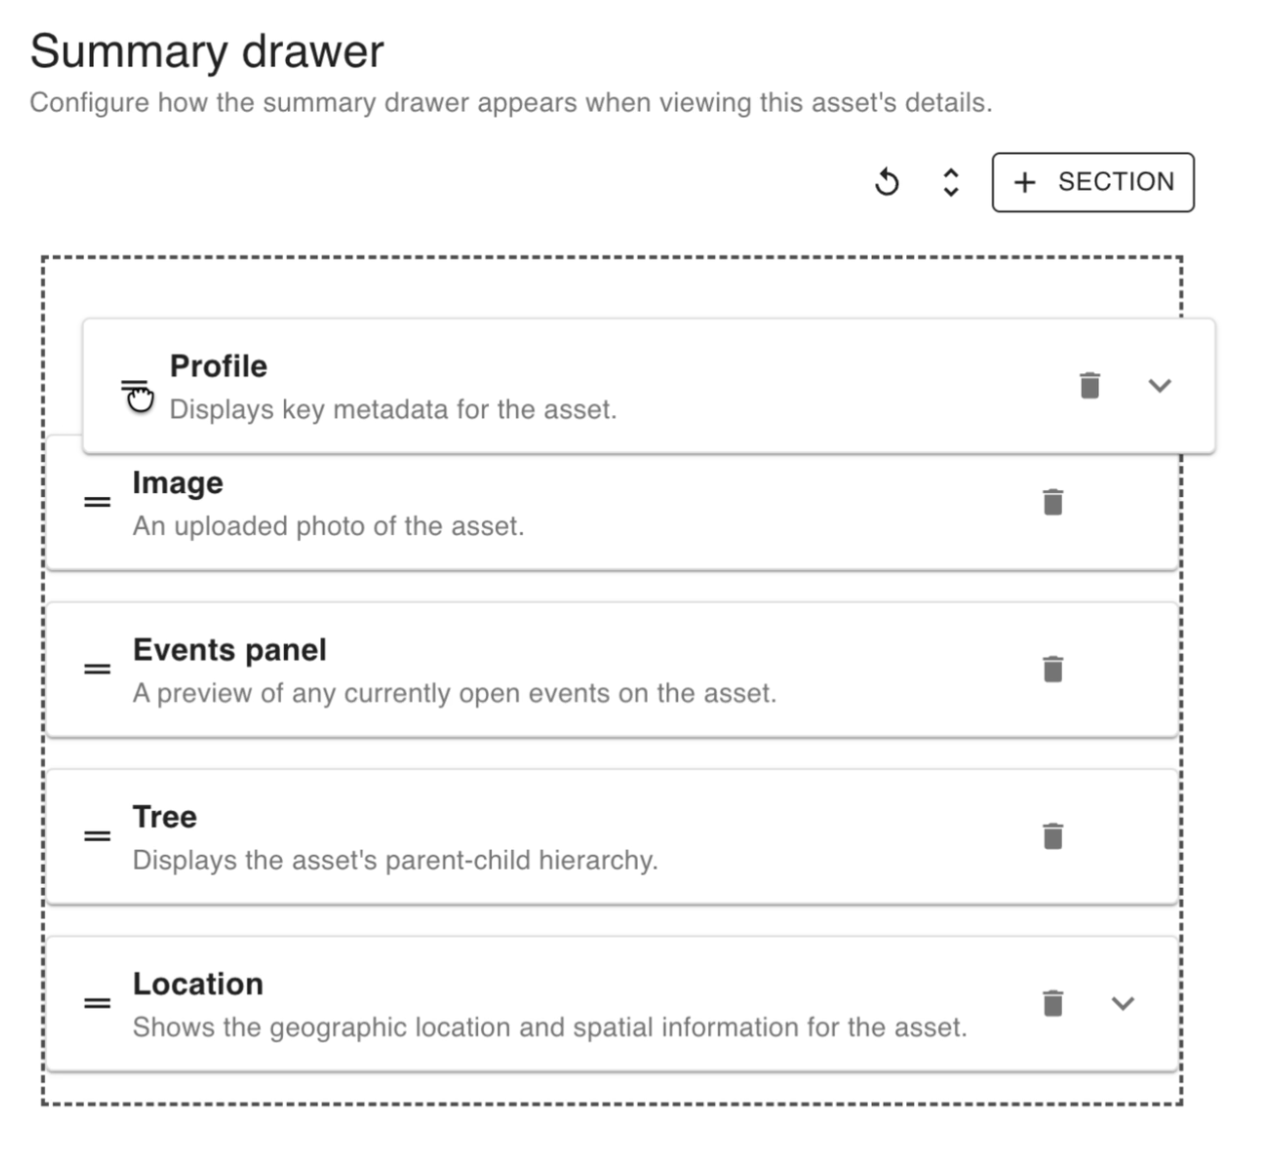
In this case, the Profile section will now appear first, above the Image section:
Showing/hiding a section
Hiding a section
To hide a section from the asset summary drawer. you can click the Trash ( ![]()

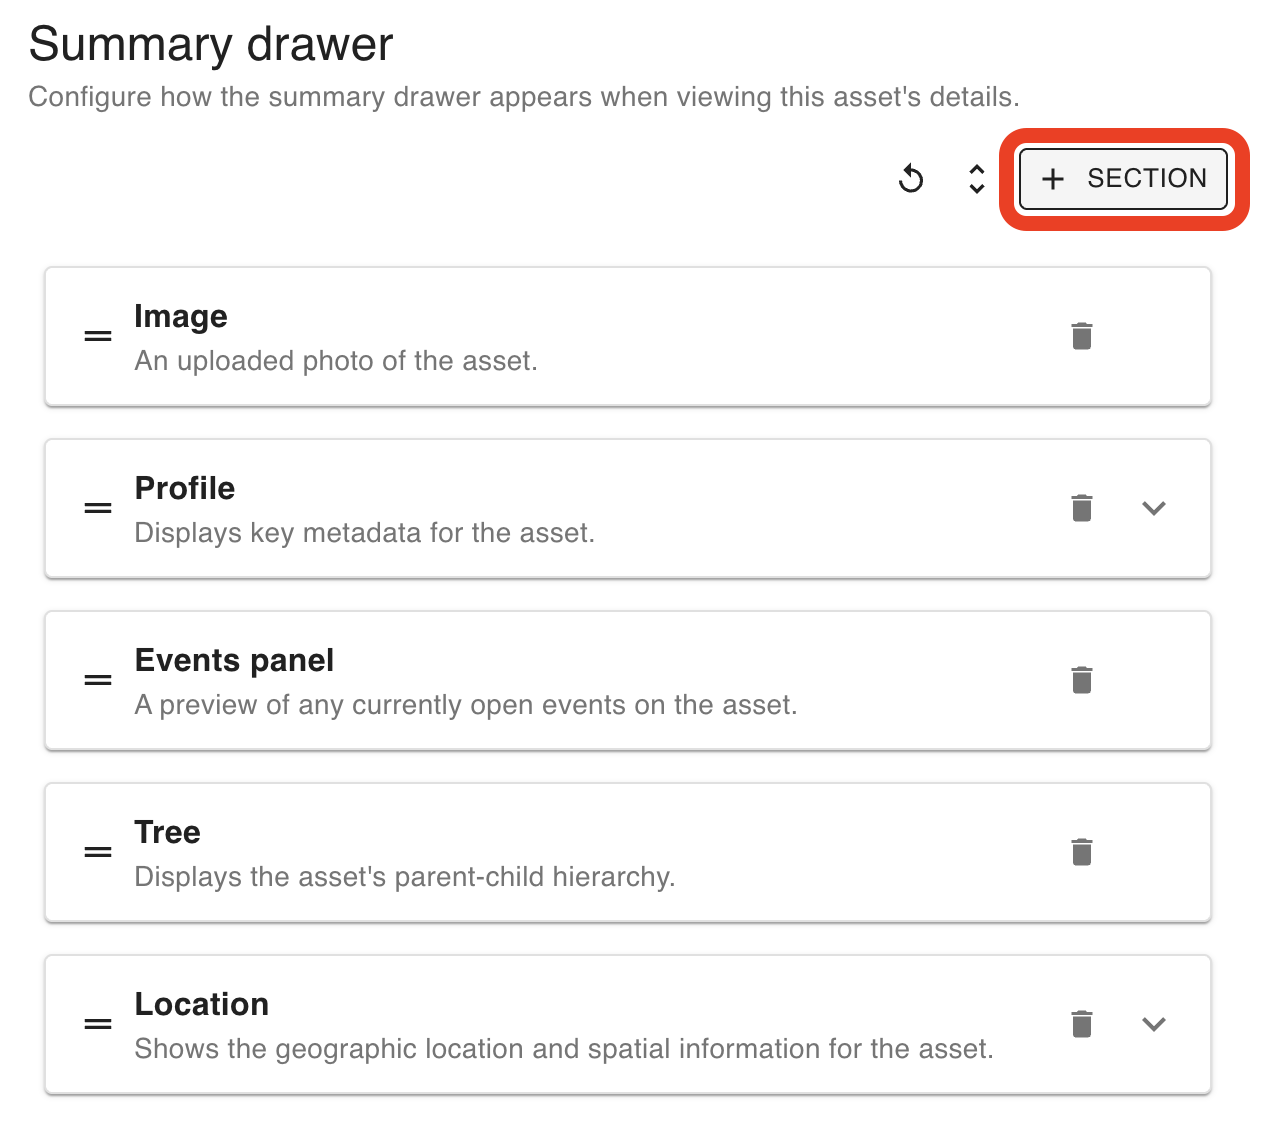
Alternatively, you can click the + Section button at the top of the menu, followed by un-checking the section in question:
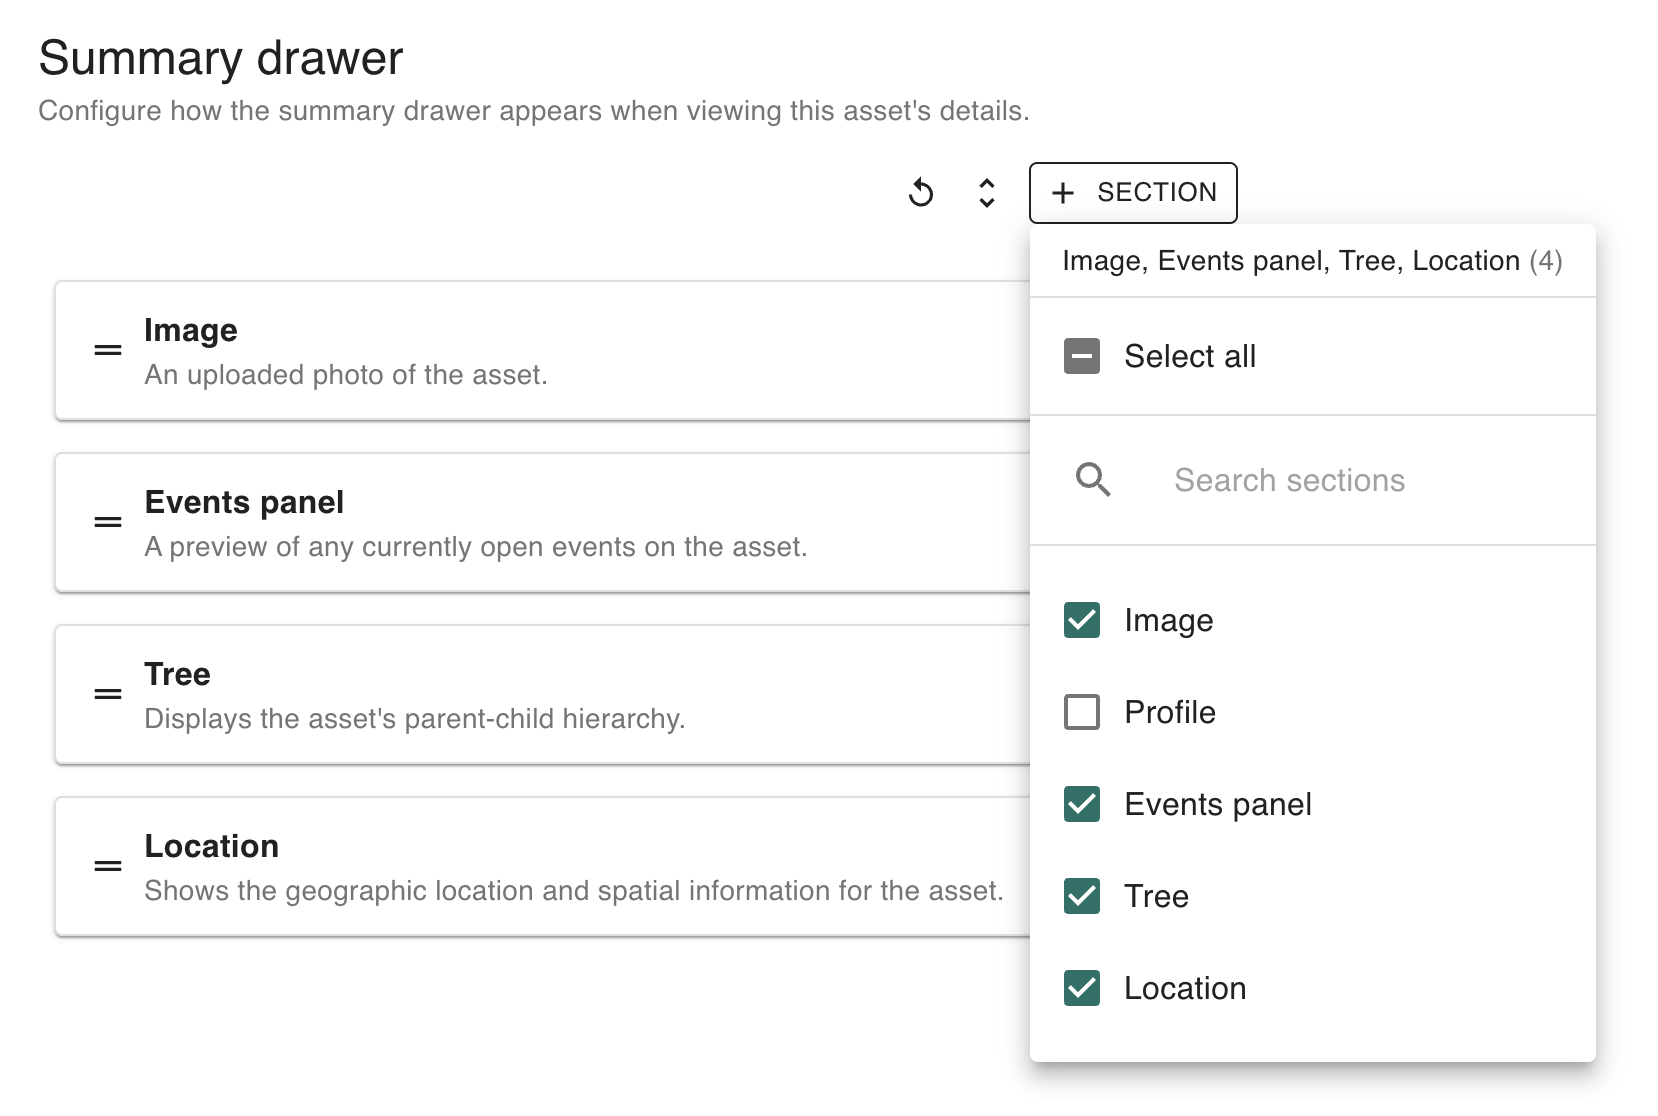
Showing a section
To show a previously-hidden section, click the + Section button at the top of the menu, followed by re-checking the section in question:
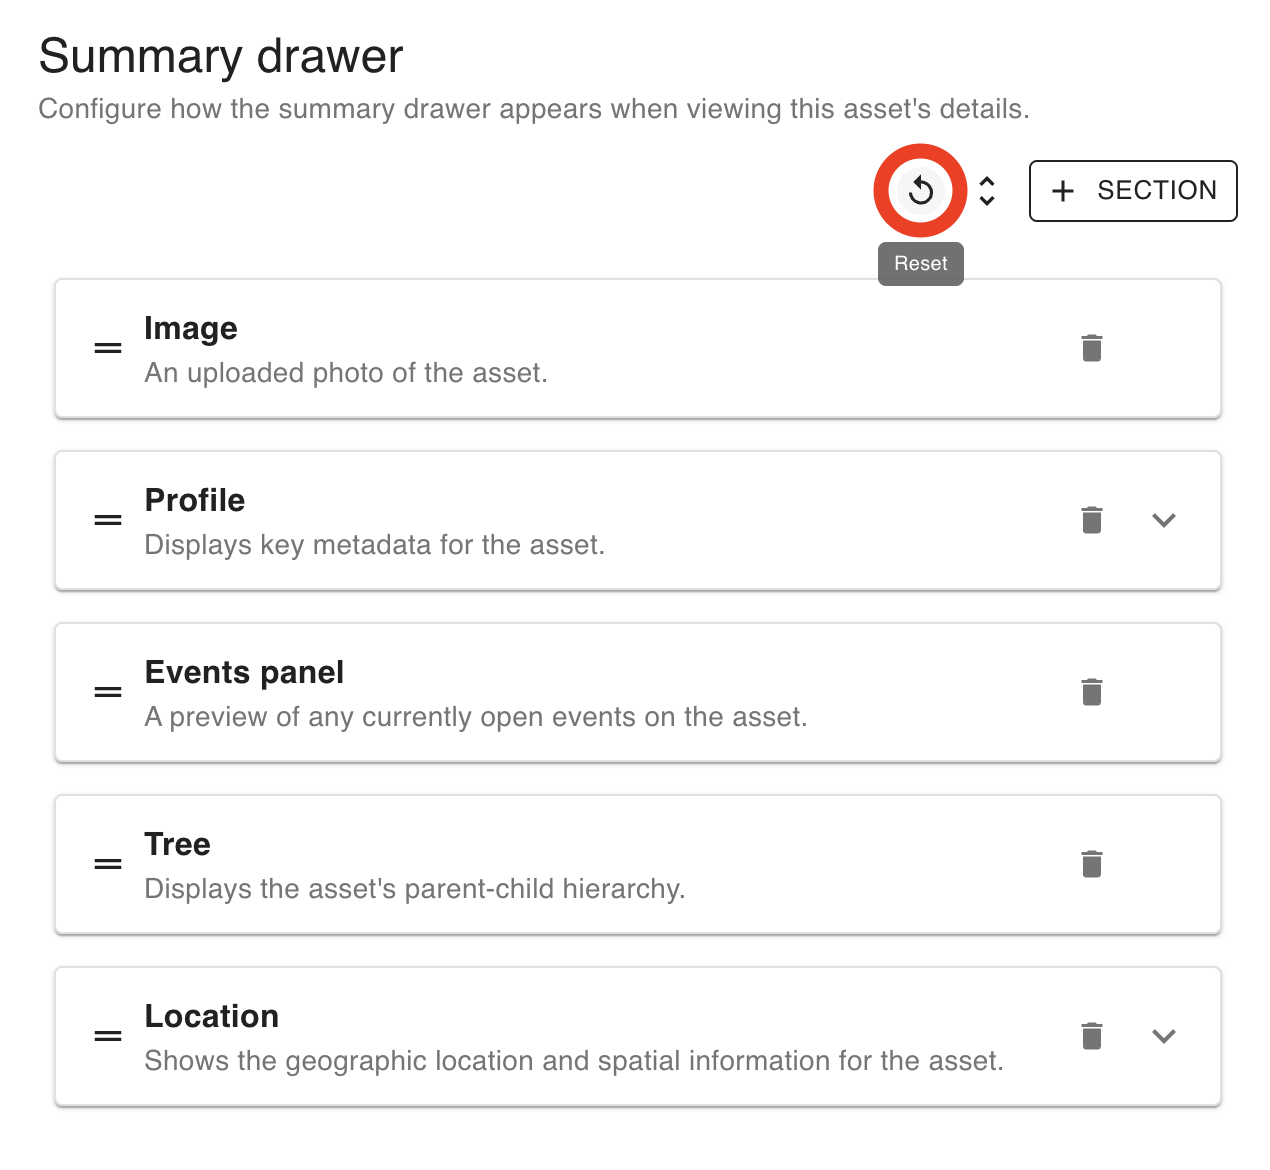
Restoring default summary drawer settings
To restore default settings for the asset summary drawer, click the Reset ( ![]()