
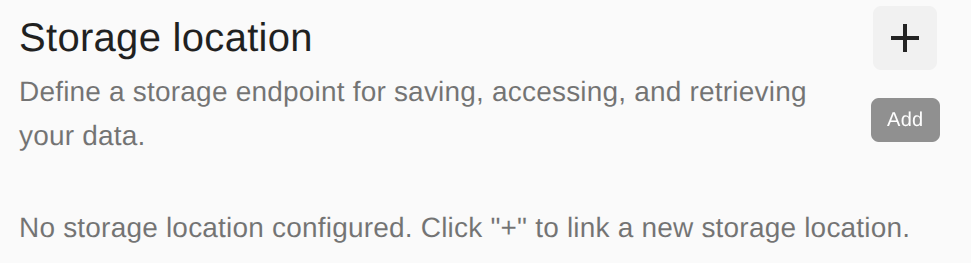
Storage location
Storage locations are used to store files generated or consumed by IA (e.g. RTSP camera feeds).
Creating a new storage location
-
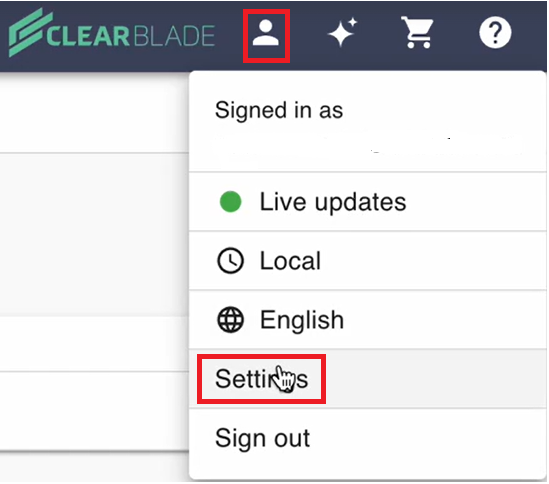
Click the User icon and Settings on the top-right of the page.
-
Select Storage location under System.
-
Click + to create a new storage location.
-
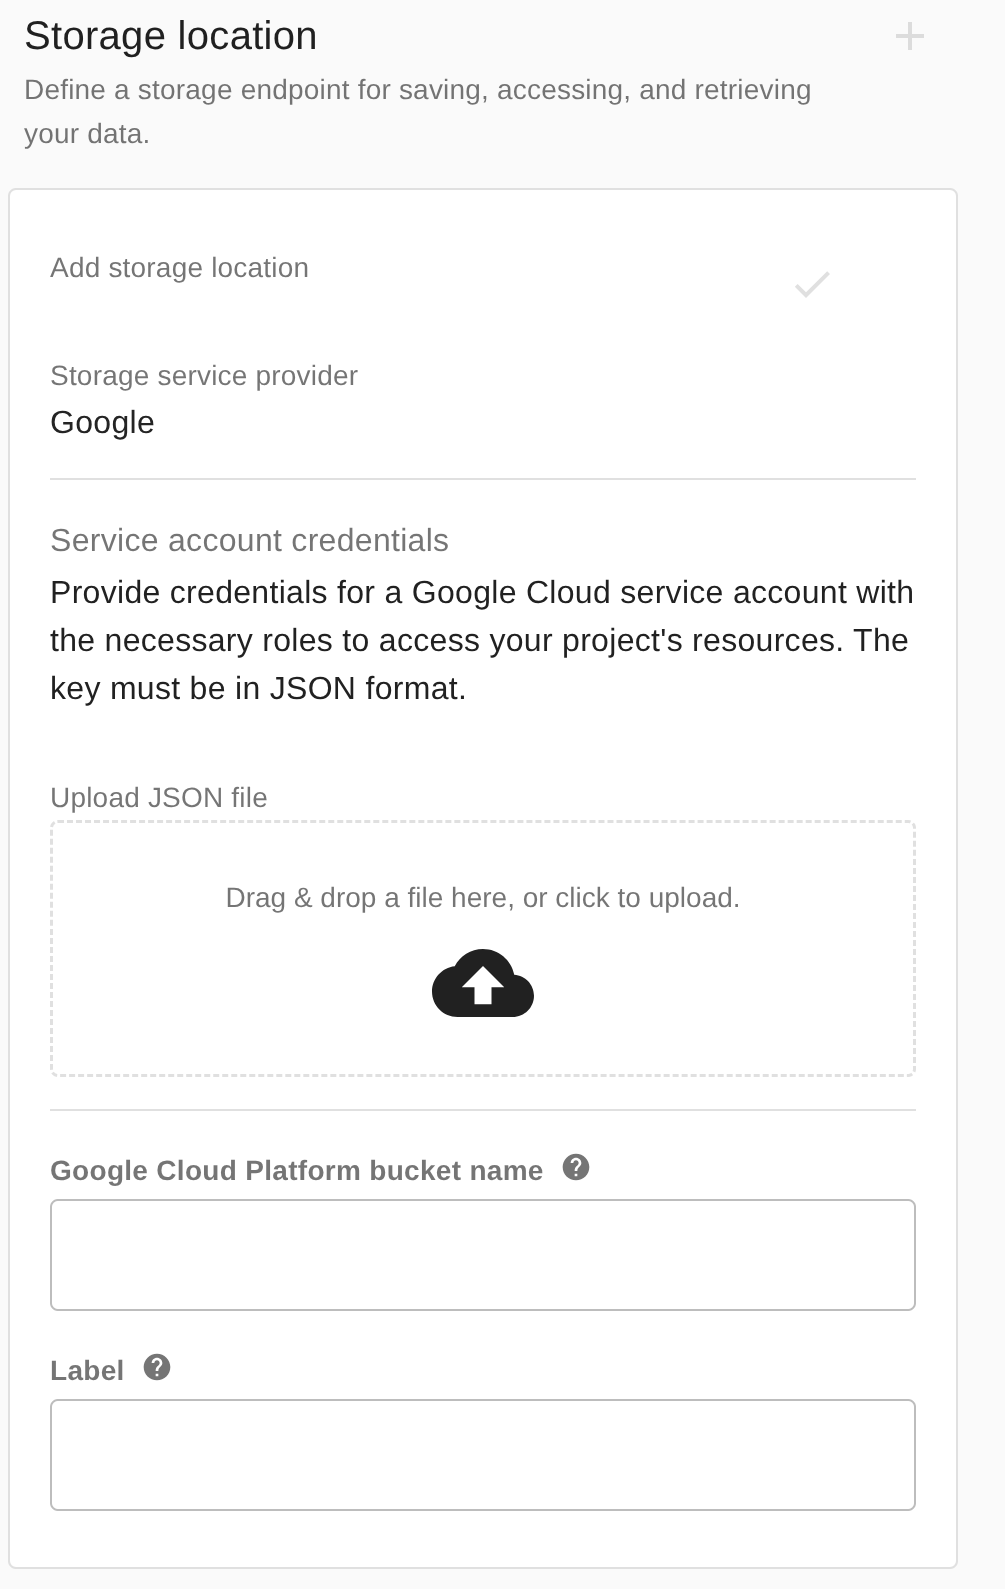
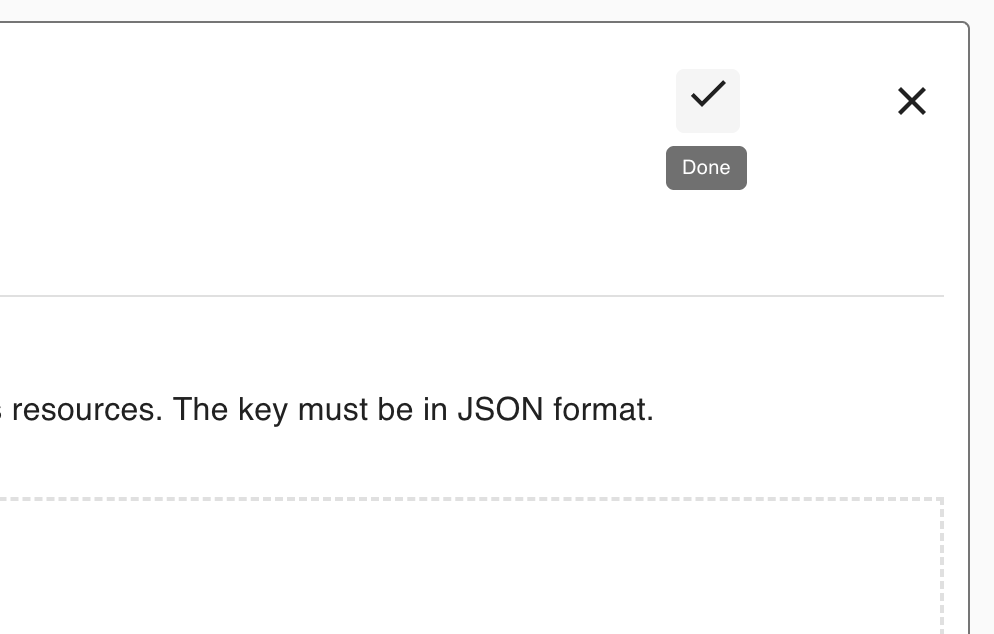
Upload the JSON file with the key for a Google Cloud service account with the necessary roles to access your project's resources. If you need to generate this file in GCP, continue onto the next steps. Otherwise, skip to step #7.
-
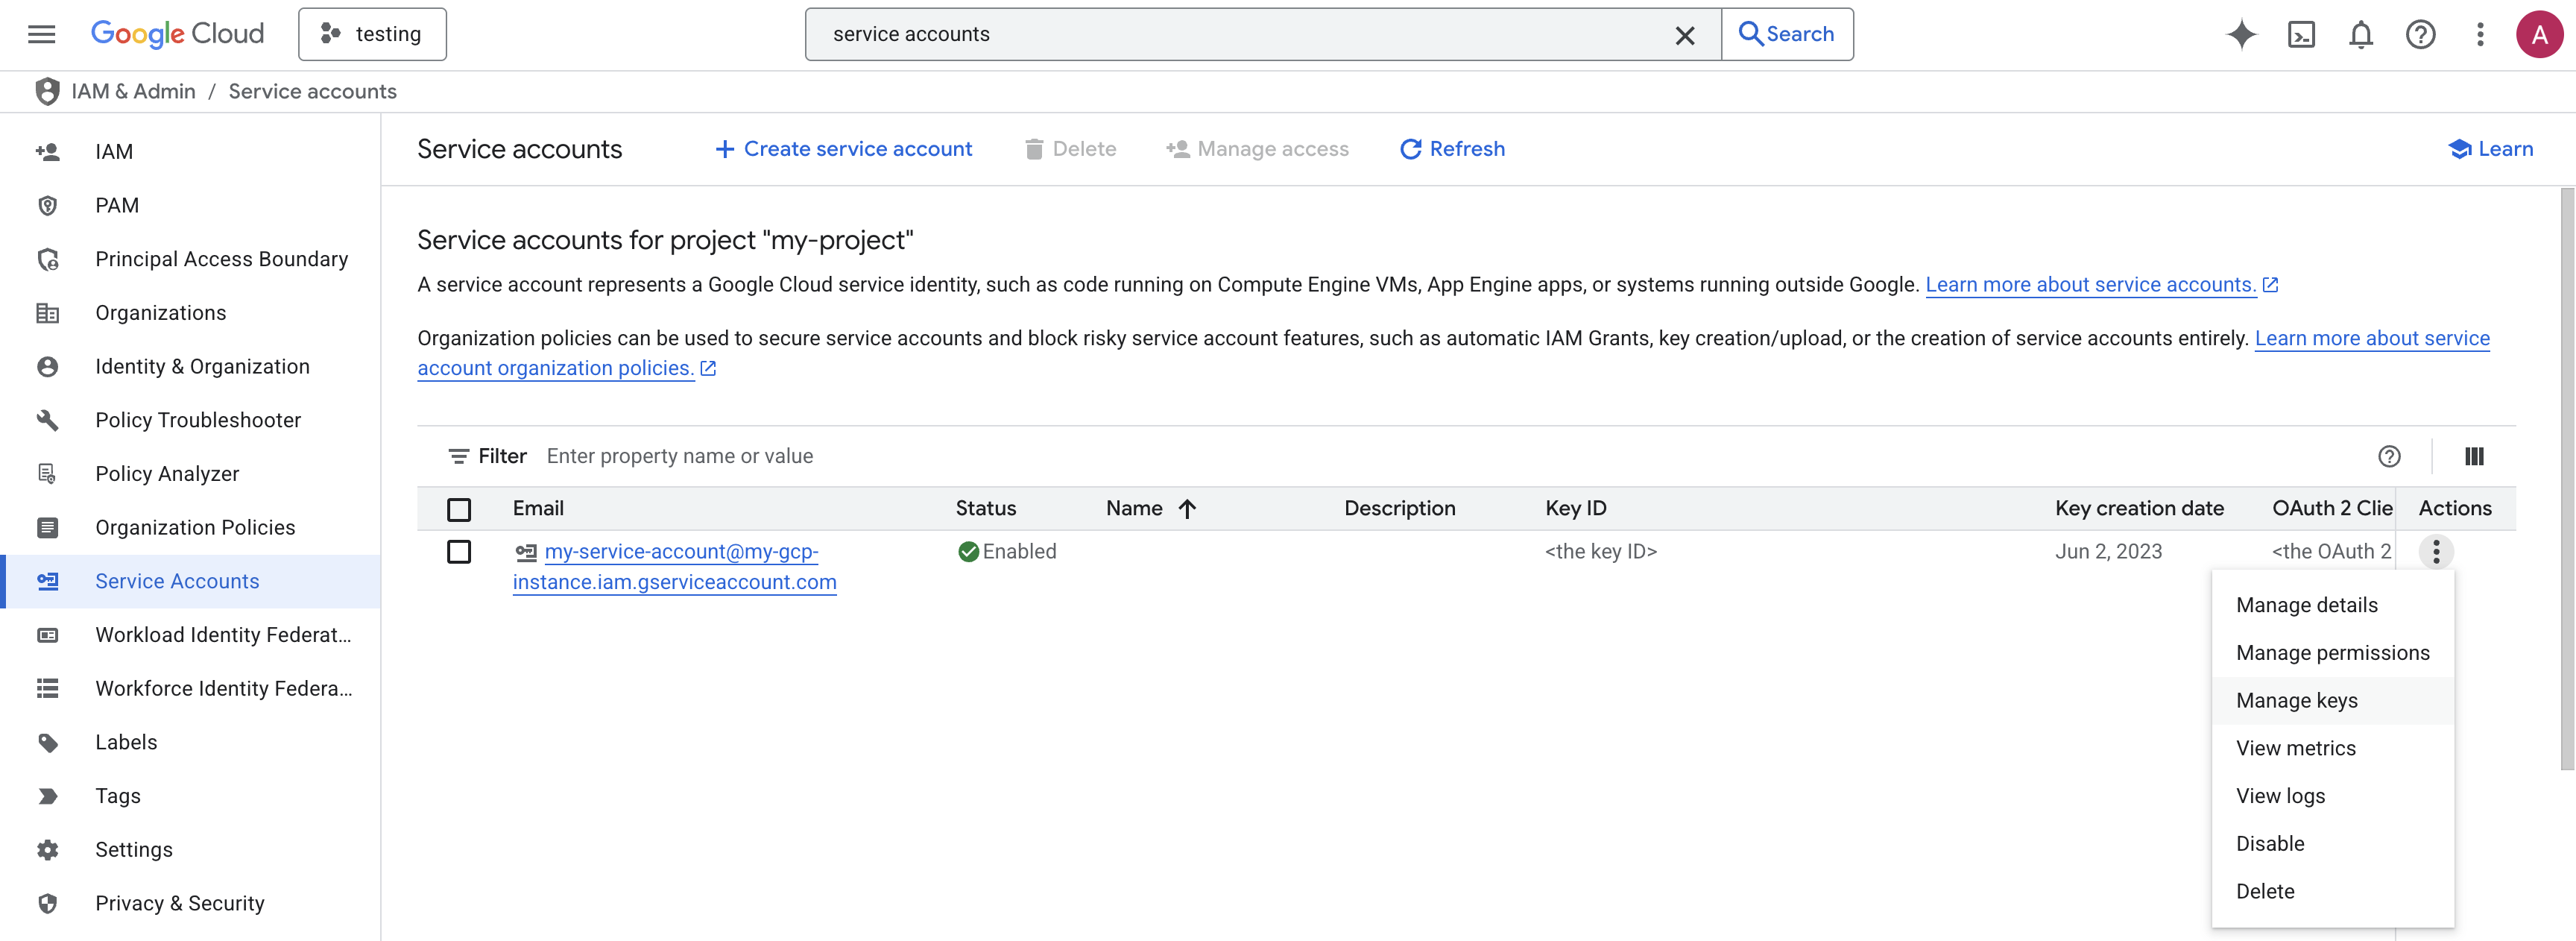
To generate the Service Account JSON, navigate to the Service Accounts menu in Google Cloud Platform, find a service account with read/write access to GCP Buckets, and select the ellipsis (three dots) to the right of its name. Then, select Manage keys:
-
Click Add key > Create new key > select JSON > click Create. This will download a JSON file to your computer named after the service account and key ID.

-
In the Intelligent Assets settings menu, upload the access key under Upload JSON file. If the upload is successful, it will show a preview of the filename:

-
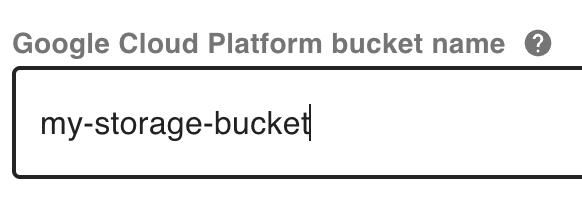
Next, enter the name of the Google Cloud Platform Bucket where you wish to store your data, exactly as it appears in GCP.
-
(Optional) Provide a label for this bucket, for how it will be referred to elsewhere in Intelligent Assets. By default, the label will be the same as the GCP Bucket name.
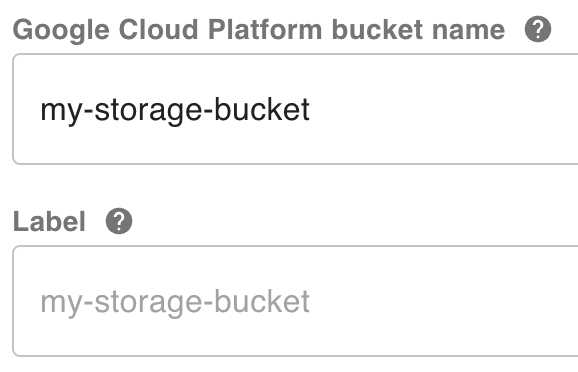
Without entering a custom label, Intelligent Assets will default to the GCP bucket name.

Otherwise, Intelligent Assets will use the label to refer to this storage location.
-
You are now ready to save the storage location. Click the Done (✓) button in the top-right hand section of the Storage location settings to save your changes.
-
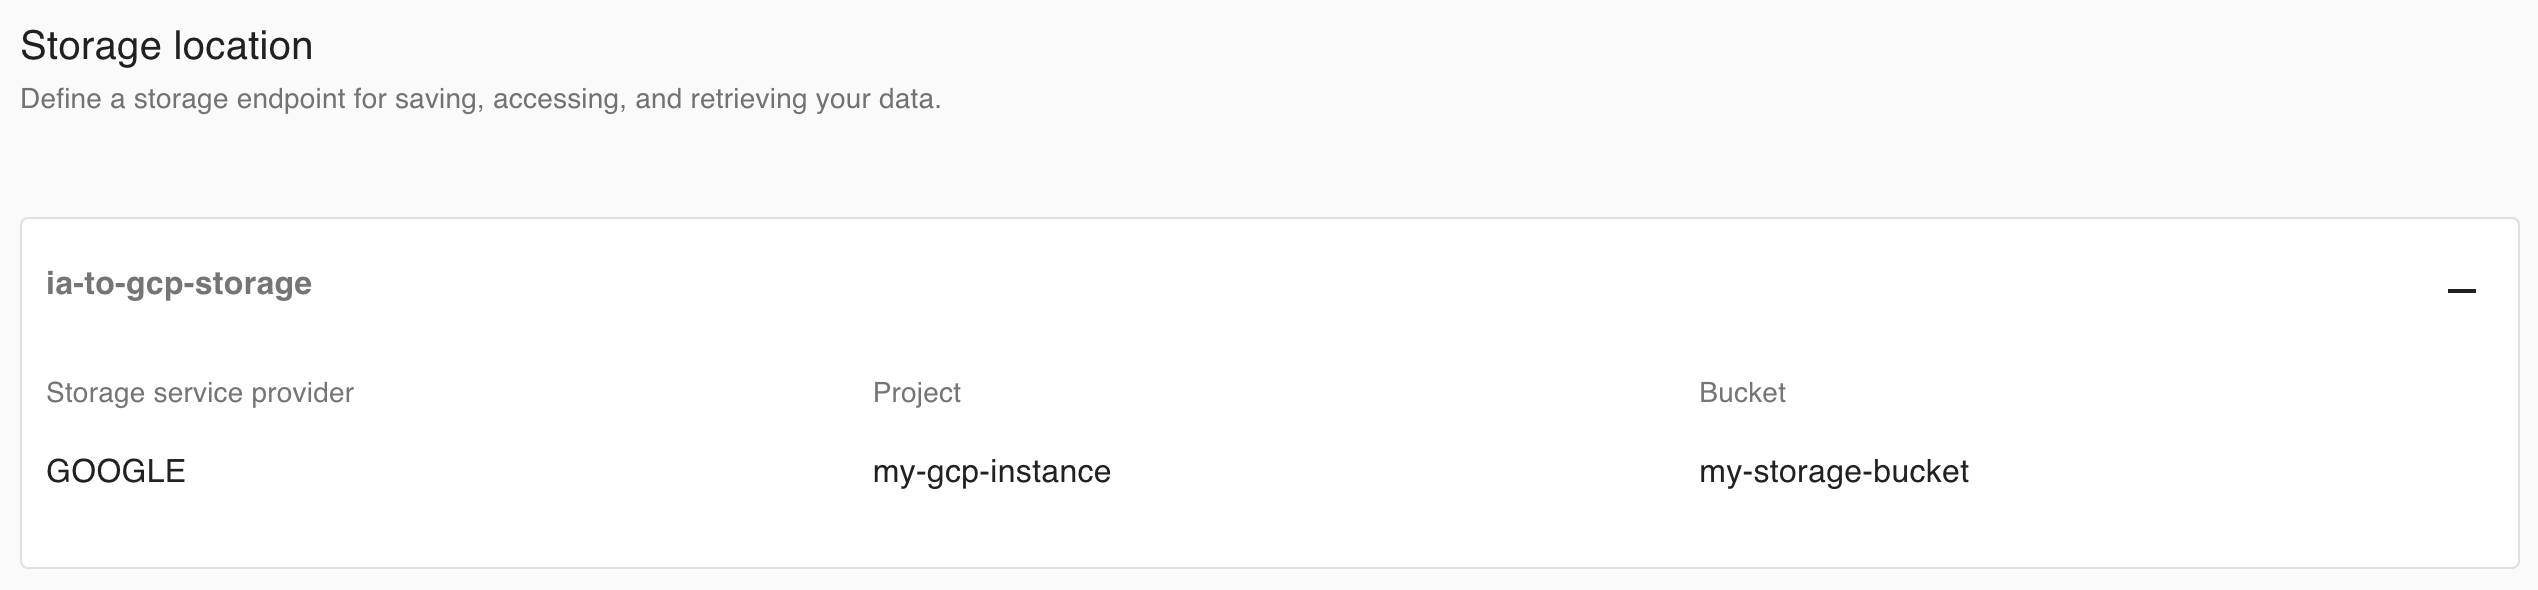
The newly-instantiated storage location will now be shown.
Deleting a storage location
-
Click the User icon and Settings on the top-right of the page.
-
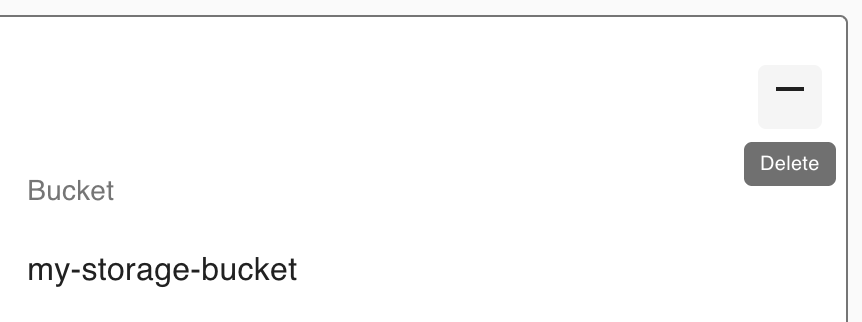
Scroll down to Storage location. Your currently-configured storage location will display.
-
From here, you can click the Delete (-) button in the top-right of the section to delete the current storage location.
-
Upon deletion, the Storage location settings menu will revert back to how it looked before you configured the storage location.