
-
Click the User button at the top-right of the page:

In the User menu select Settings:

This will give you access to several Settings pages.
-
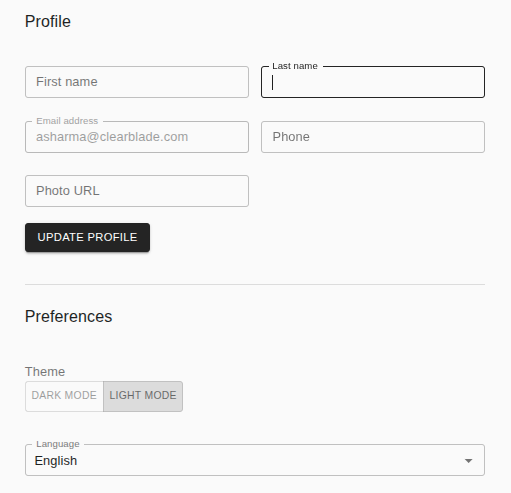
Use the Profile page to update your profile and your preferences:
-
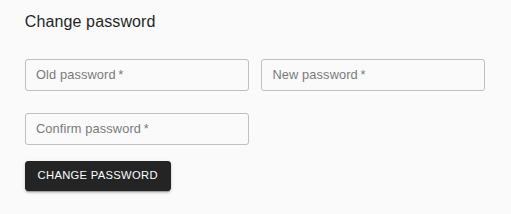
Use the Security page to change your password:
-
There are several System pages. Learn about those below and from here:
-
Use the General page to customize themes, enable/disable tours, set your default timezone and enable auto logoff:
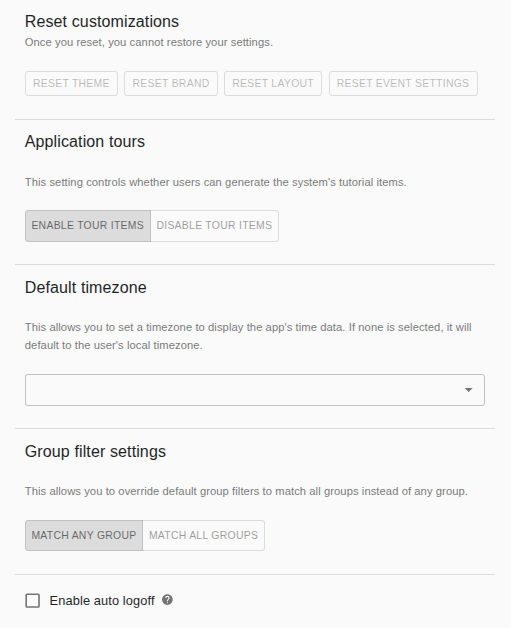
Find details on auto logoff here.
-
Use the Main menu page to edit the General menu and Admin menu that appear at the left of the browser tab:
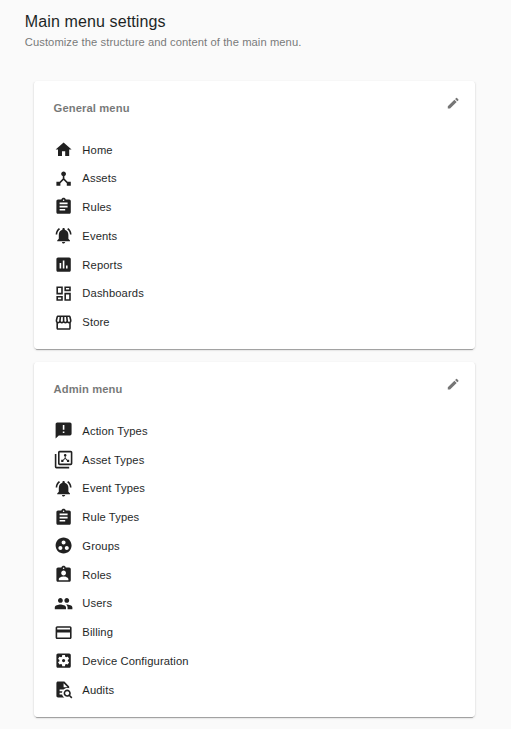
Find details on Main menu settings here.
-
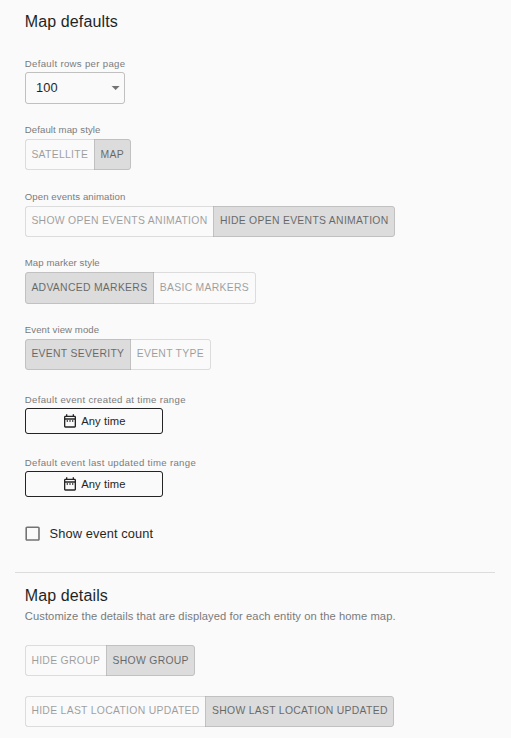
Use the Map page to customize the map appearance and details:
-
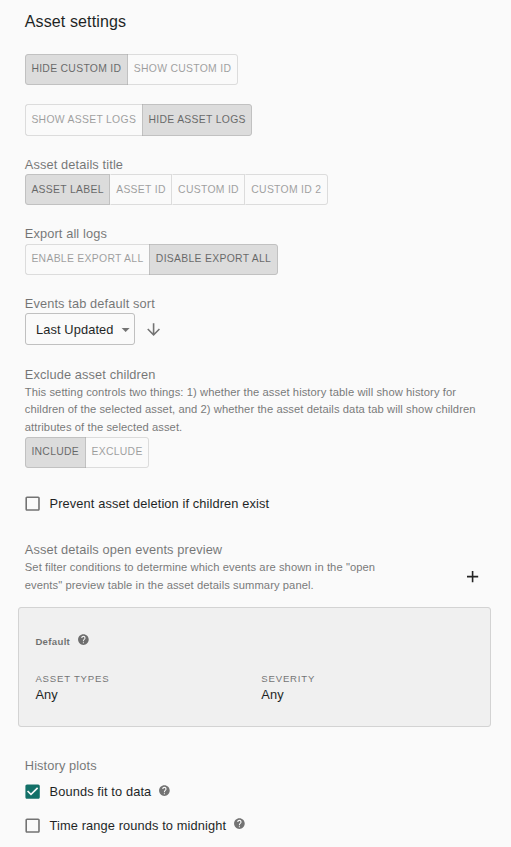
Use the Assets page to change various settings related to assets:
-
Use the Events page to edit event markers (colors & icons), edit existing event mappings and add new mappings among other things:
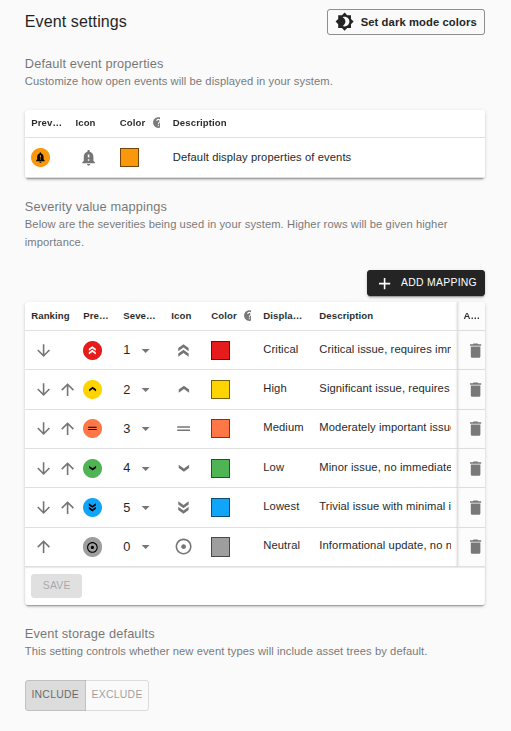
Find details on Admin event type map settings here. Find details on Admin event severity settings here.
-
Use the Storage location page to define a storage endpoint for saving, accessing and retrieving your data:
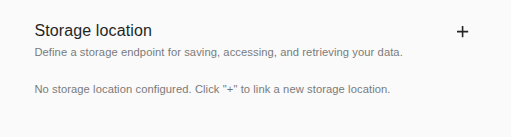
Click the + button (top-right) to configure the storage location:
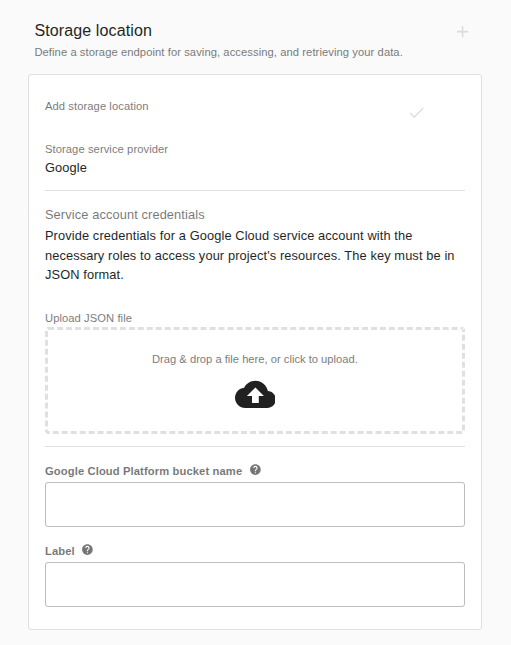
Google Cloud Storage buckets are currently supported.
-
Use the Components page to list components (additional features that enhance the core functionality of Intelligent Assets) that have been installed:
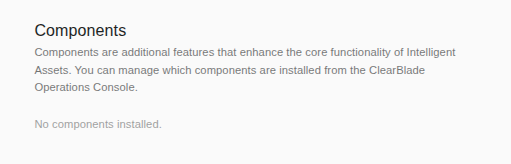
The components can be installed using the ClearBlade Operations Console which is external to Intelligent Assets.
-
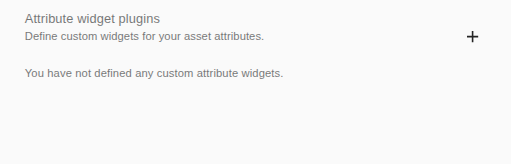
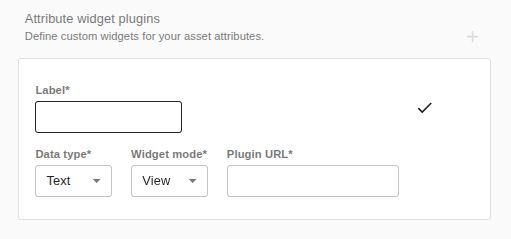
Use the Plugins page to define custom widgets for your asset attributes:
For example you may want to display a temperature attribute using a widget that looks like a thermometer rather than the gauge widget provided with Intelligent Assets. The thermometer would be a custom widget.
Click the + button (top-right) to define this custom widget:
-
Use the OIDC page to configure OIDC providers that users can login with (NOTE this section may be in an Authentication page depending on your IA version):
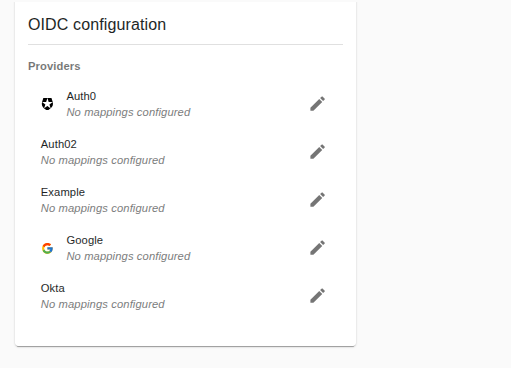
For example, the displayed configuration would allow users to Sign in with Google. Find more details here.
-