
Components allow you to plugin custom functionality and displays within IoTCore.
Where to manage components:
-
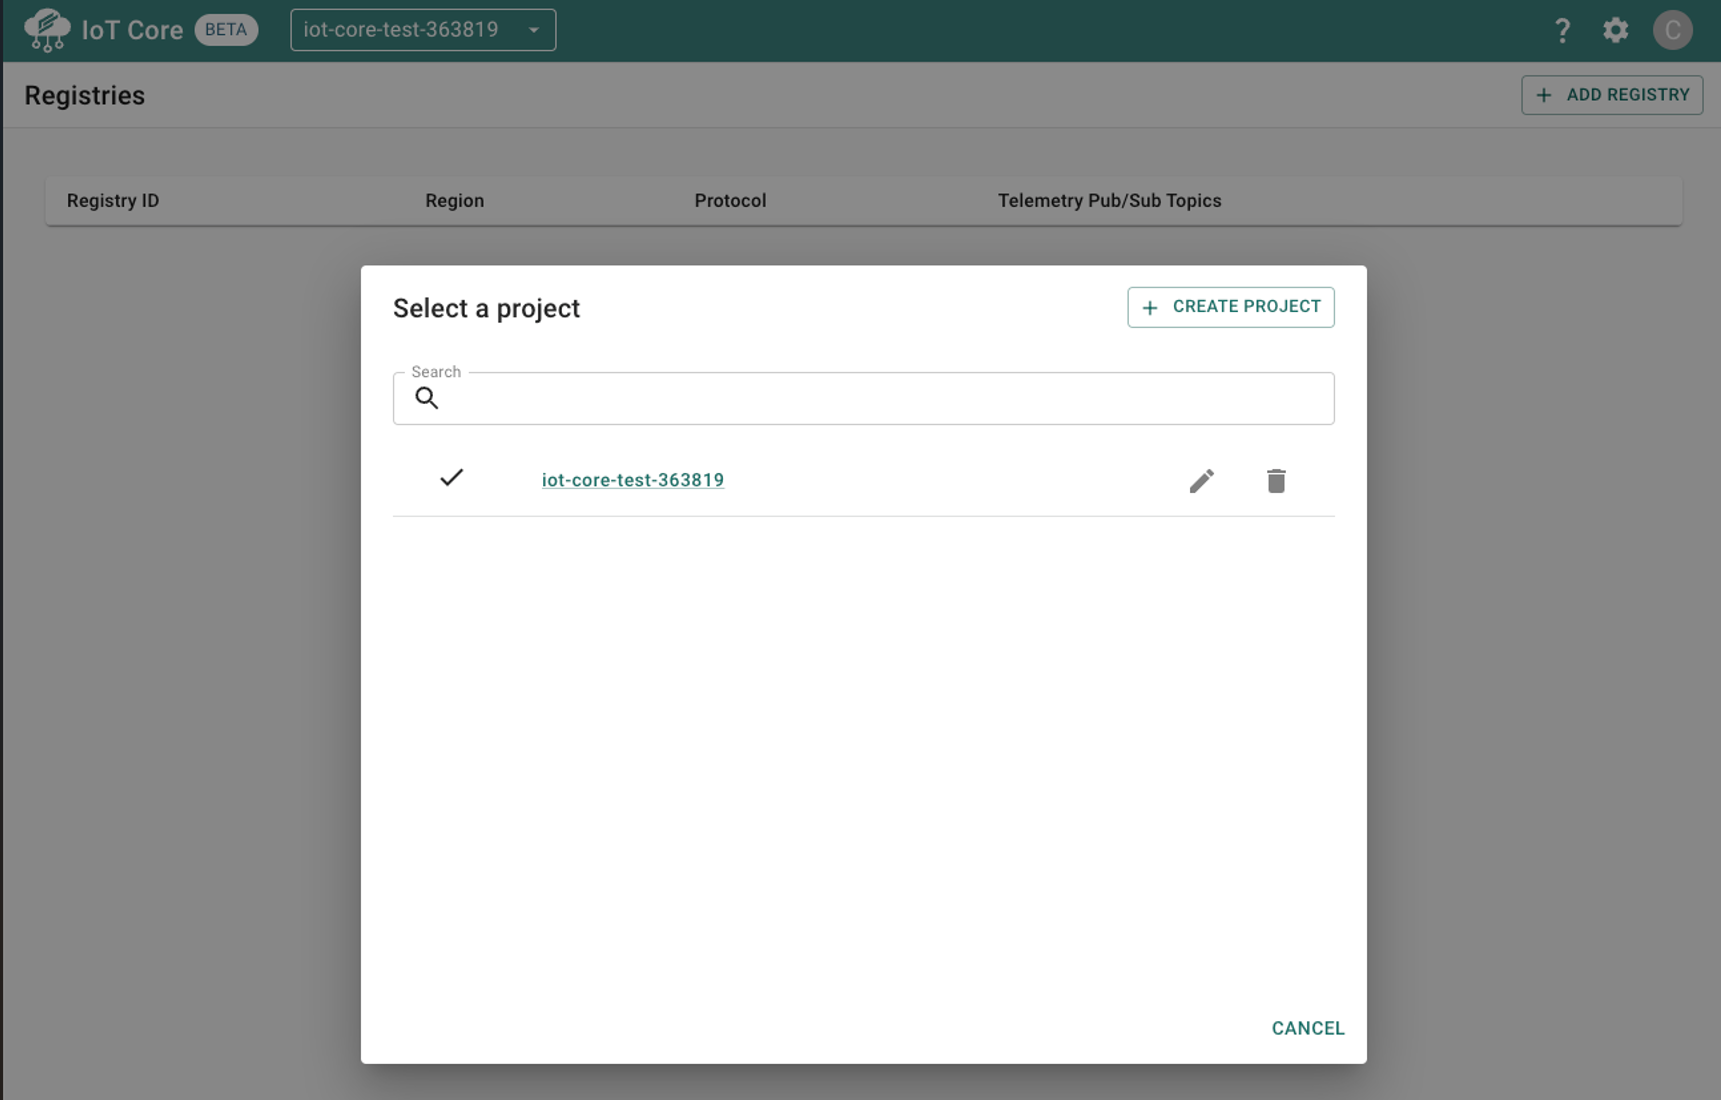
Open the project selector window (drop-down at the top of the page).
-
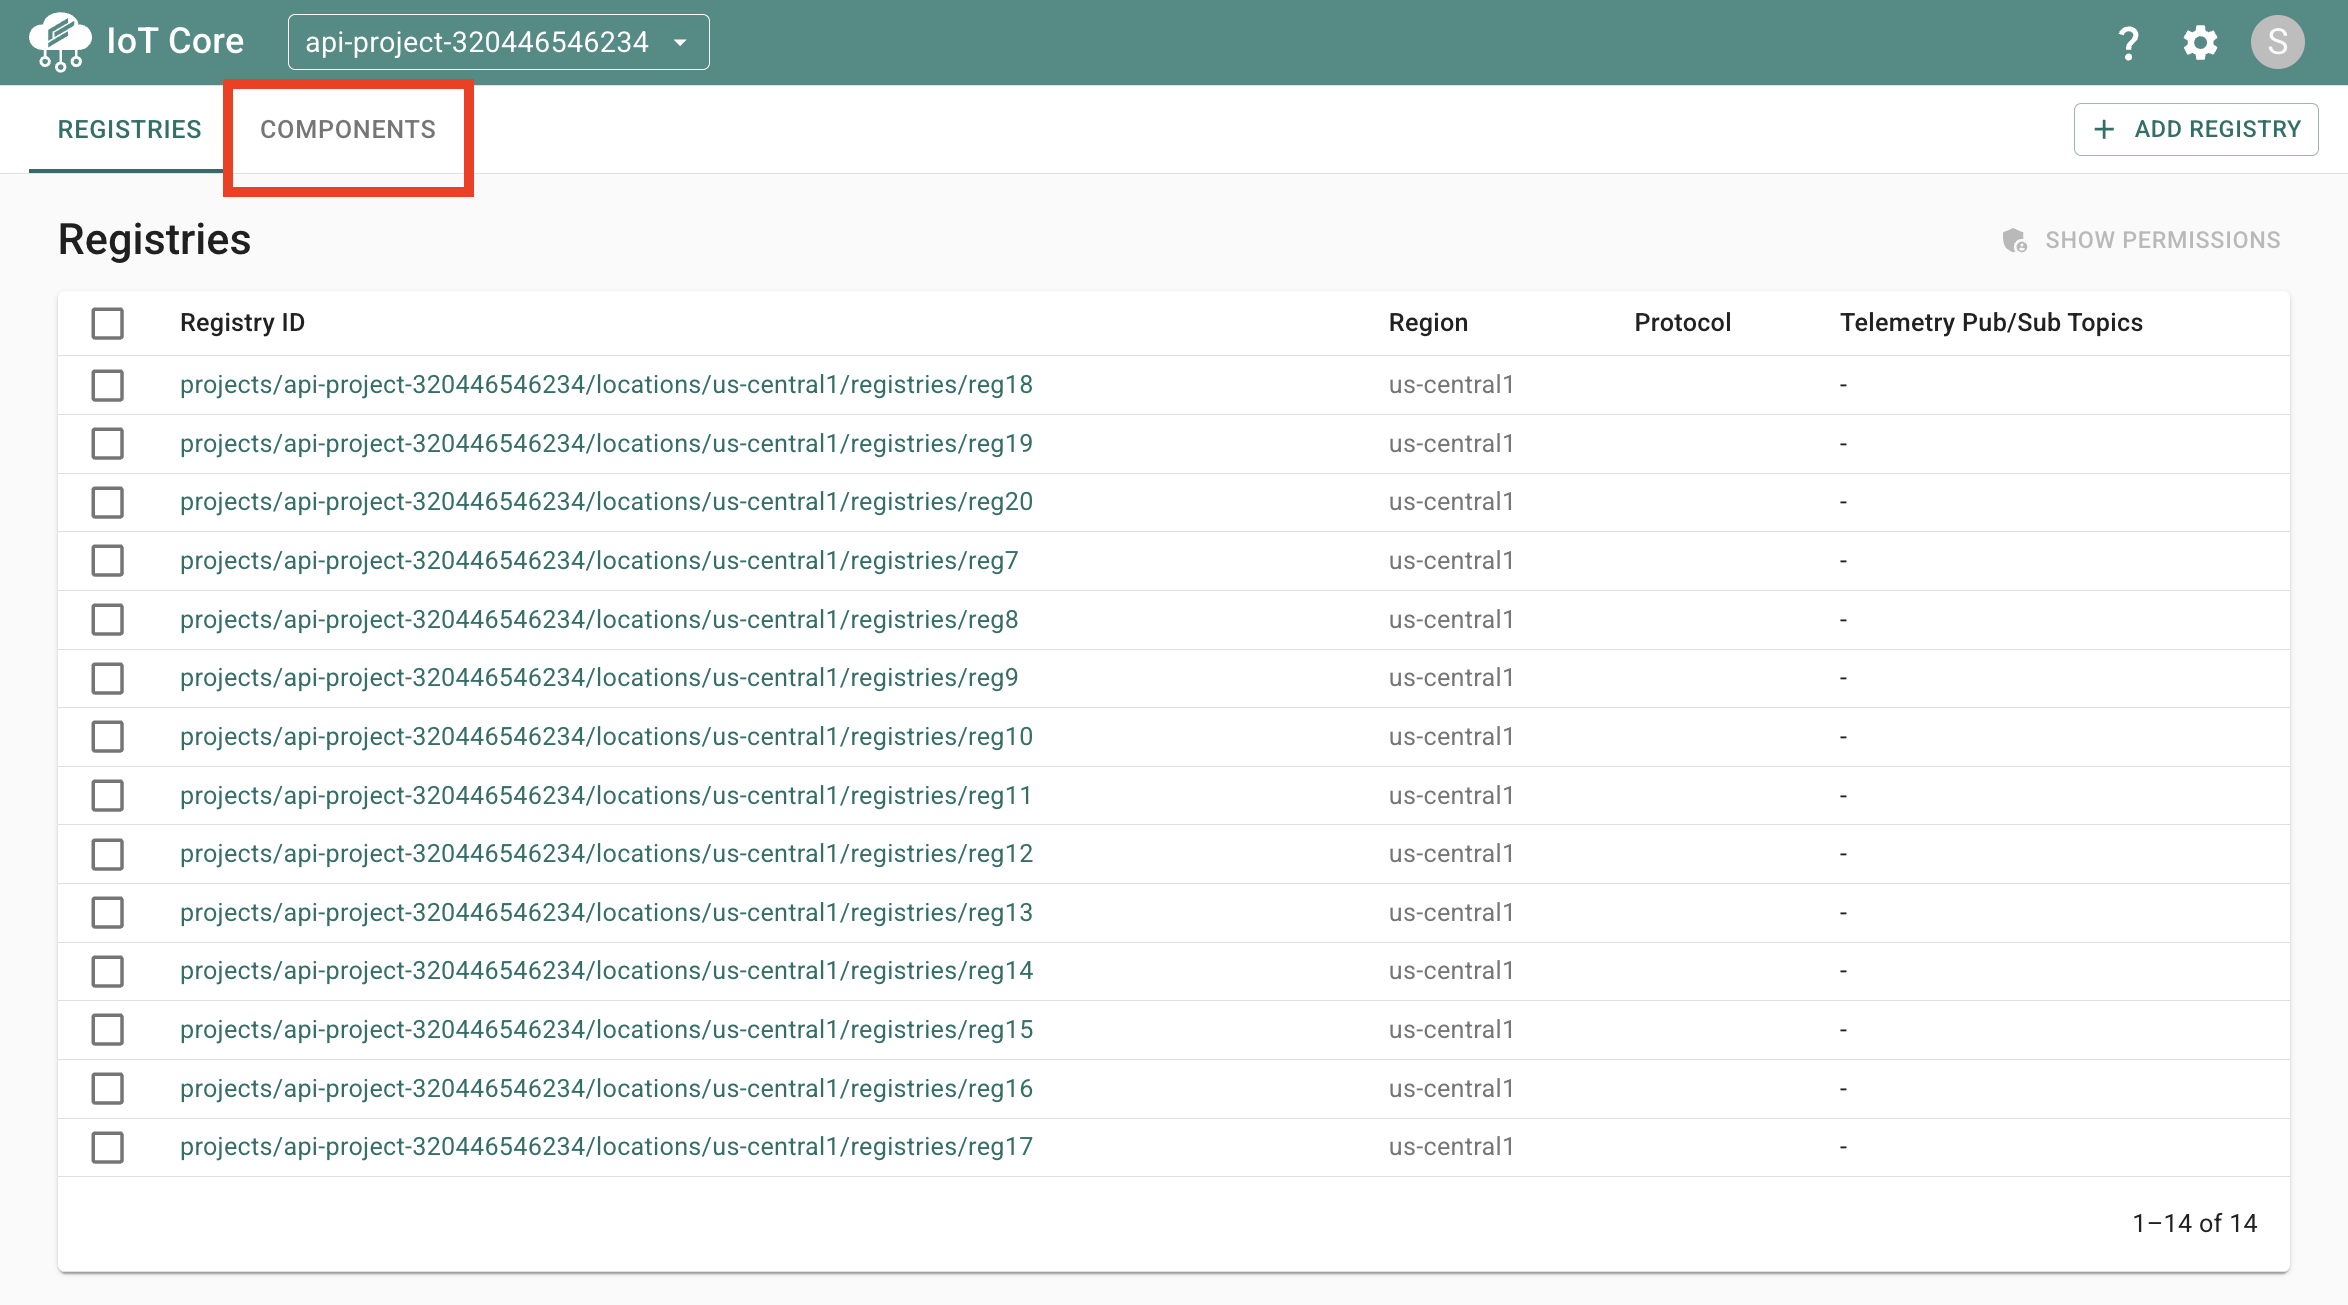
Click the name of your project to select it. Then select the “Components” tab.
-
All available components will appear on the left menu. Search and filter to find specific components.
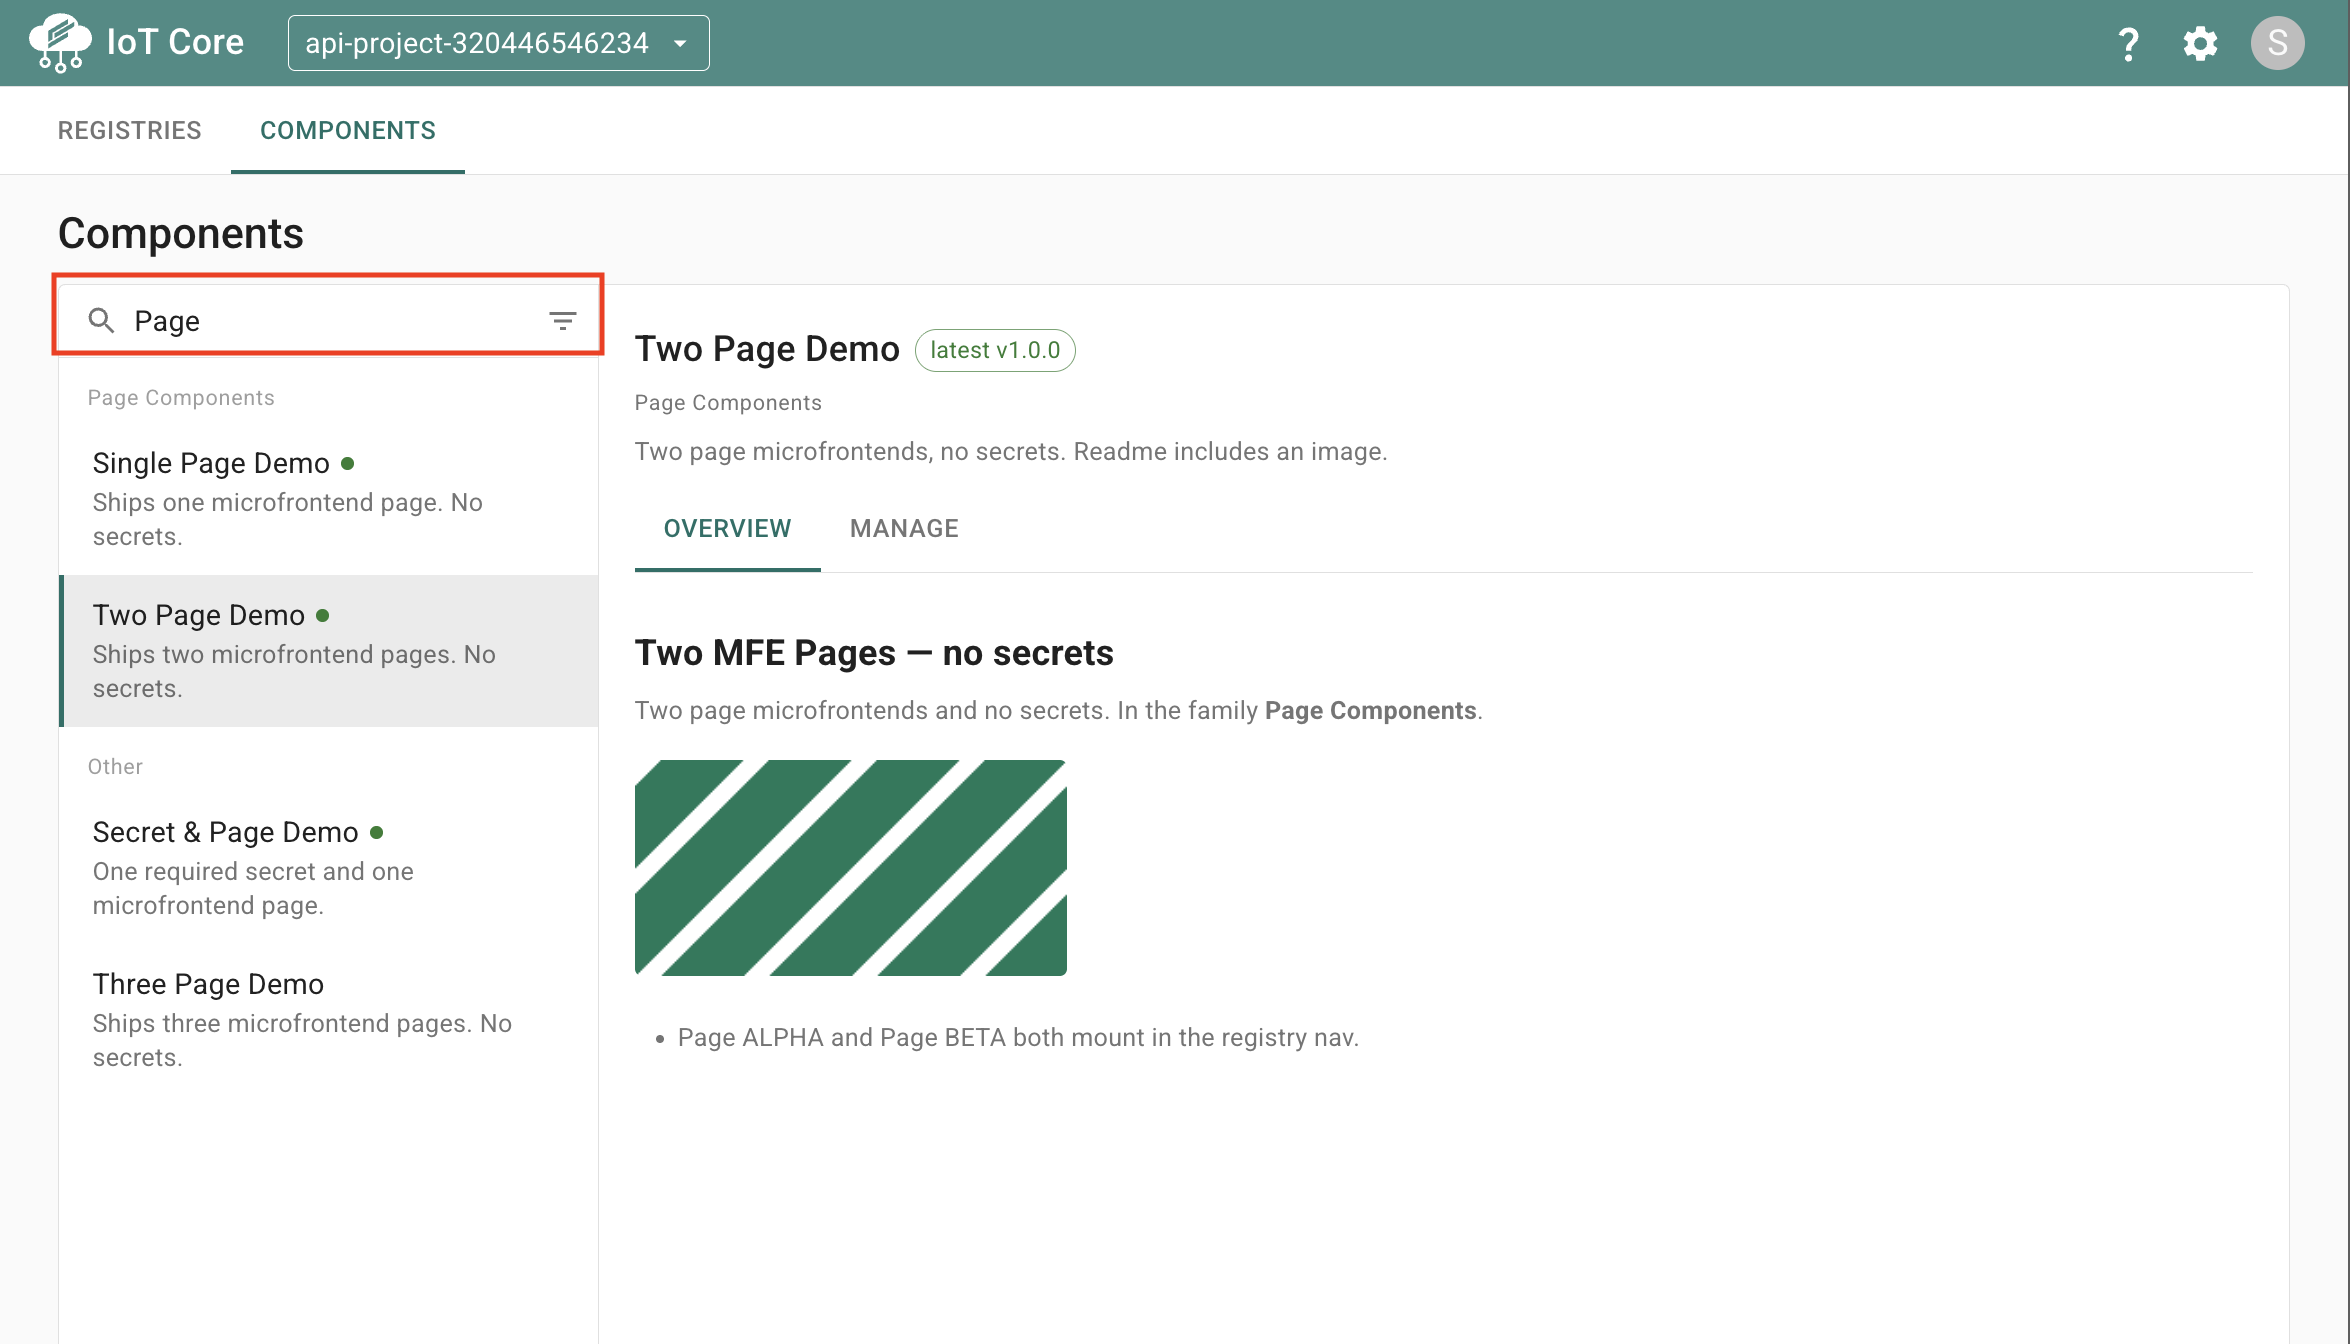
Components that have a green indicator next to their name have been installed in at least one registry within the project.
Managing a component:
-
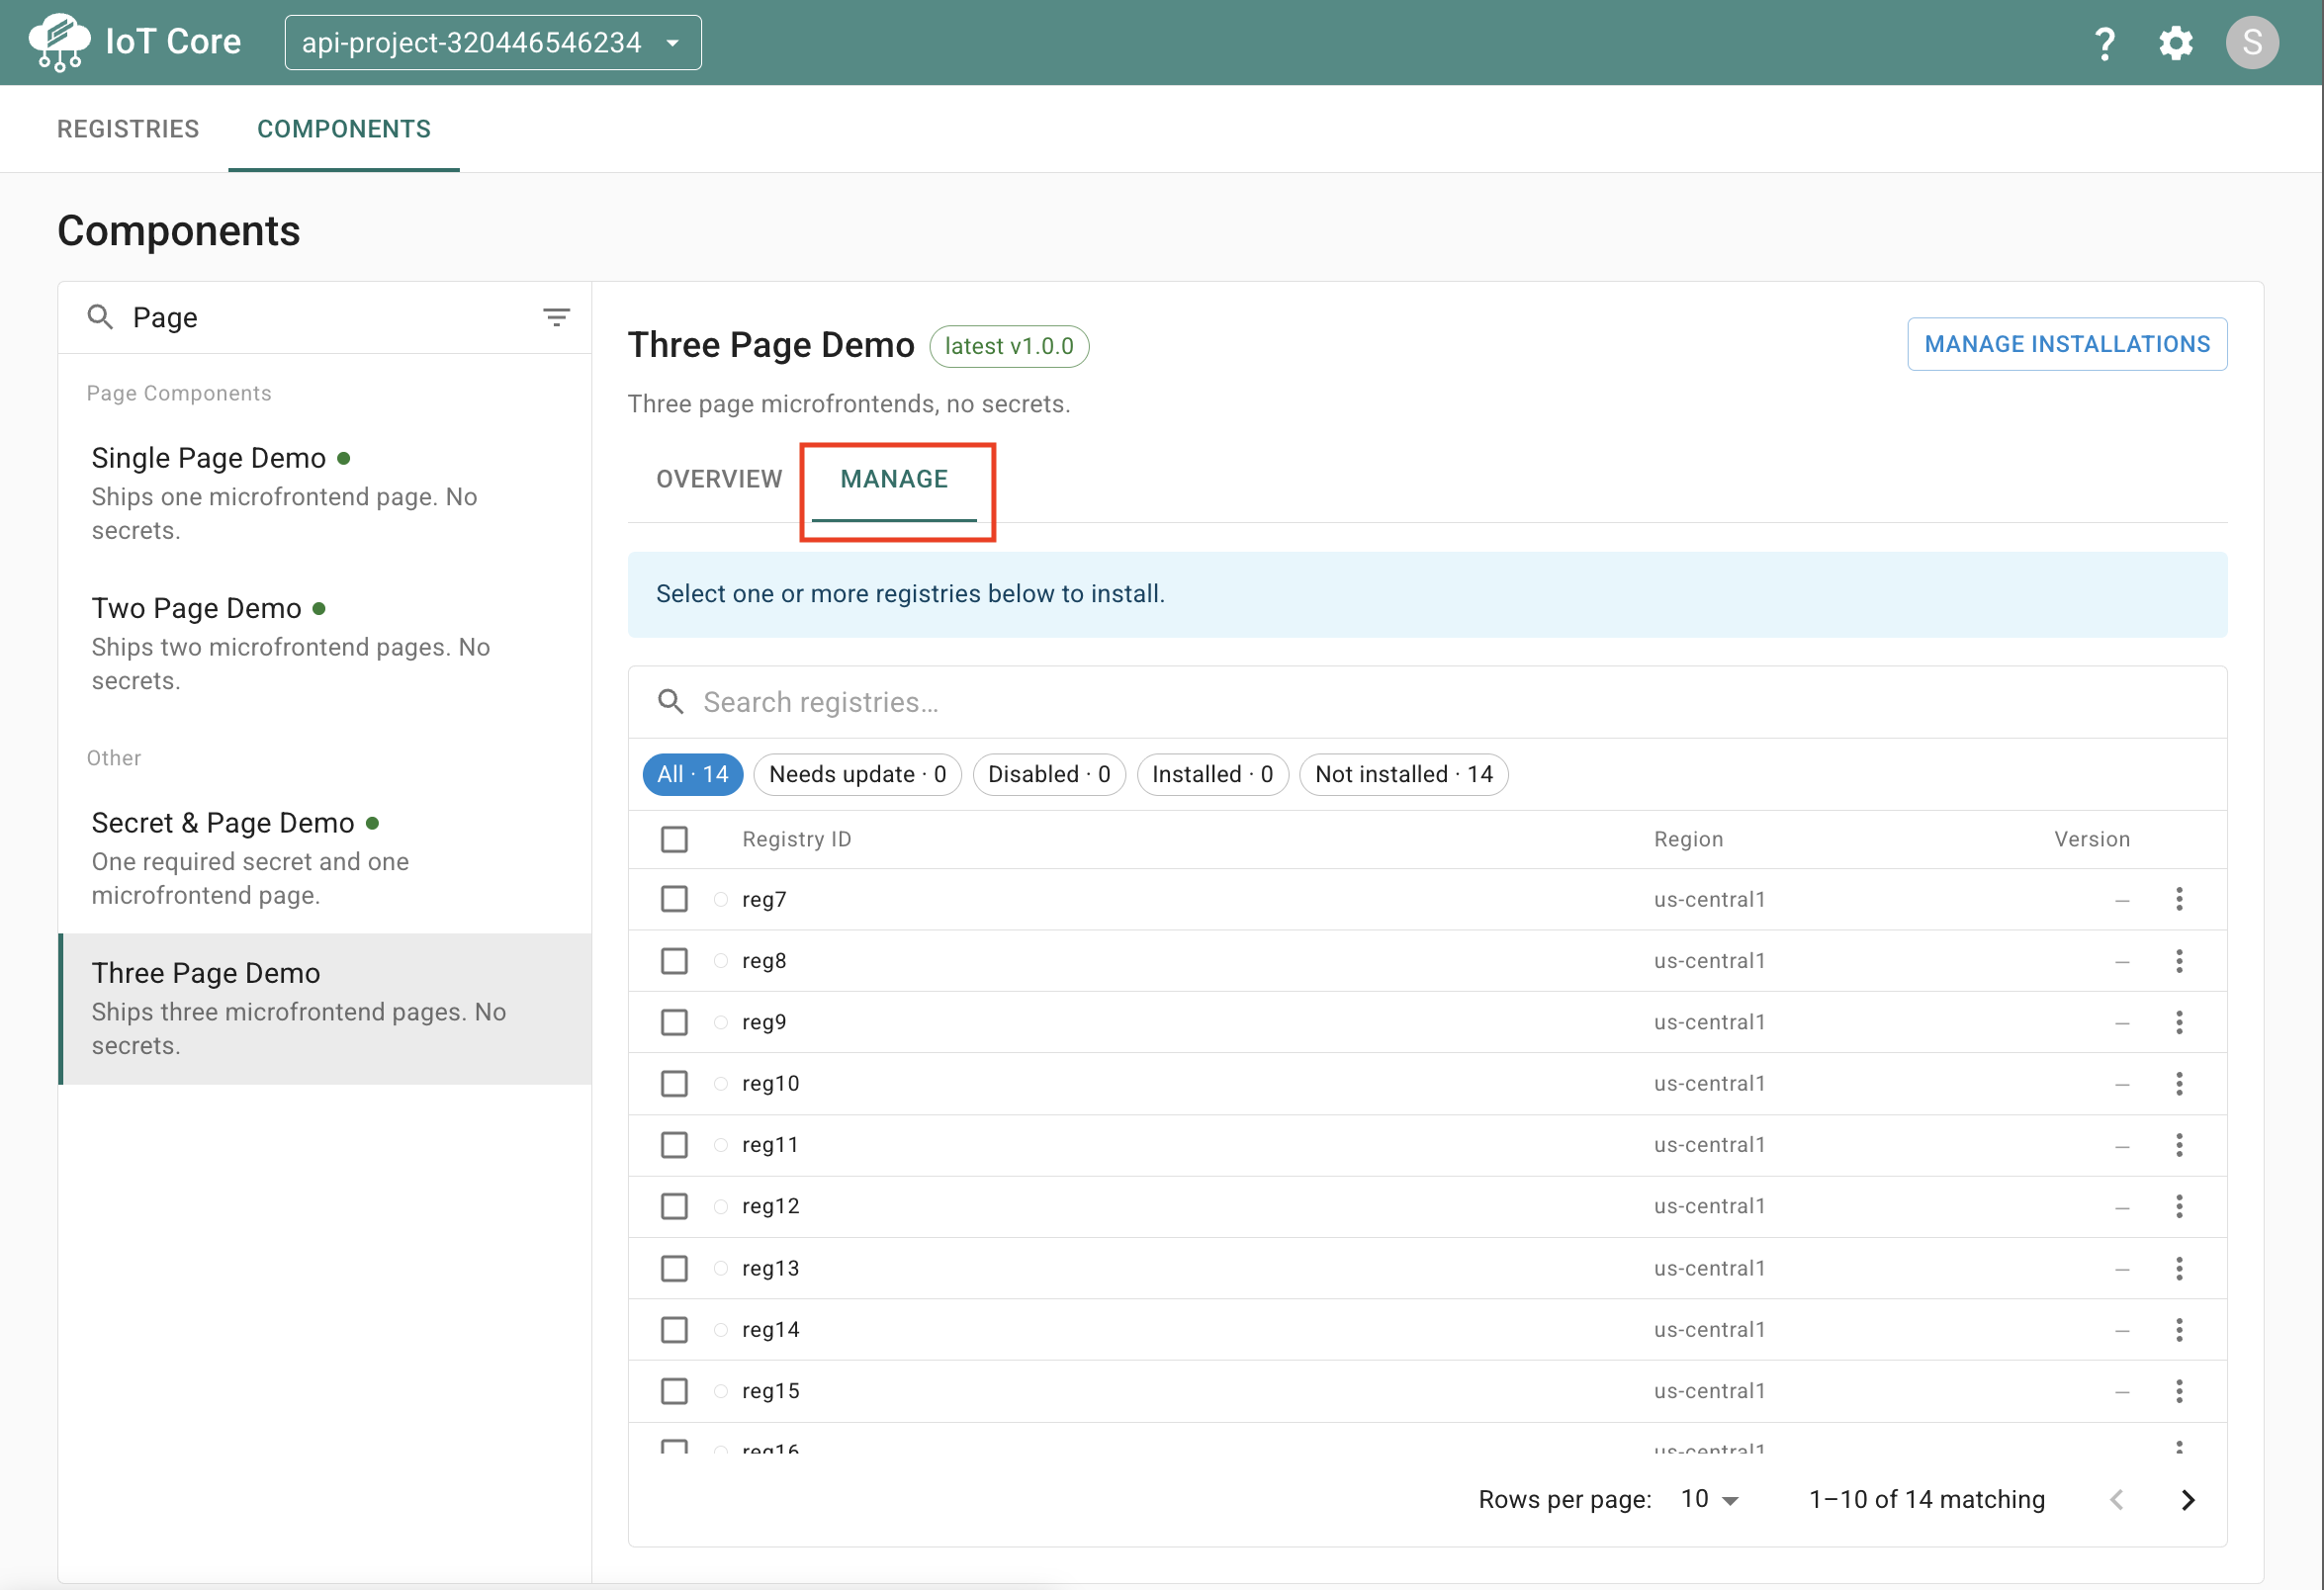
Select the “Manage” tab to install, uninstall, update, disable, enable, and change configuration for components.
-
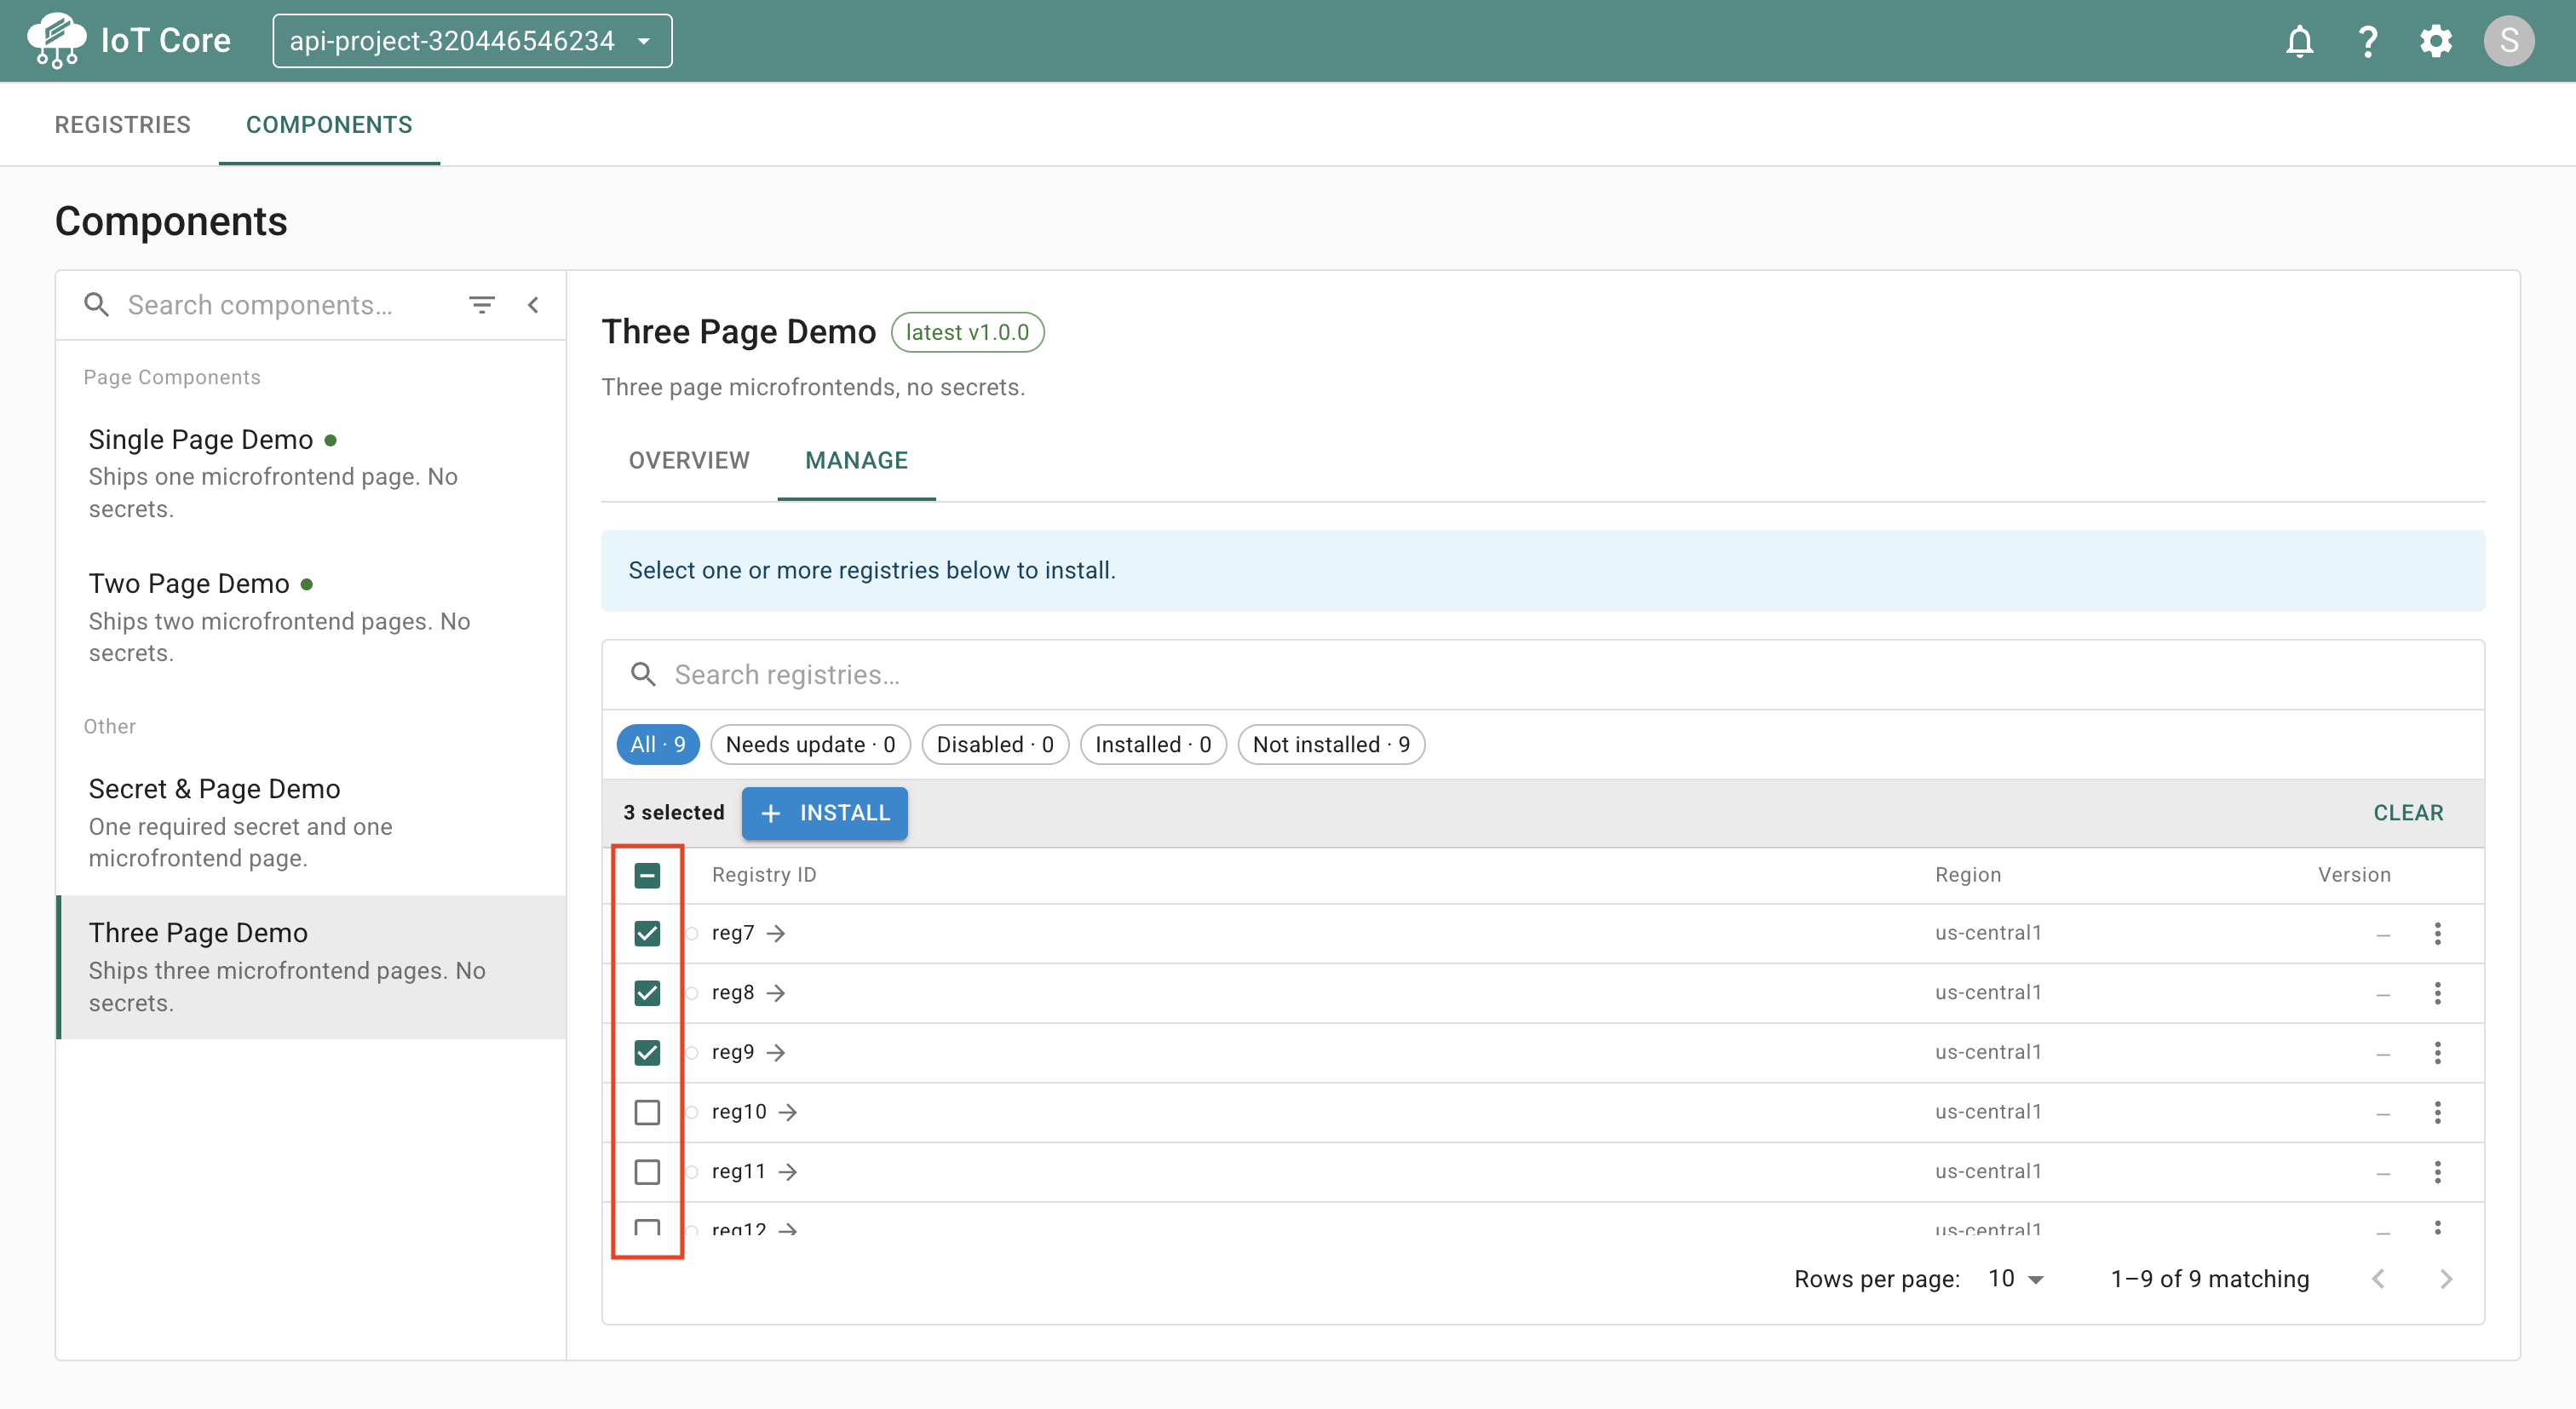
To take actions on multiple registries at once (e.g. install the component into multiple registries) check the boxes for the registries you wish to include. A toolbar will become available with possible actions, such as installing, uninstalling, updating, enabling, and disabling.
-
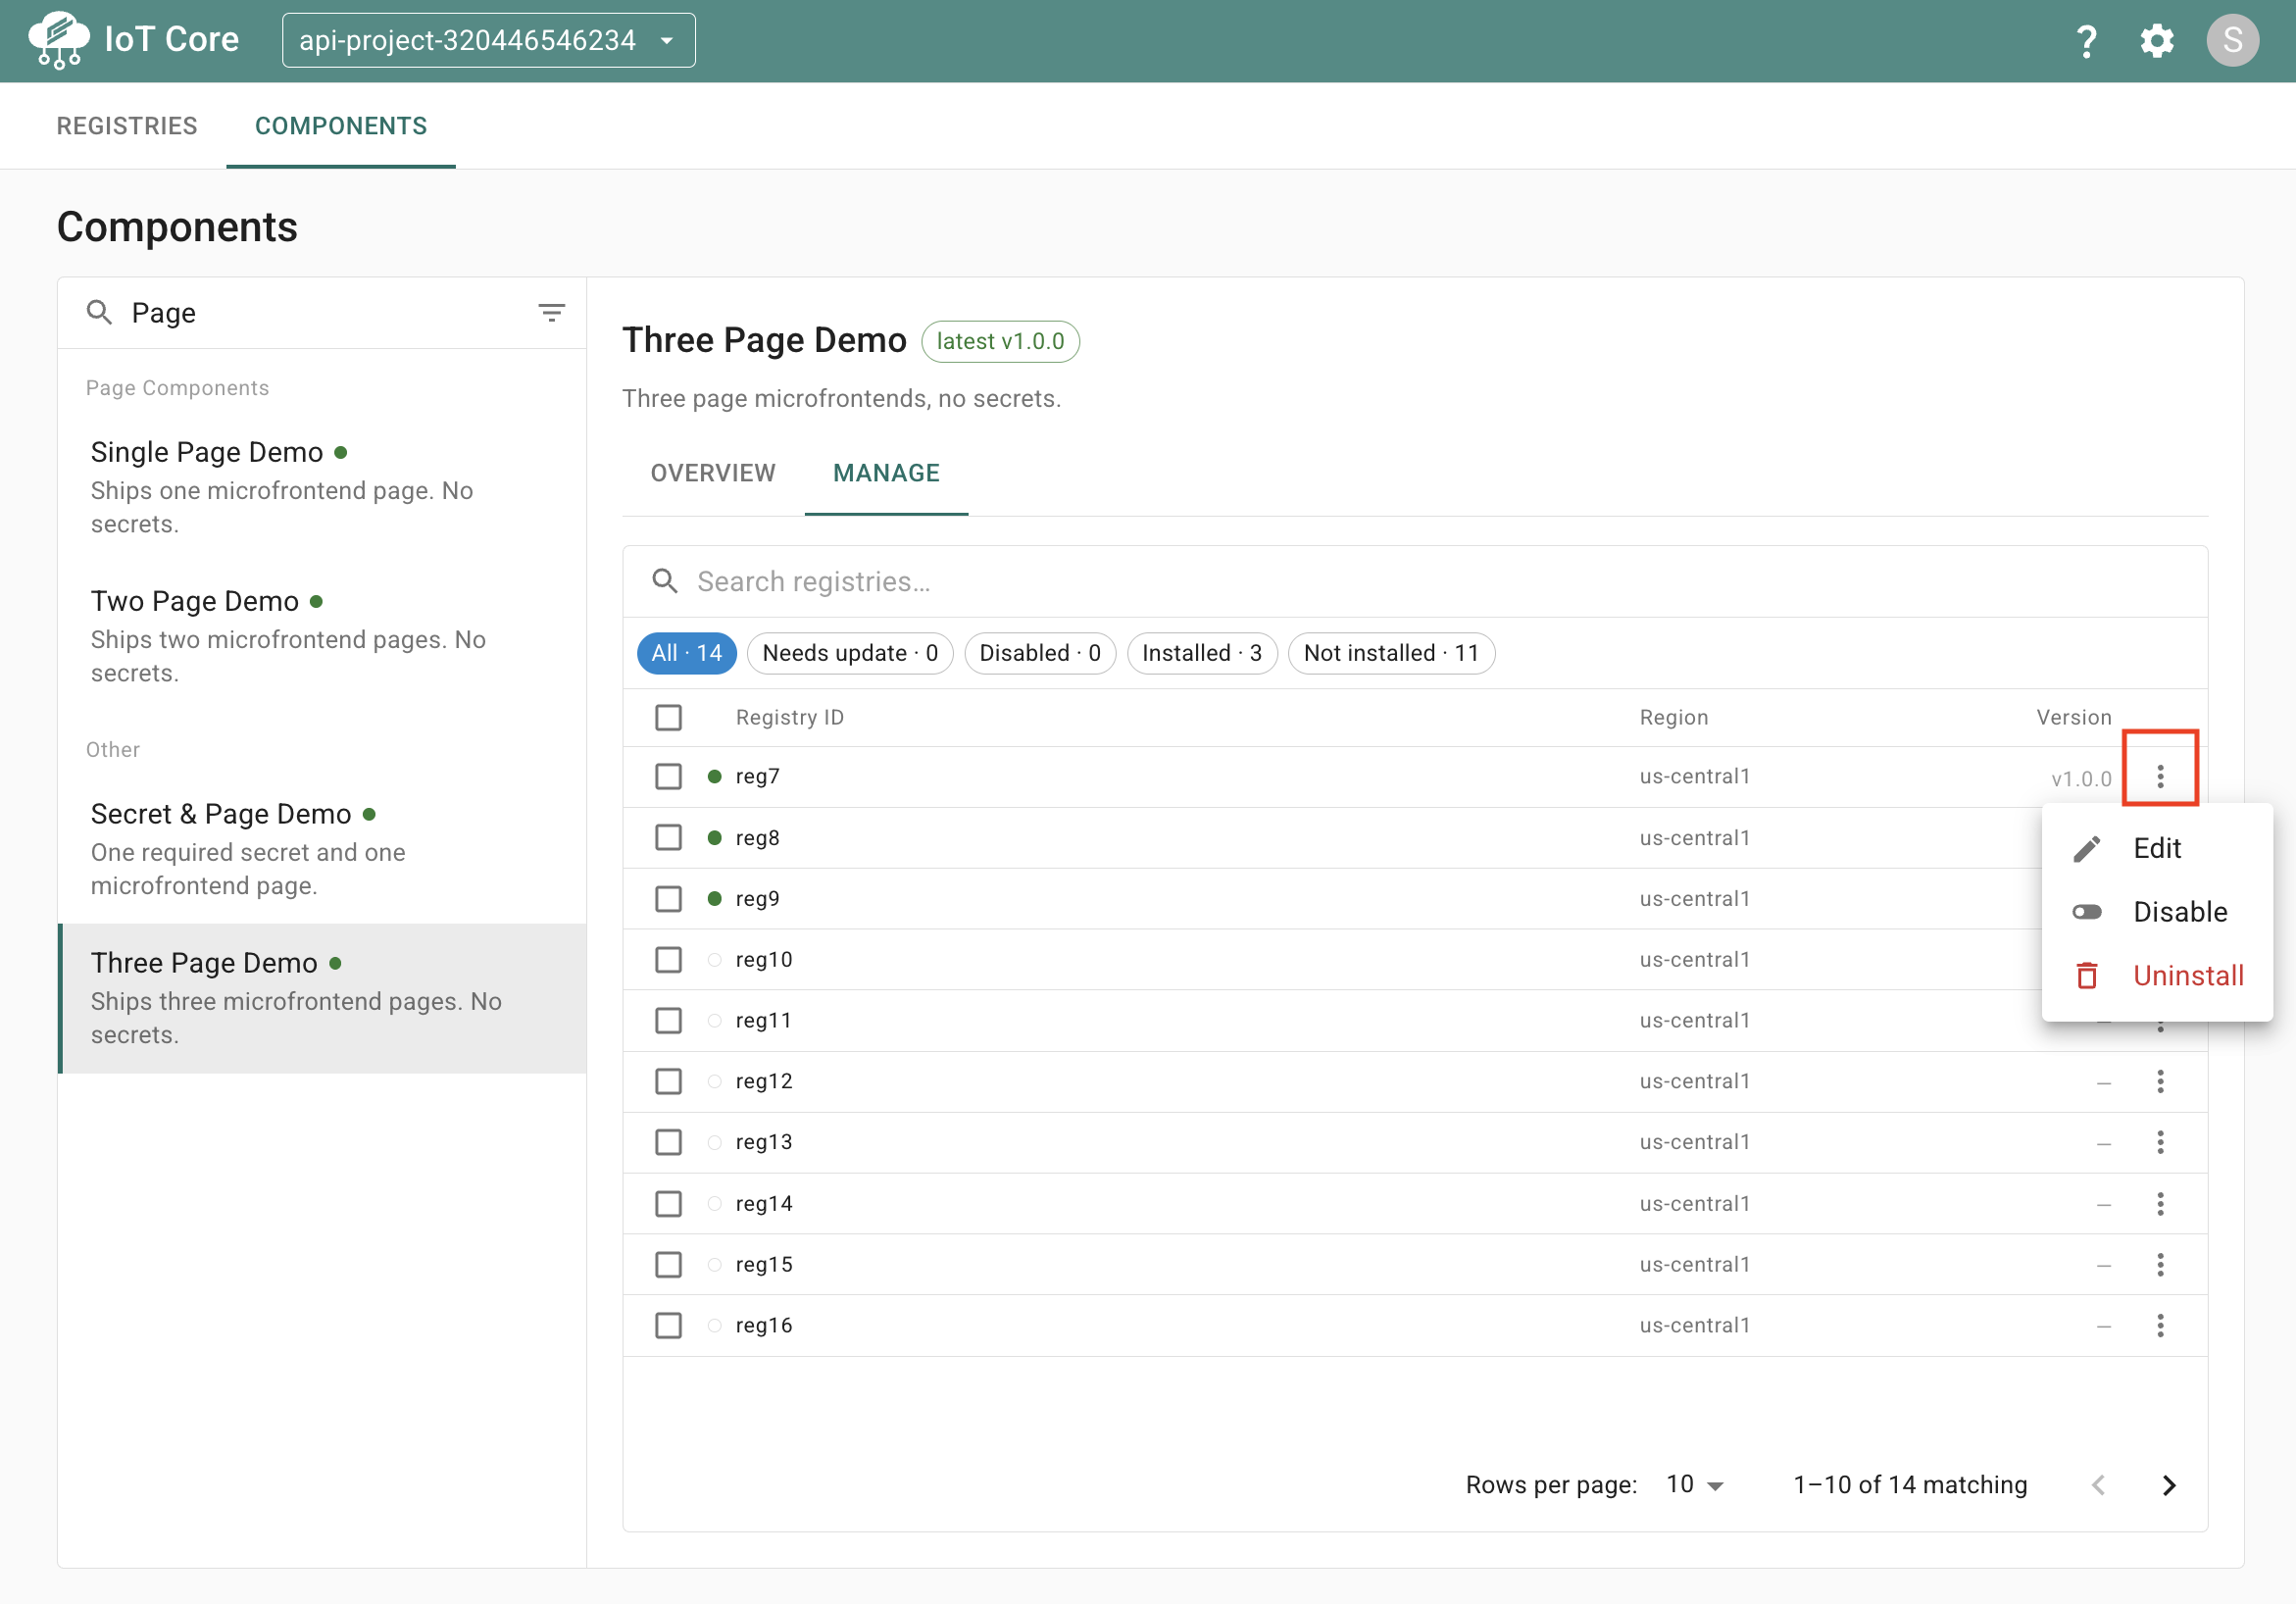
You can also take individual actions on a single registry at a time. This allows you to make customizations to a component’s configuration per registry.
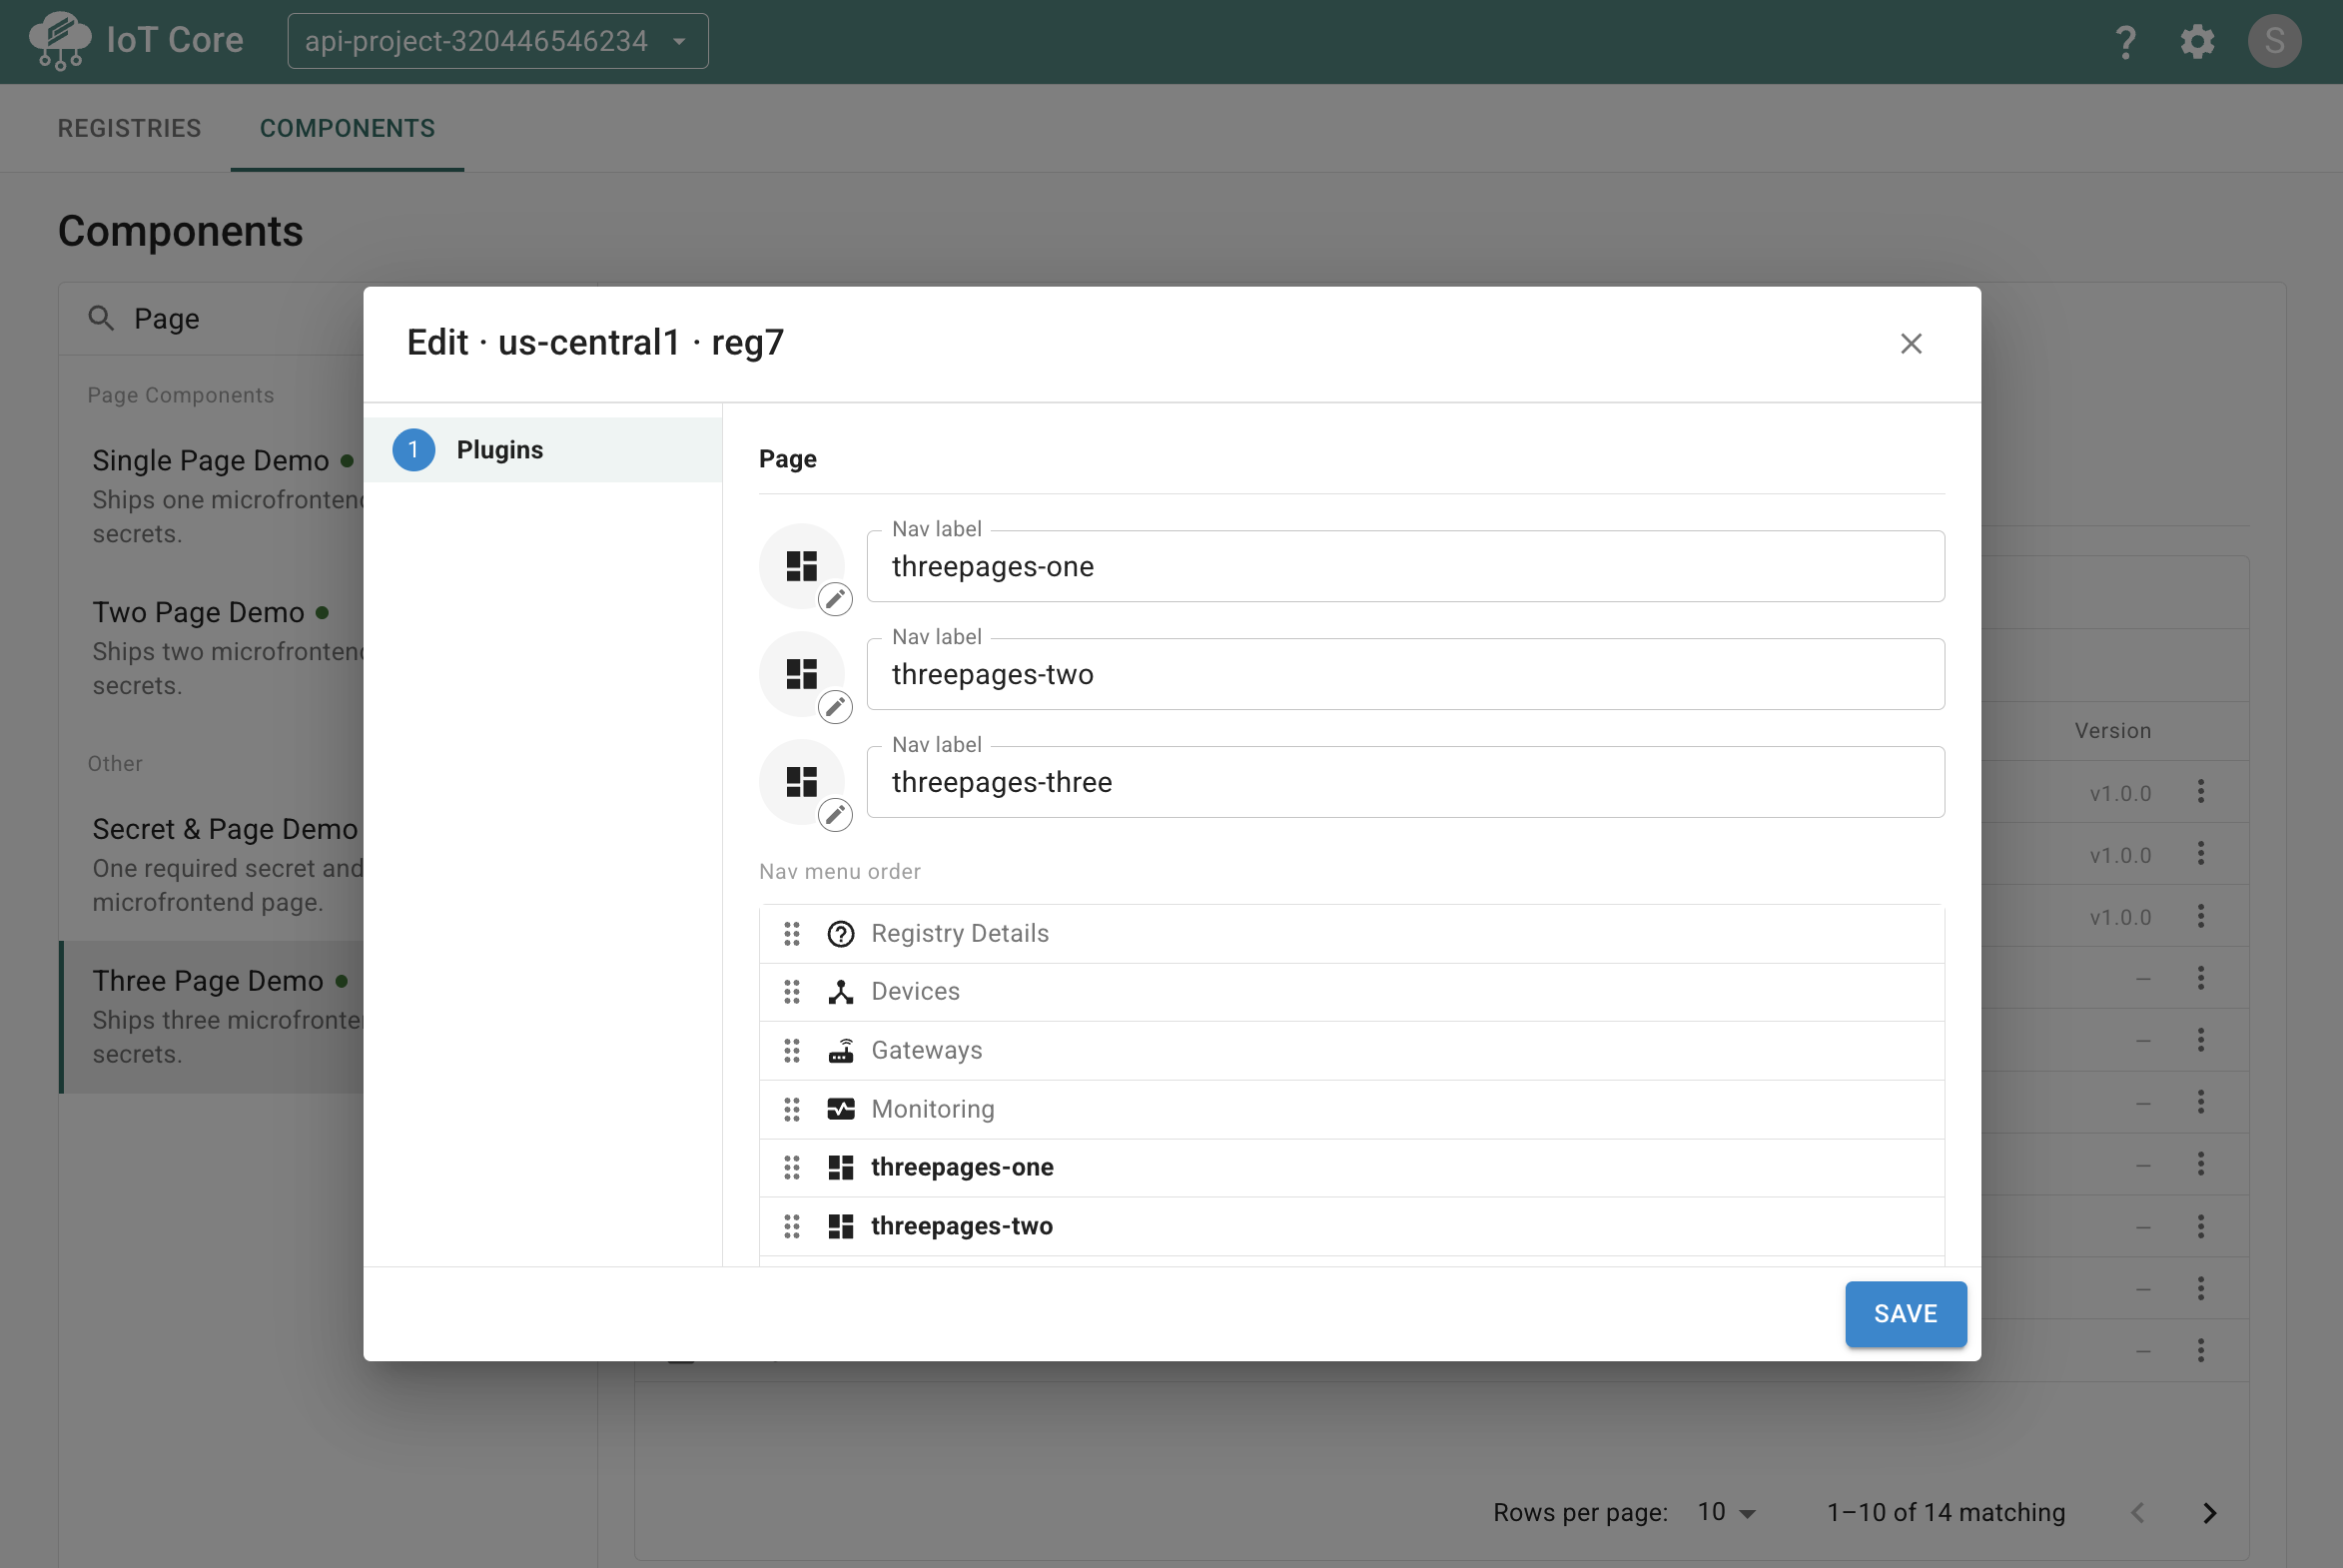
For example, this registry has a component installed that contains three custom pages. When you click to edit the registry’s component, you can customize the icons, labels, and navigation menu order of the pages. Your customizations will appear on the registry’s navigation menu.
-
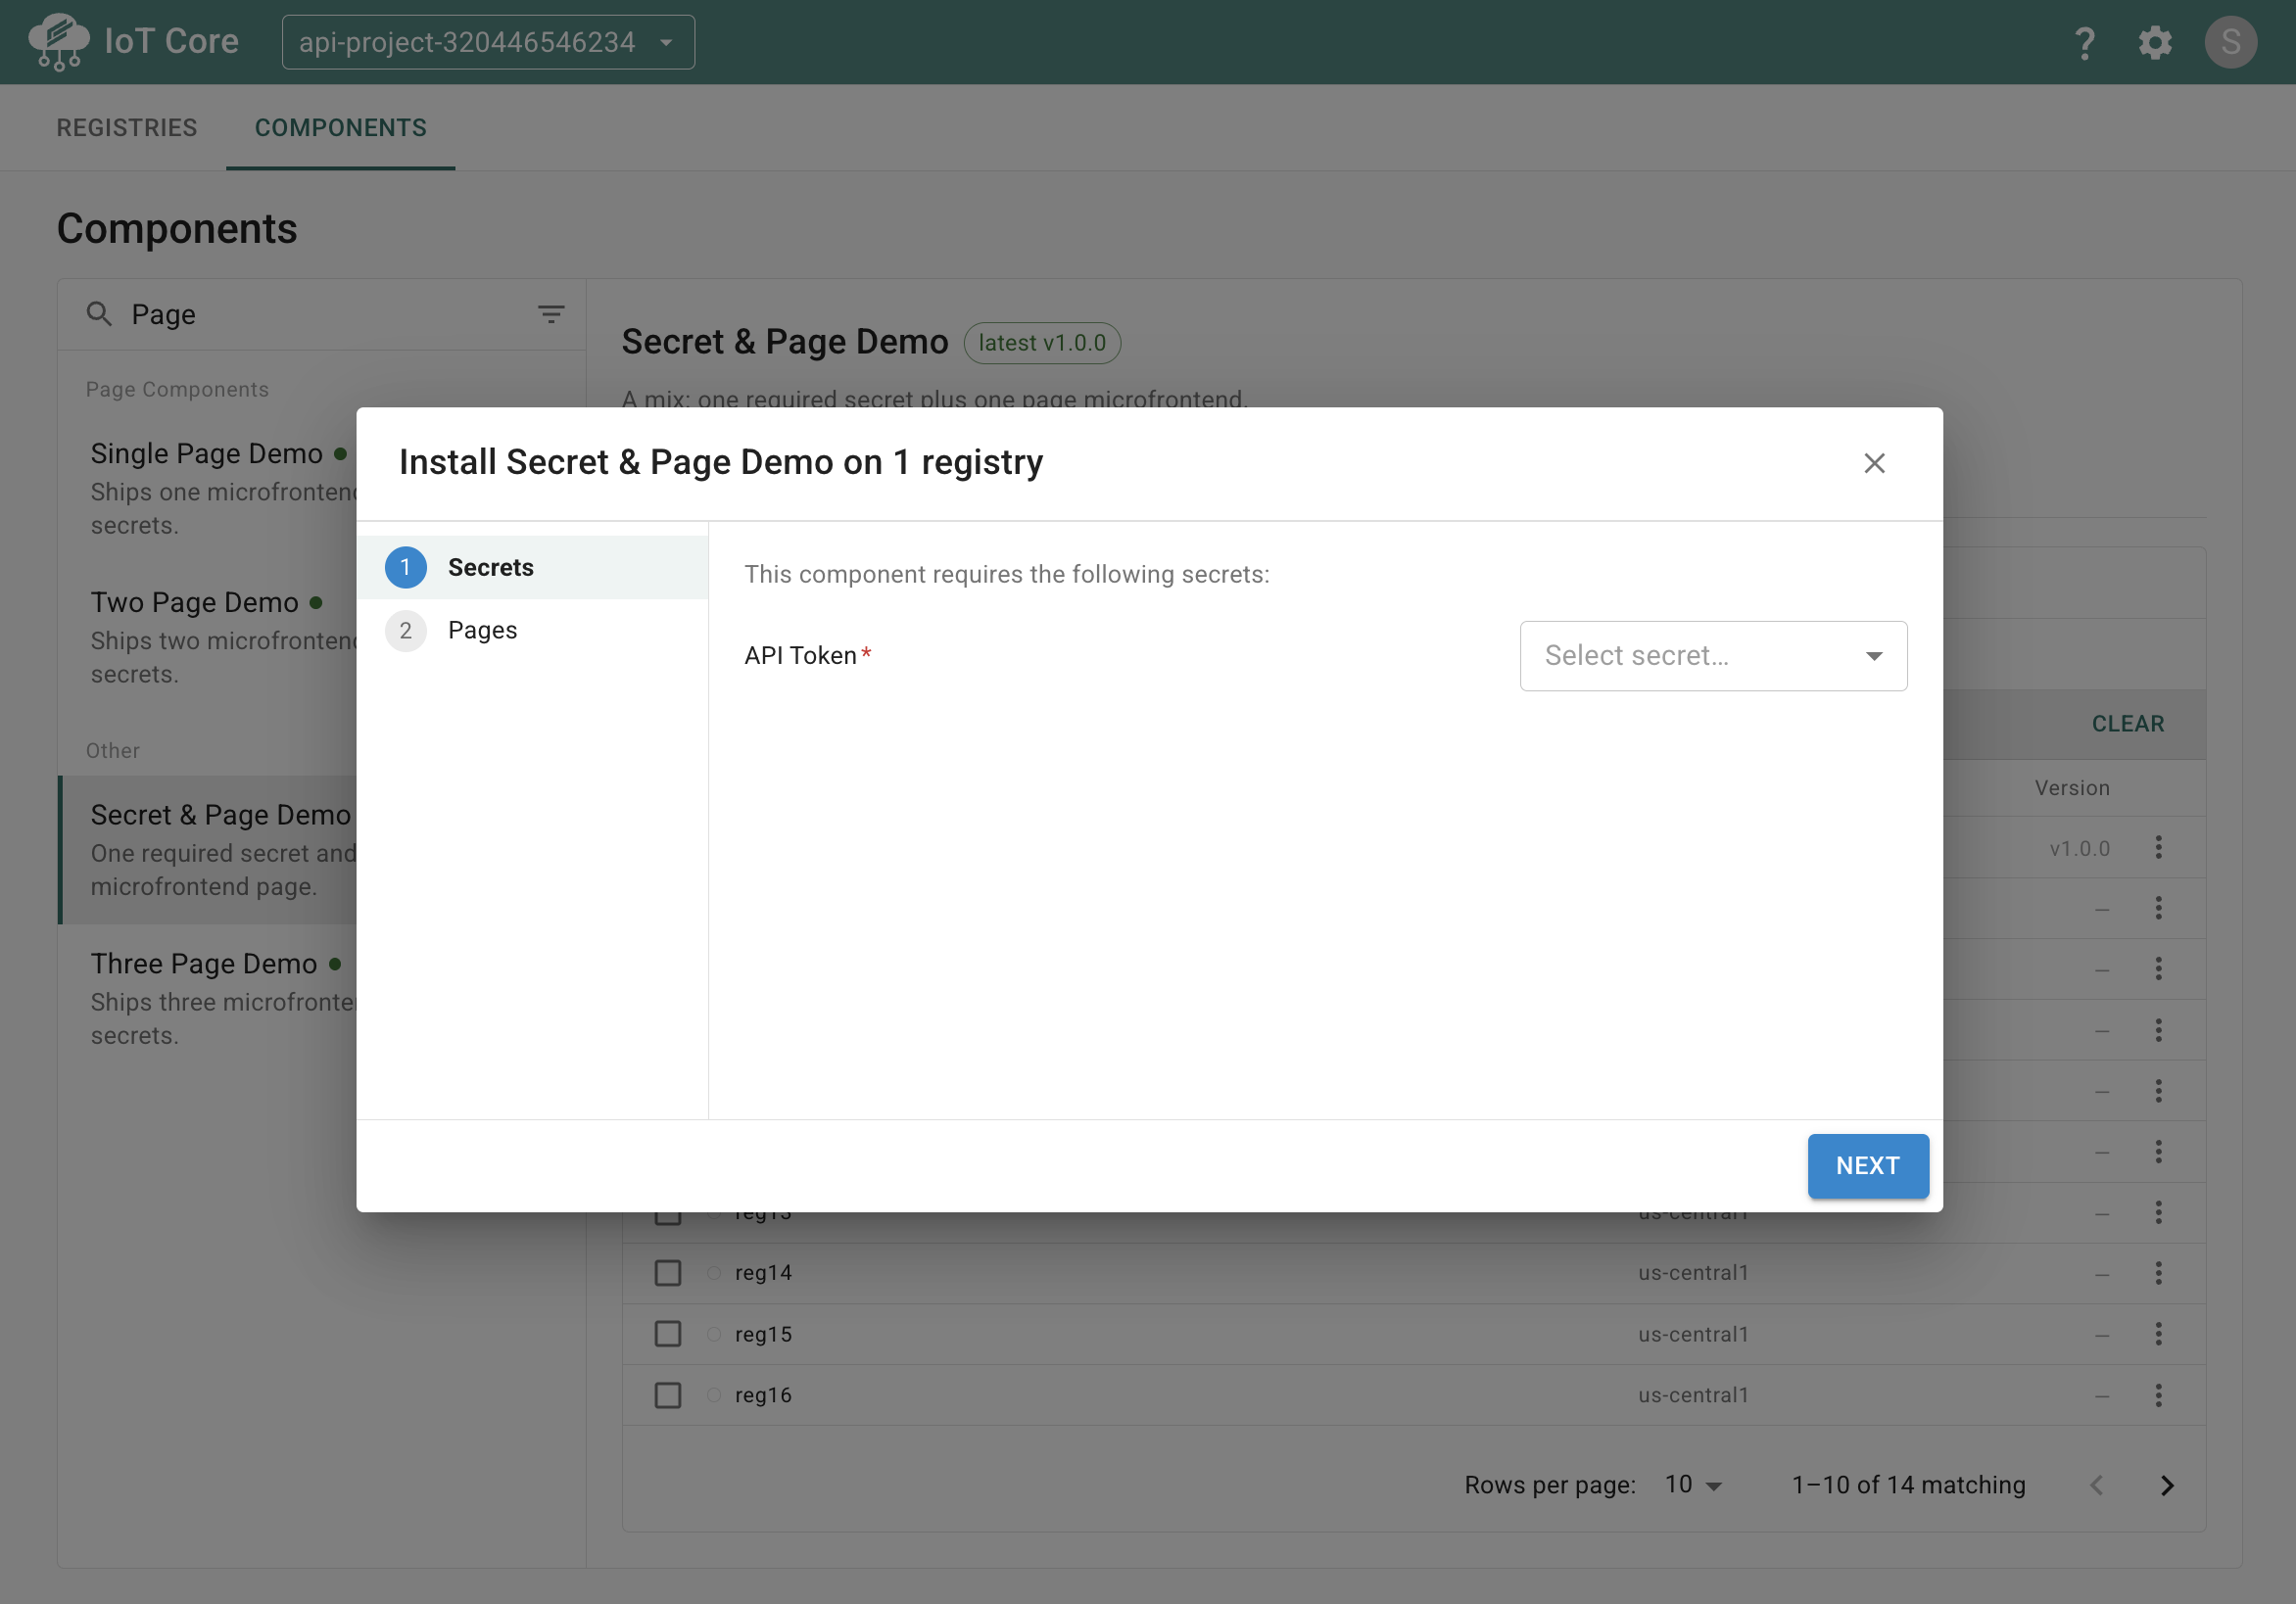
Some components may require additional configuration to install, such as assigning secret values. This example component requires configuration of an API Token in order to install it. You can assign any existing secrets within the project to the slots required by a component.
If you have no existing secrets in your project, follow the instructions for Managing Secrets in a Project.