A service account is required to migrate and run the IoT Core service. These instructions allow you to create a service account with the necessary permissions:
-
Select your desired project area.
-
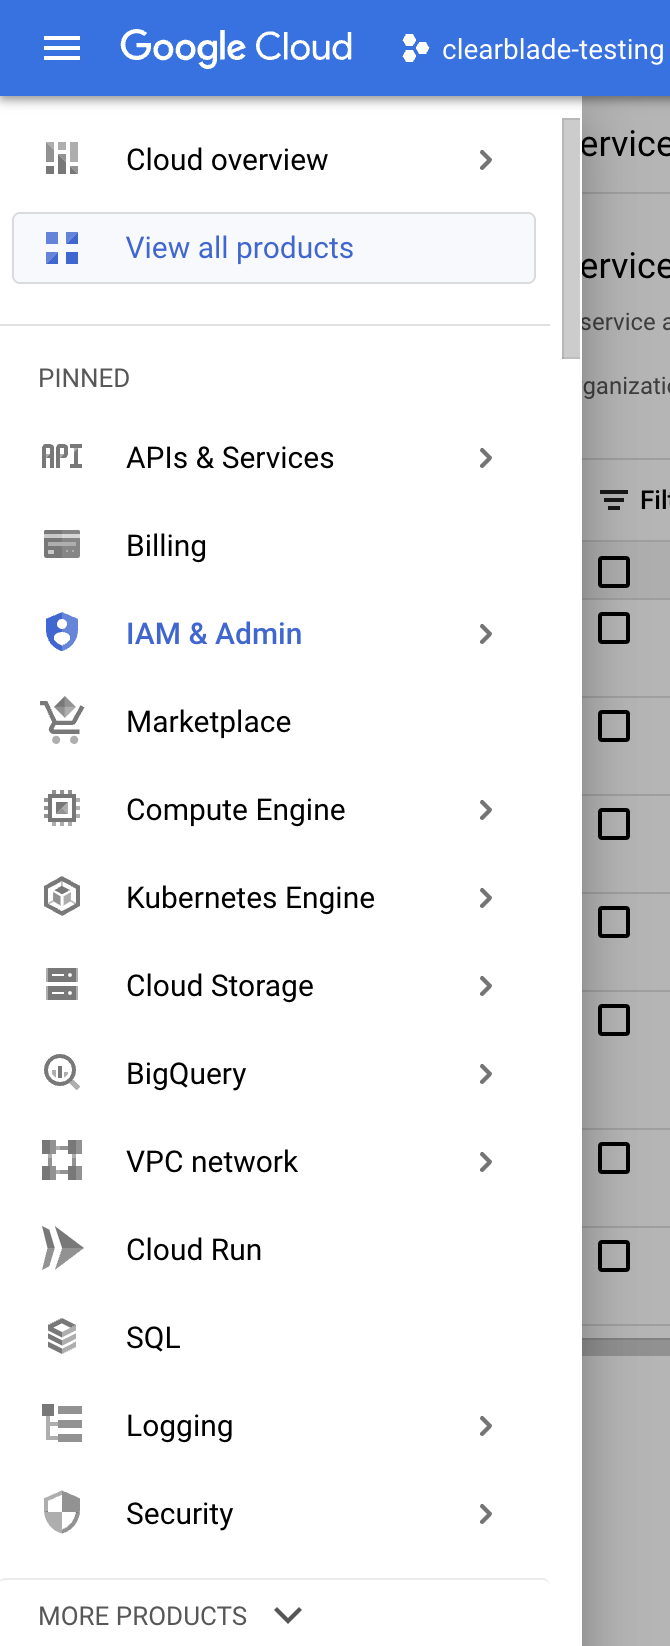
Open the IAM & Admin Cloud services from the flyout menu.
-
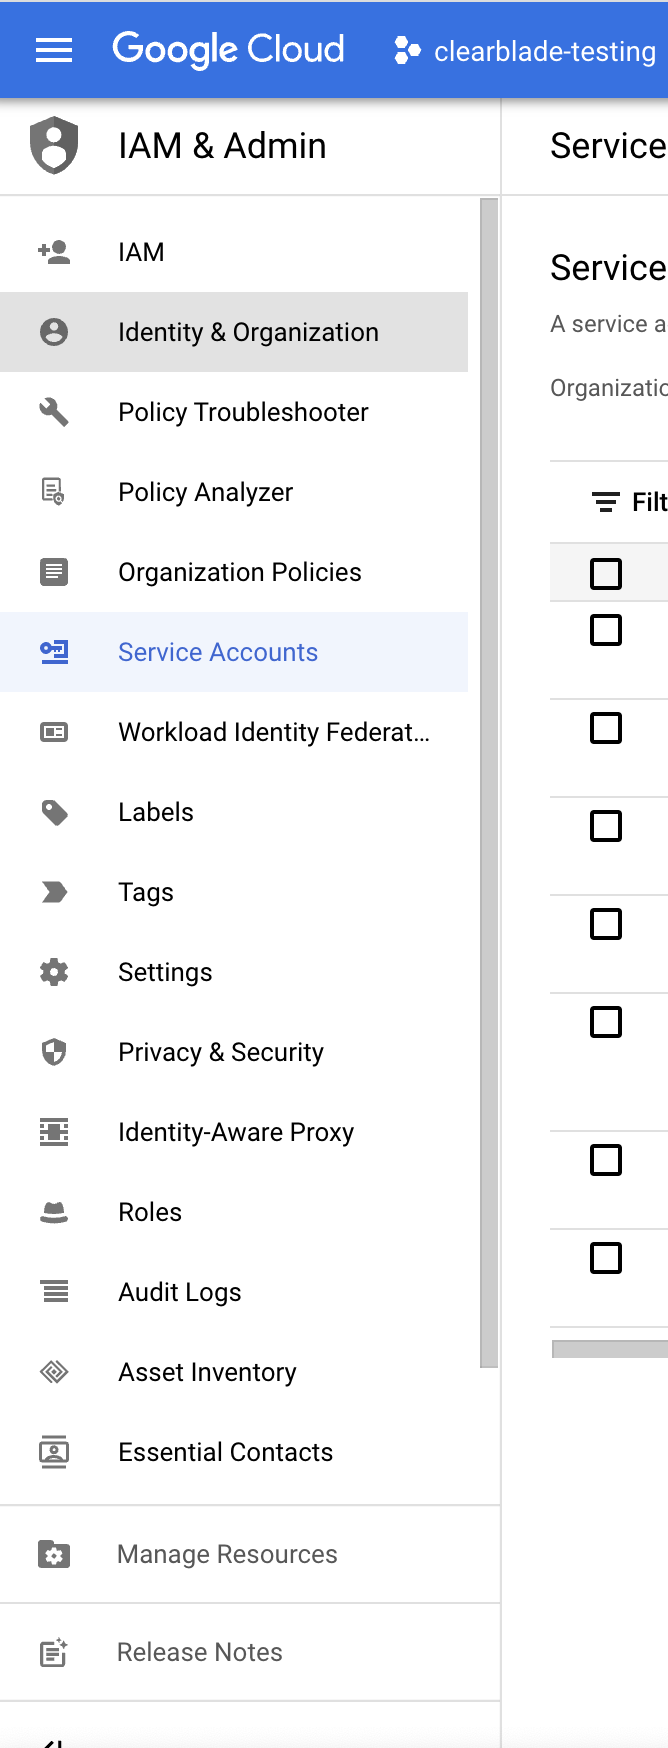
Select Service Accounts in the left menu.
-
Click CREATE SERVICE ACCOUNT from the top menu bar.
-
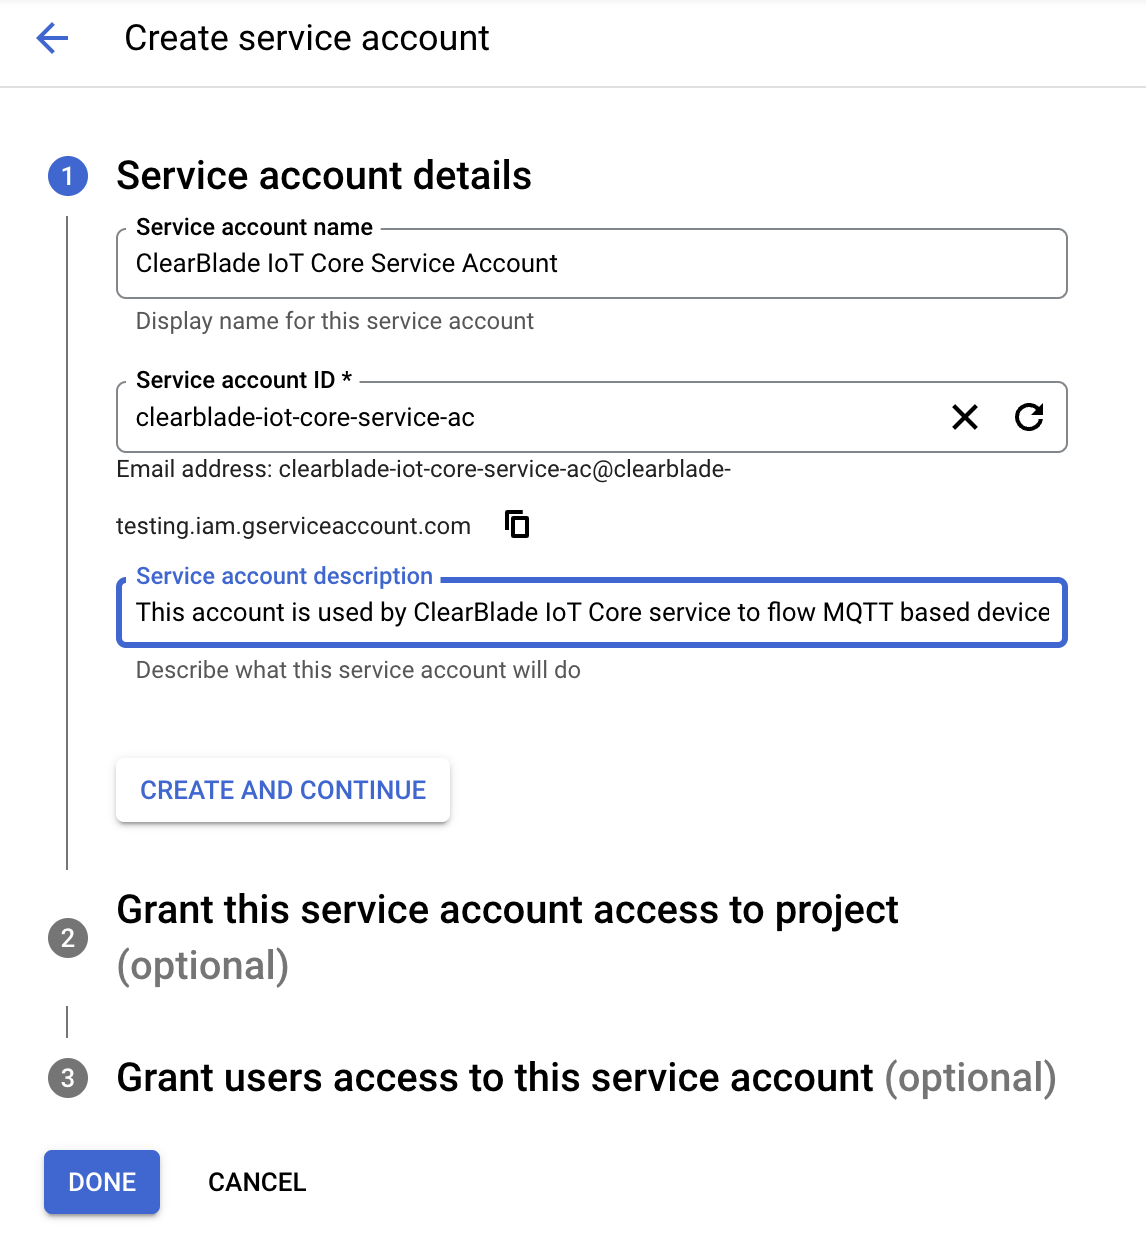
Complete the account details.
-
Service Account Name: ClearBlade IoT Core Service Account
-
Account description: This account is used by ClearBlade IoT Core service to flow MQTT-based device message data into the Google Pub/Sub offering. It additionally integrates with Cloud Logging and Cloud Monitoring services.
-
Click CREATE AND CONTINUE.
-
-
-
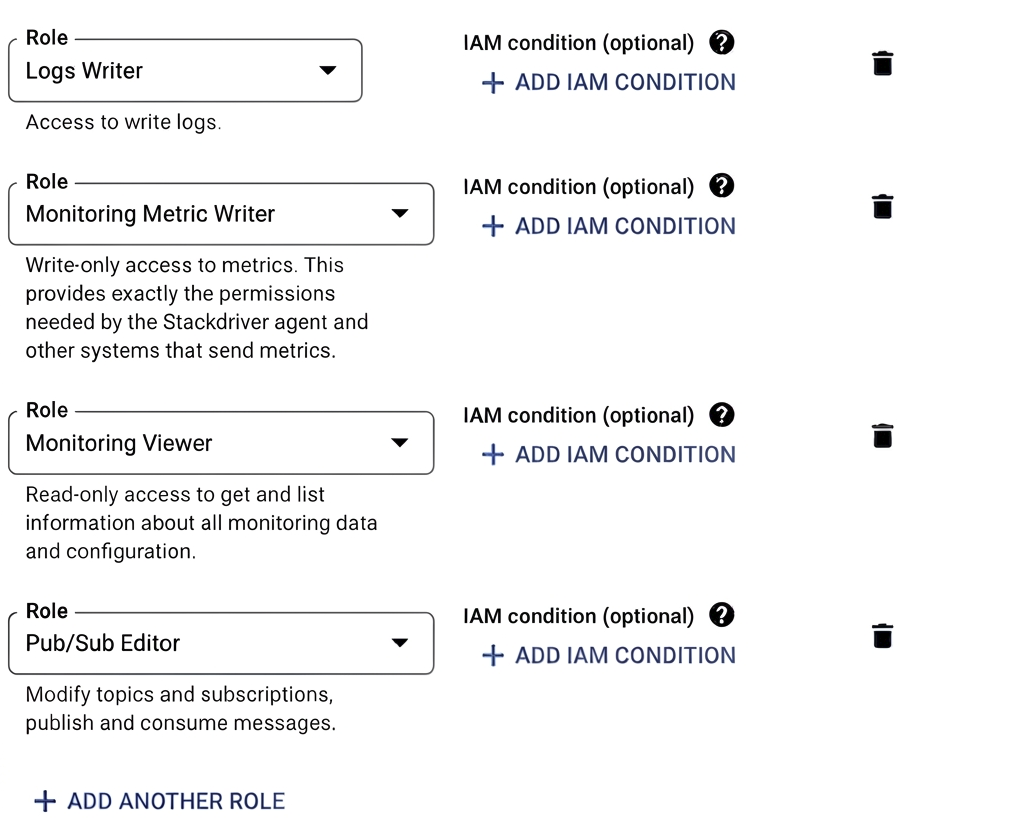
Grant these roles to the service account:
-
Pub/Sub Editor:
-
This role is needed to allow ClearBlade IoT Core to publish messages into Google Cloud Pub/Sub topics. This role is needed for normal operations.
-
This role is needed to allow the ClearBlade IoT Core console to browse and create new topics in Google Pub/Sub to send events and status updates. This role is needed for normal operations.
-
-
Logs Writer: This role is required for ClearBlade IoT Core to send data directly into the Google Cloud Logging service. This role is needed for normal operations.
-
Monitoring Metric Writer: This role is required for ClearBlade IoT Core to send metrics into the Google Cloud Monitoring service. This role is needed for normal operations.
-
Monitoring Viewer: This role is required for ClearBlade IoT Core to view metrics in the Google Cloud Monitoring service. This role is needed for normal operations.
-
-
Click CONTINUE.
-
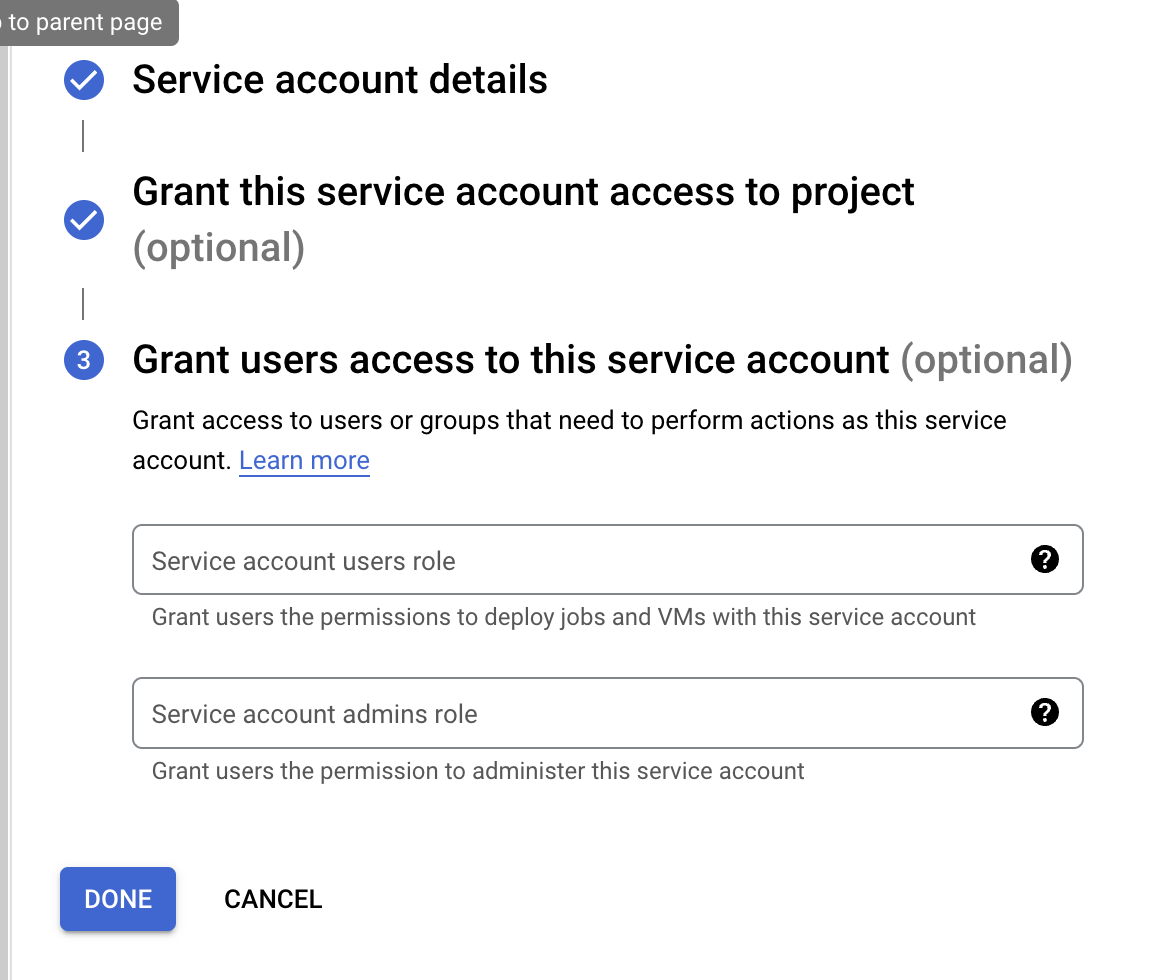
Leave the field to grant users access to the service account blank.Click DONE to complete the service account creation.
-
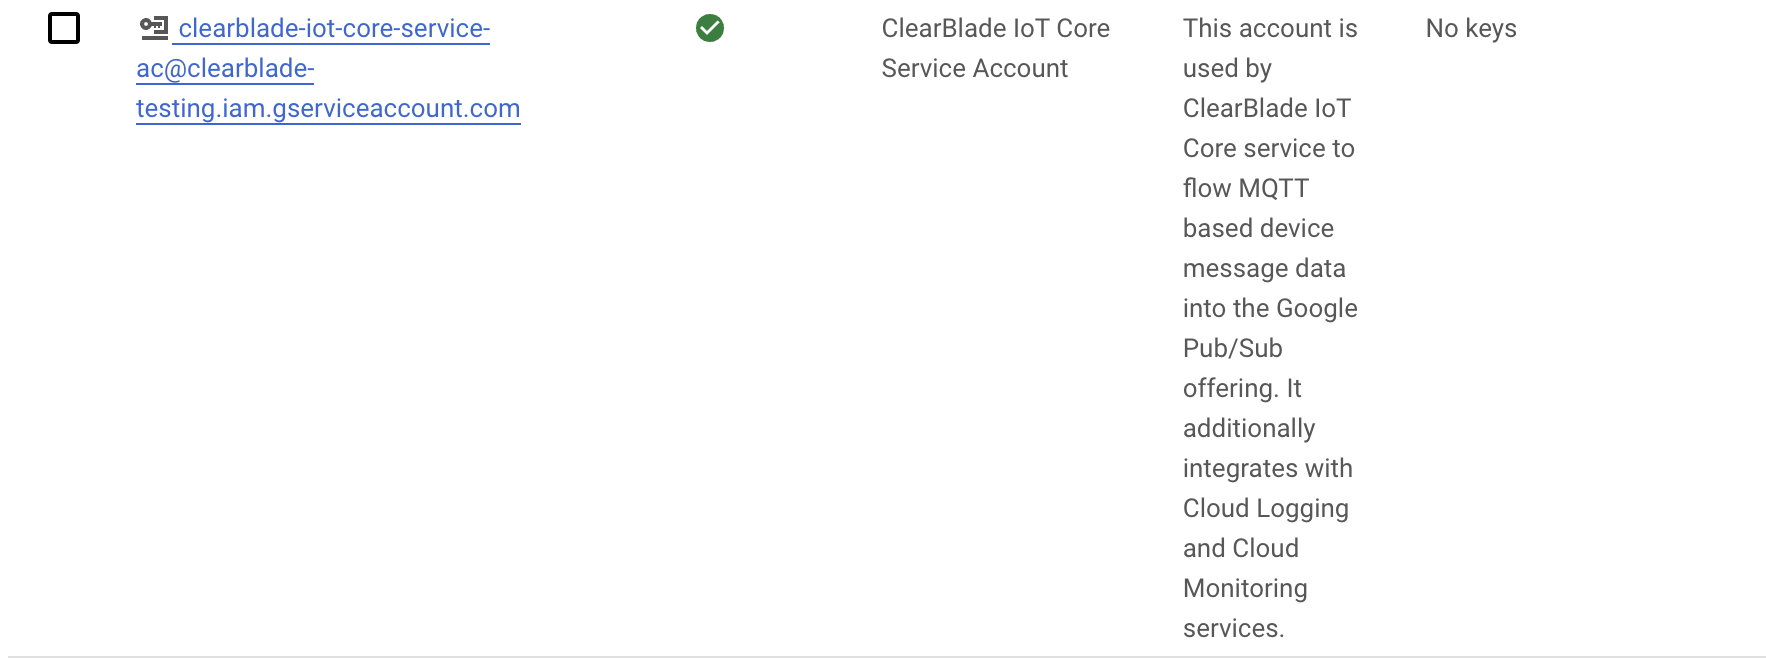
Select the newly created account by clicking the email hyperlink.
-
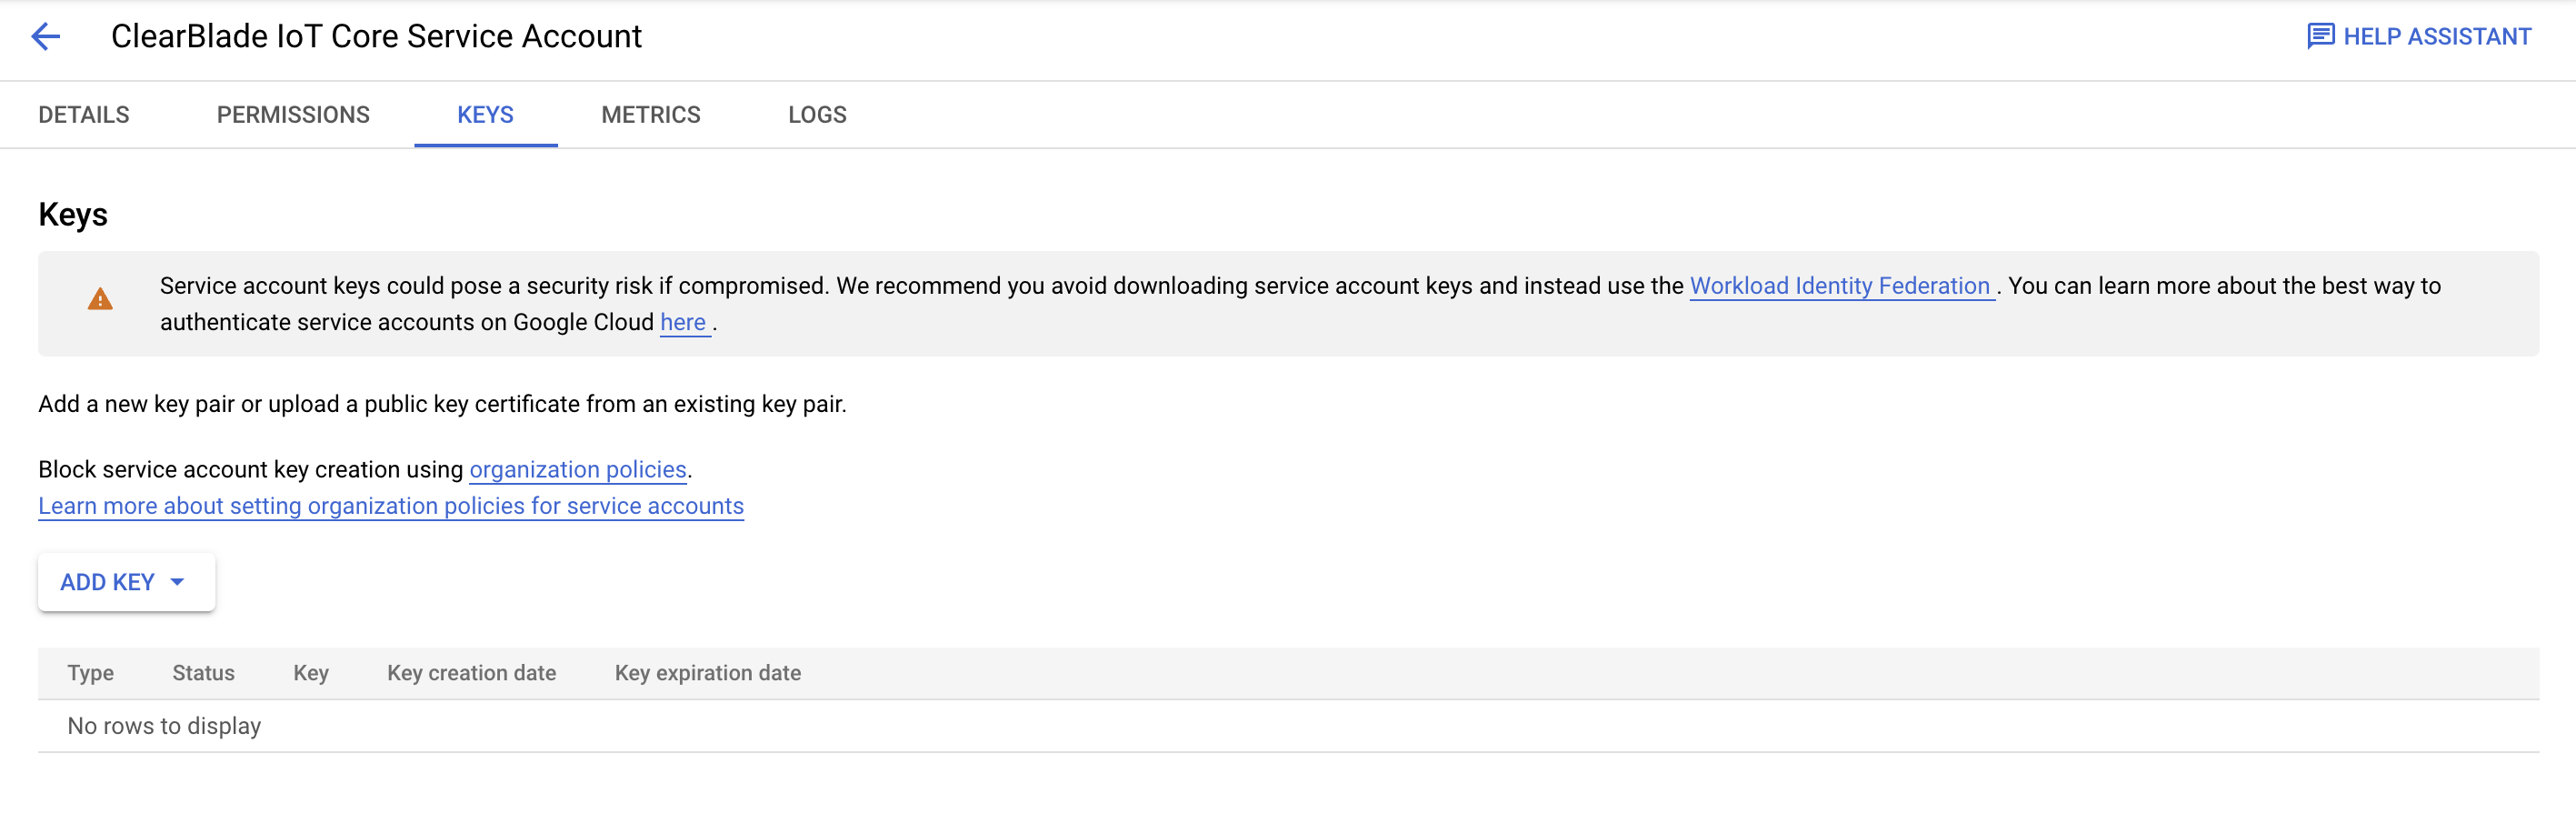
On the Service Account Page, select KEYS from the top button bar.
-
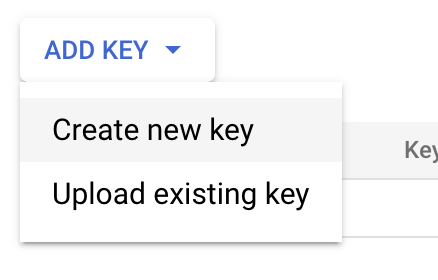
Click ADD KEY → Create new key.
-
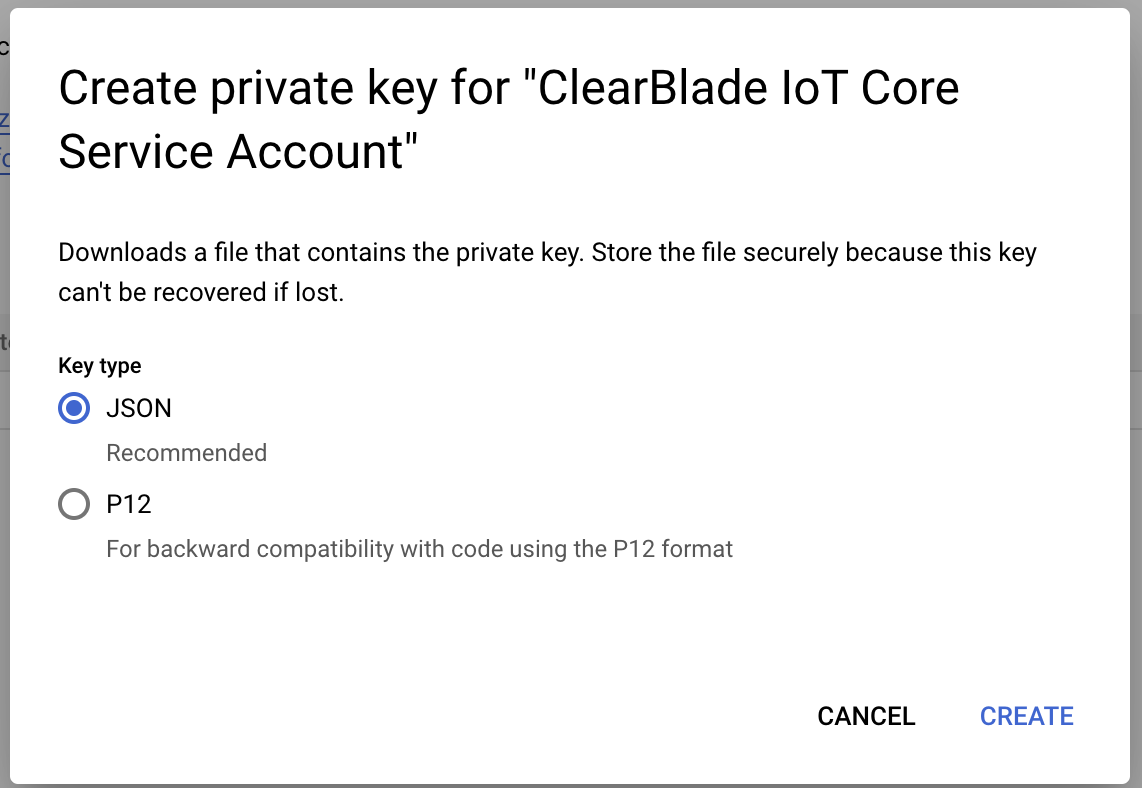
Choose JSON as the key type and click CREATE.
-
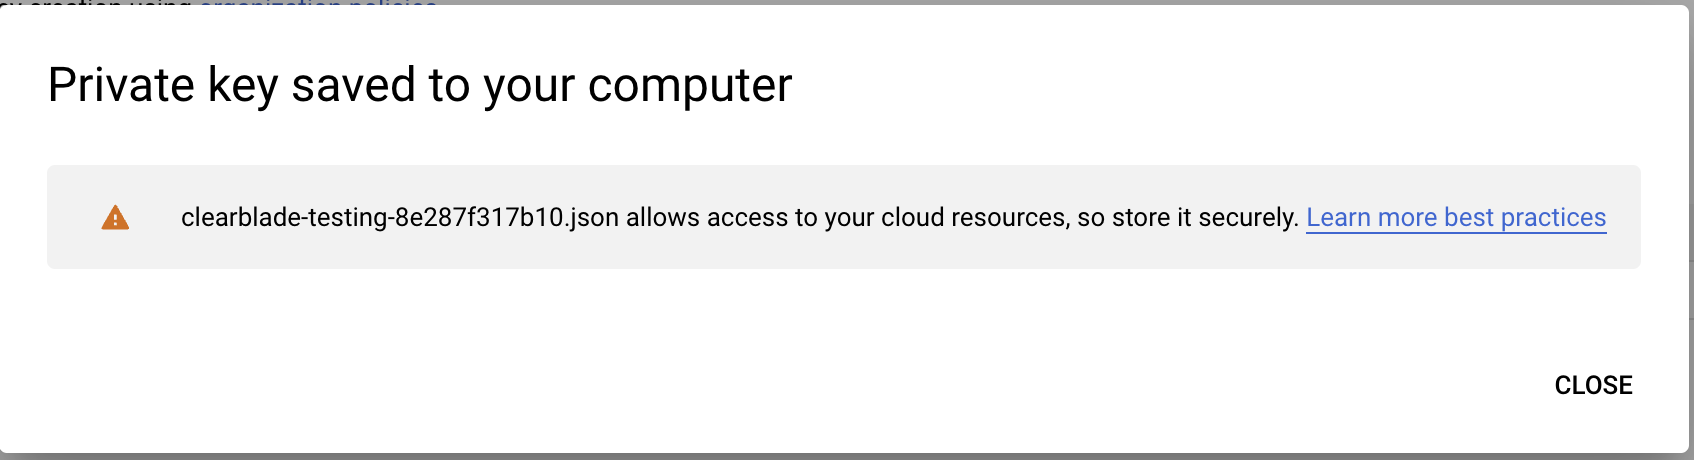
A new .json key file is downloaded to your device.