A component acts as a plugin to Intelligent Assets, adding any combination of backend and frontend features.
Open the Components page
Click Components in the Admin section of the left navigation menu.
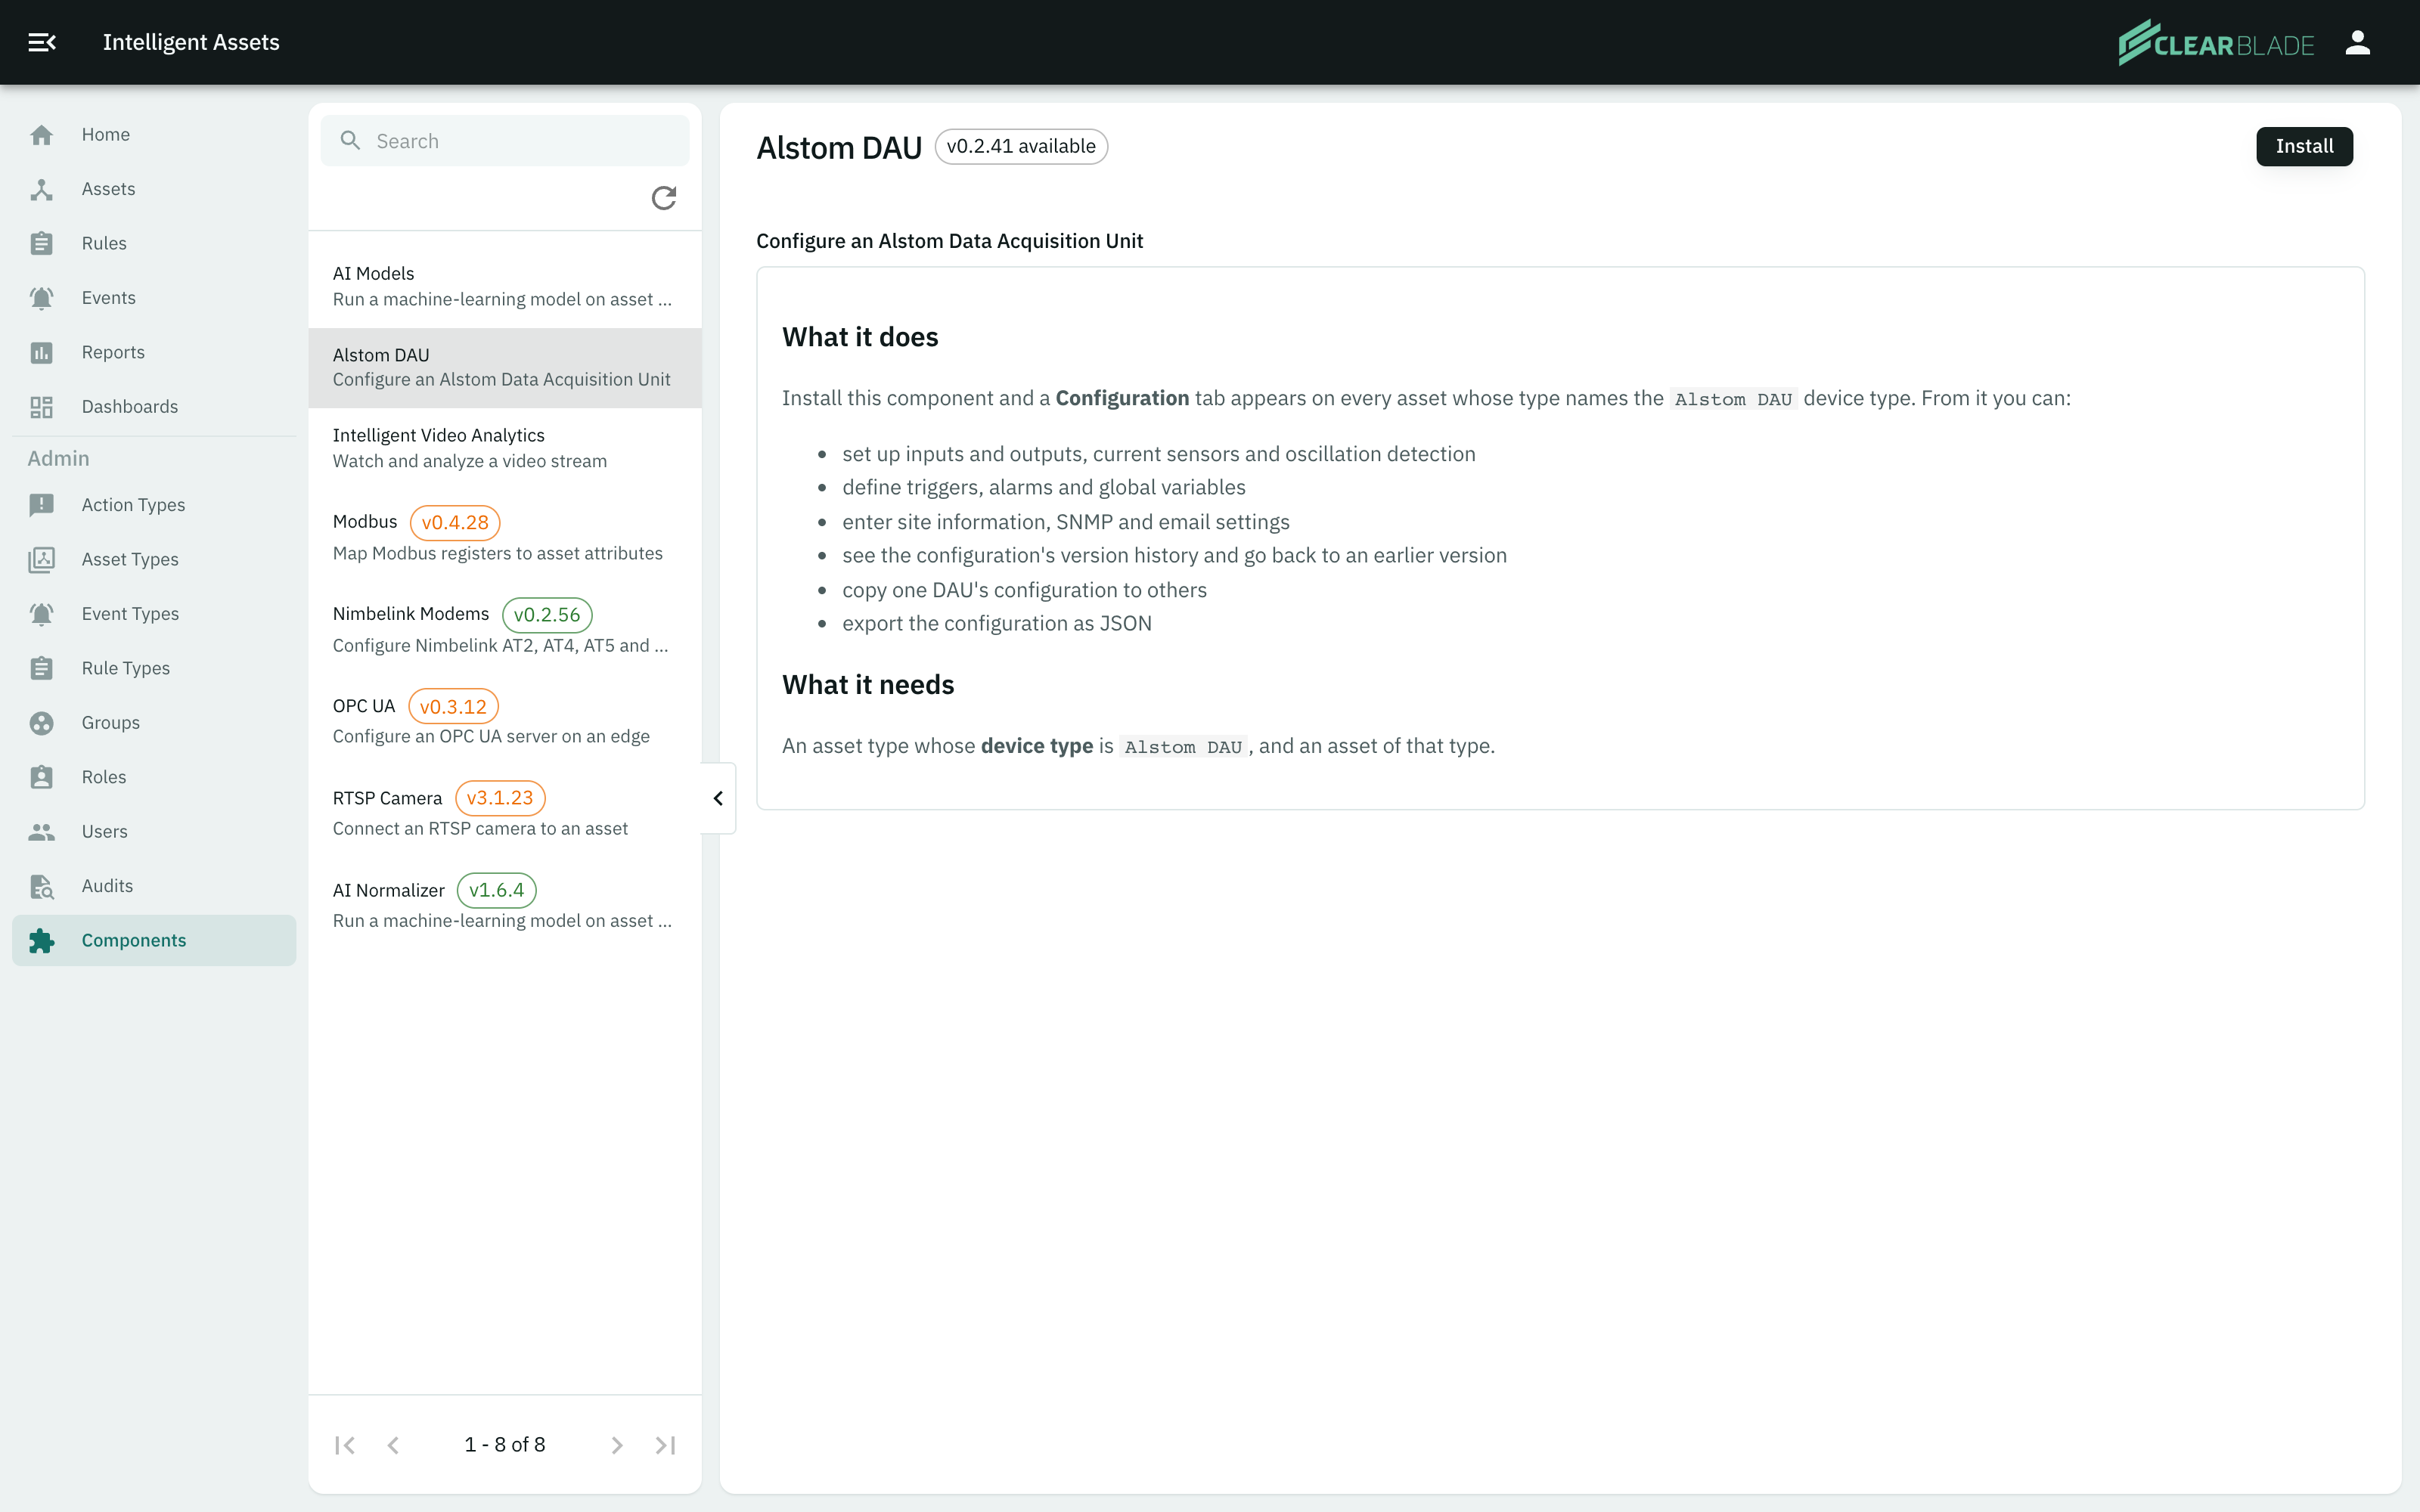
The list shows every component currently offered in the catalog. Click a component to read more about what it does and how to use it.
Install a component
-
Click a component in the list.
-
Click Install.
-
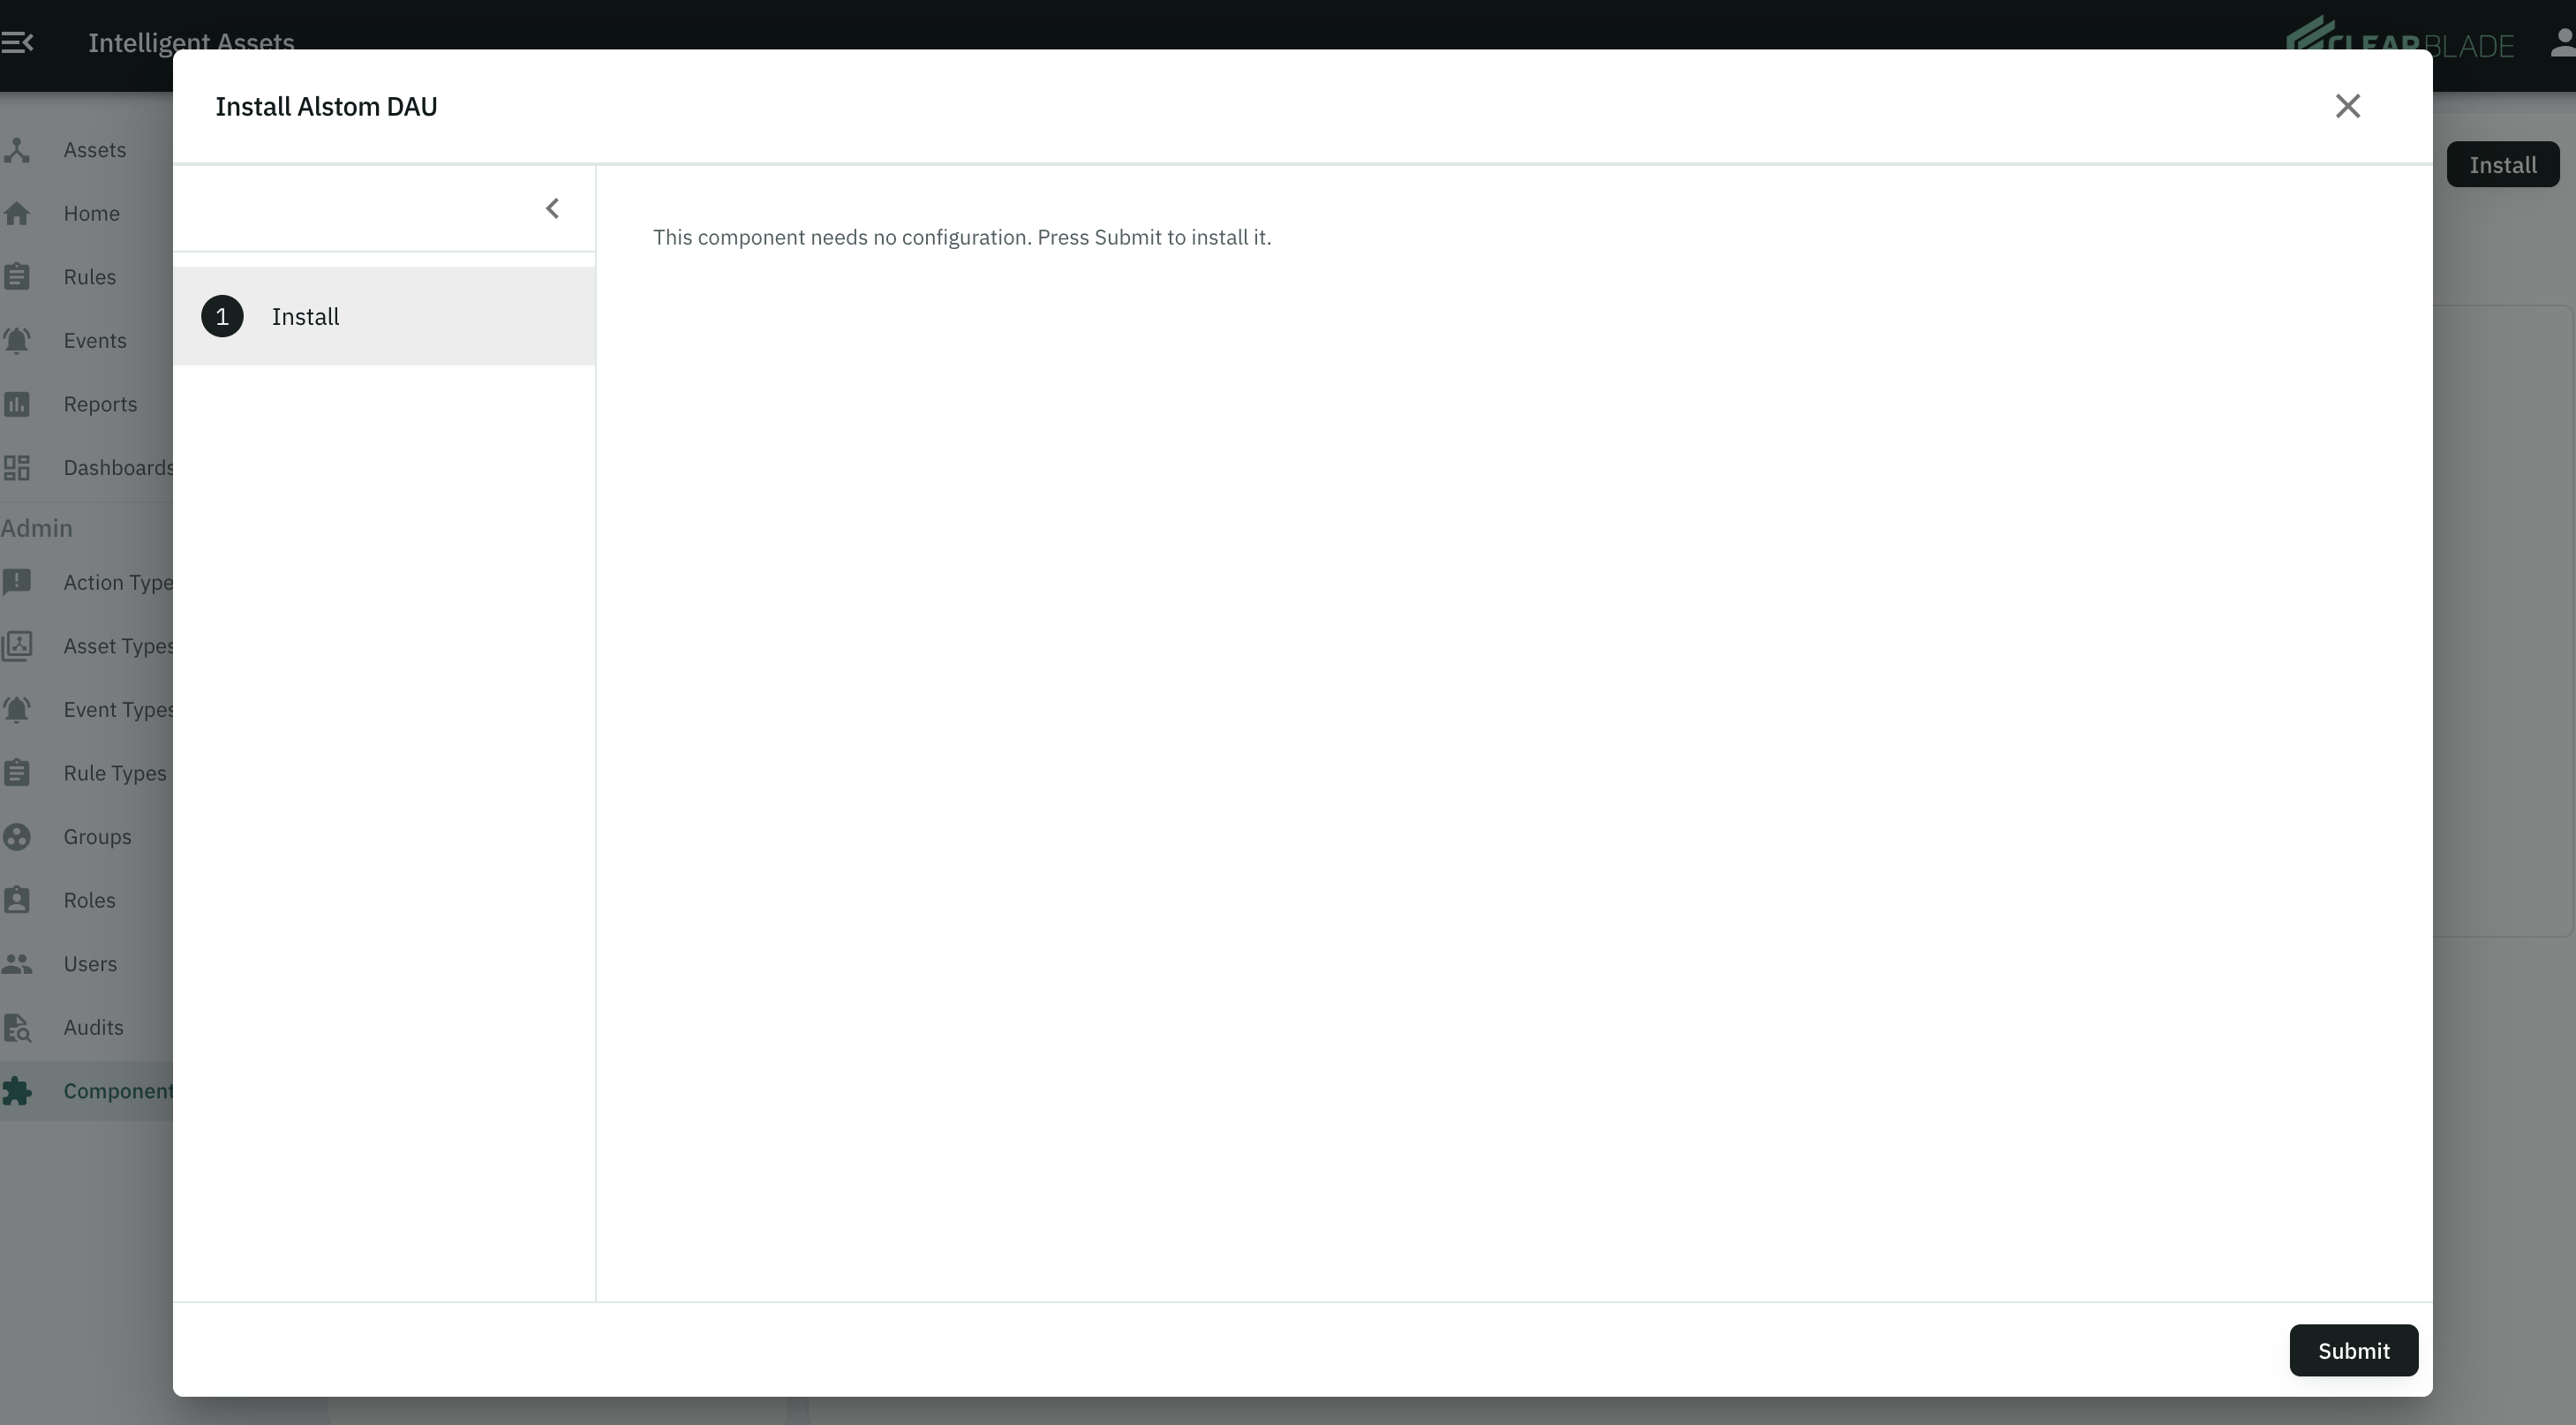
Complete any configuration steps the component asks for. Some components require secret values, UI configuration, or nothing at all.
-
Click Submit.
If the panel shows Upgrade Intelligent Assets to install, the component needs a newer release of Intelligent Assets. Upgrade first, then install the component.
Update a component
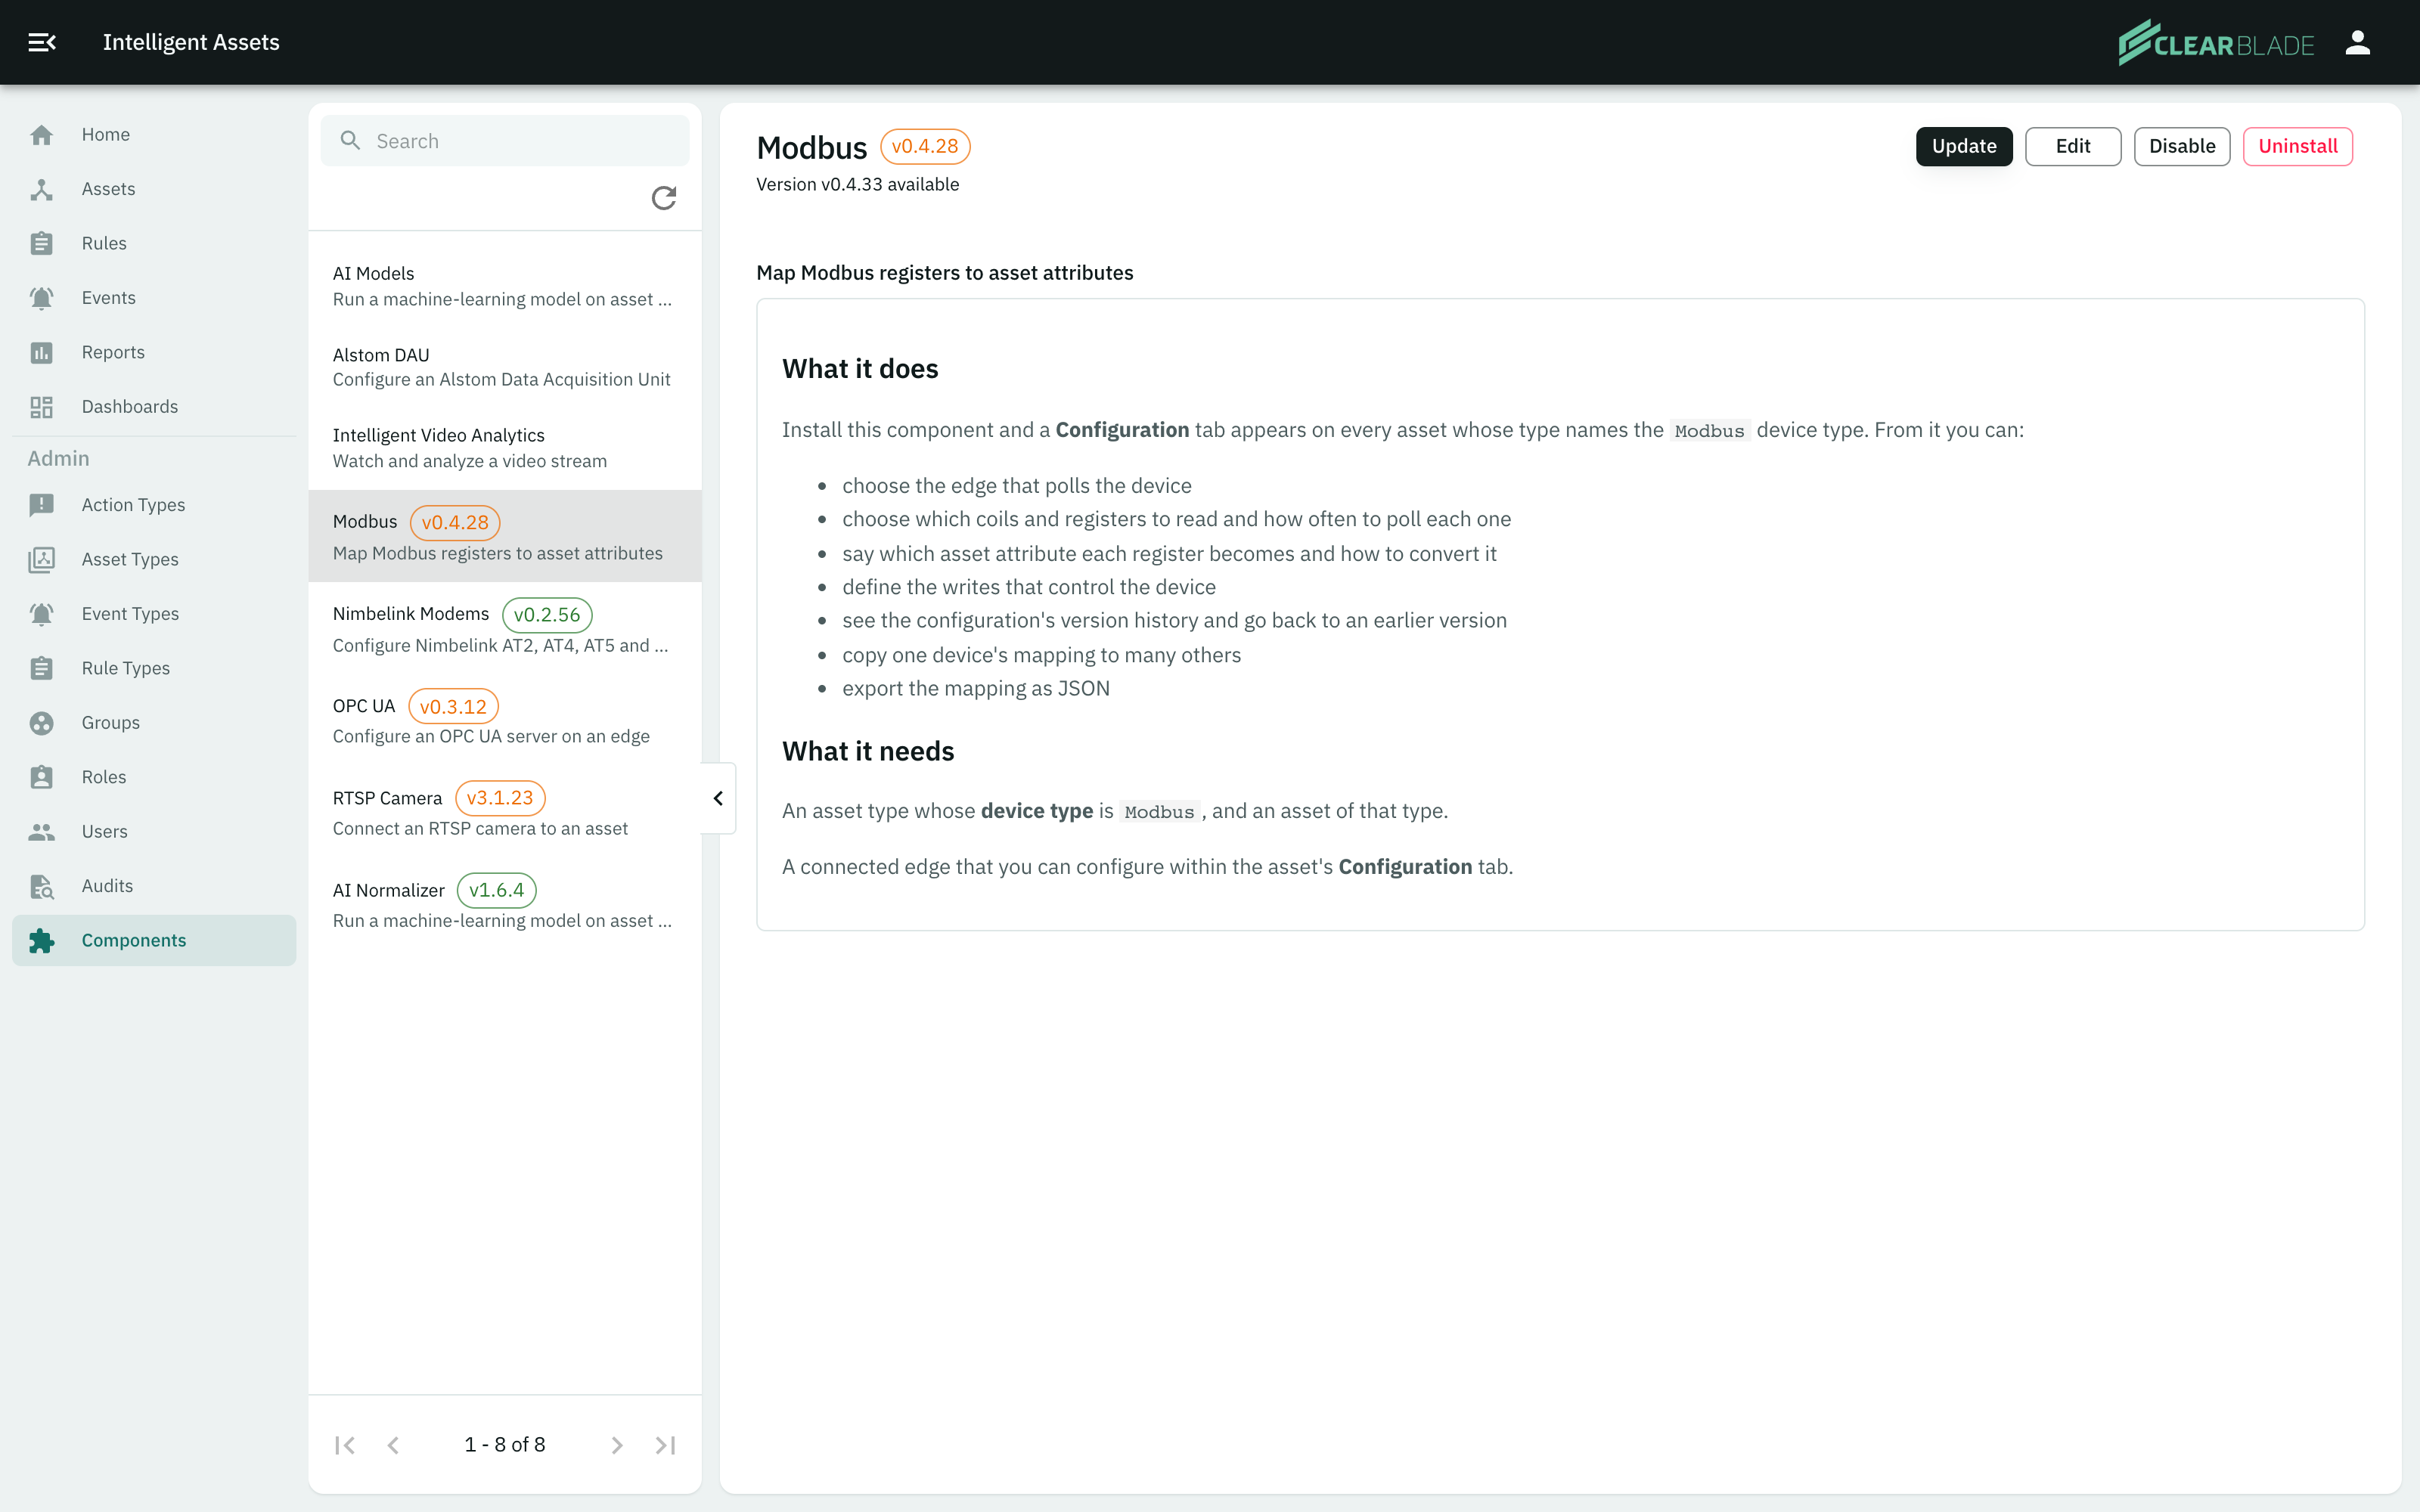
When the catalog holds a newer release, the component panel shows Update to <version> available.
-
Click the component in the list.
-
Click Update.
-
Complete any configuration steps and click Submit.
An update does not delete data that had been created from using the component.
Change a component's settings
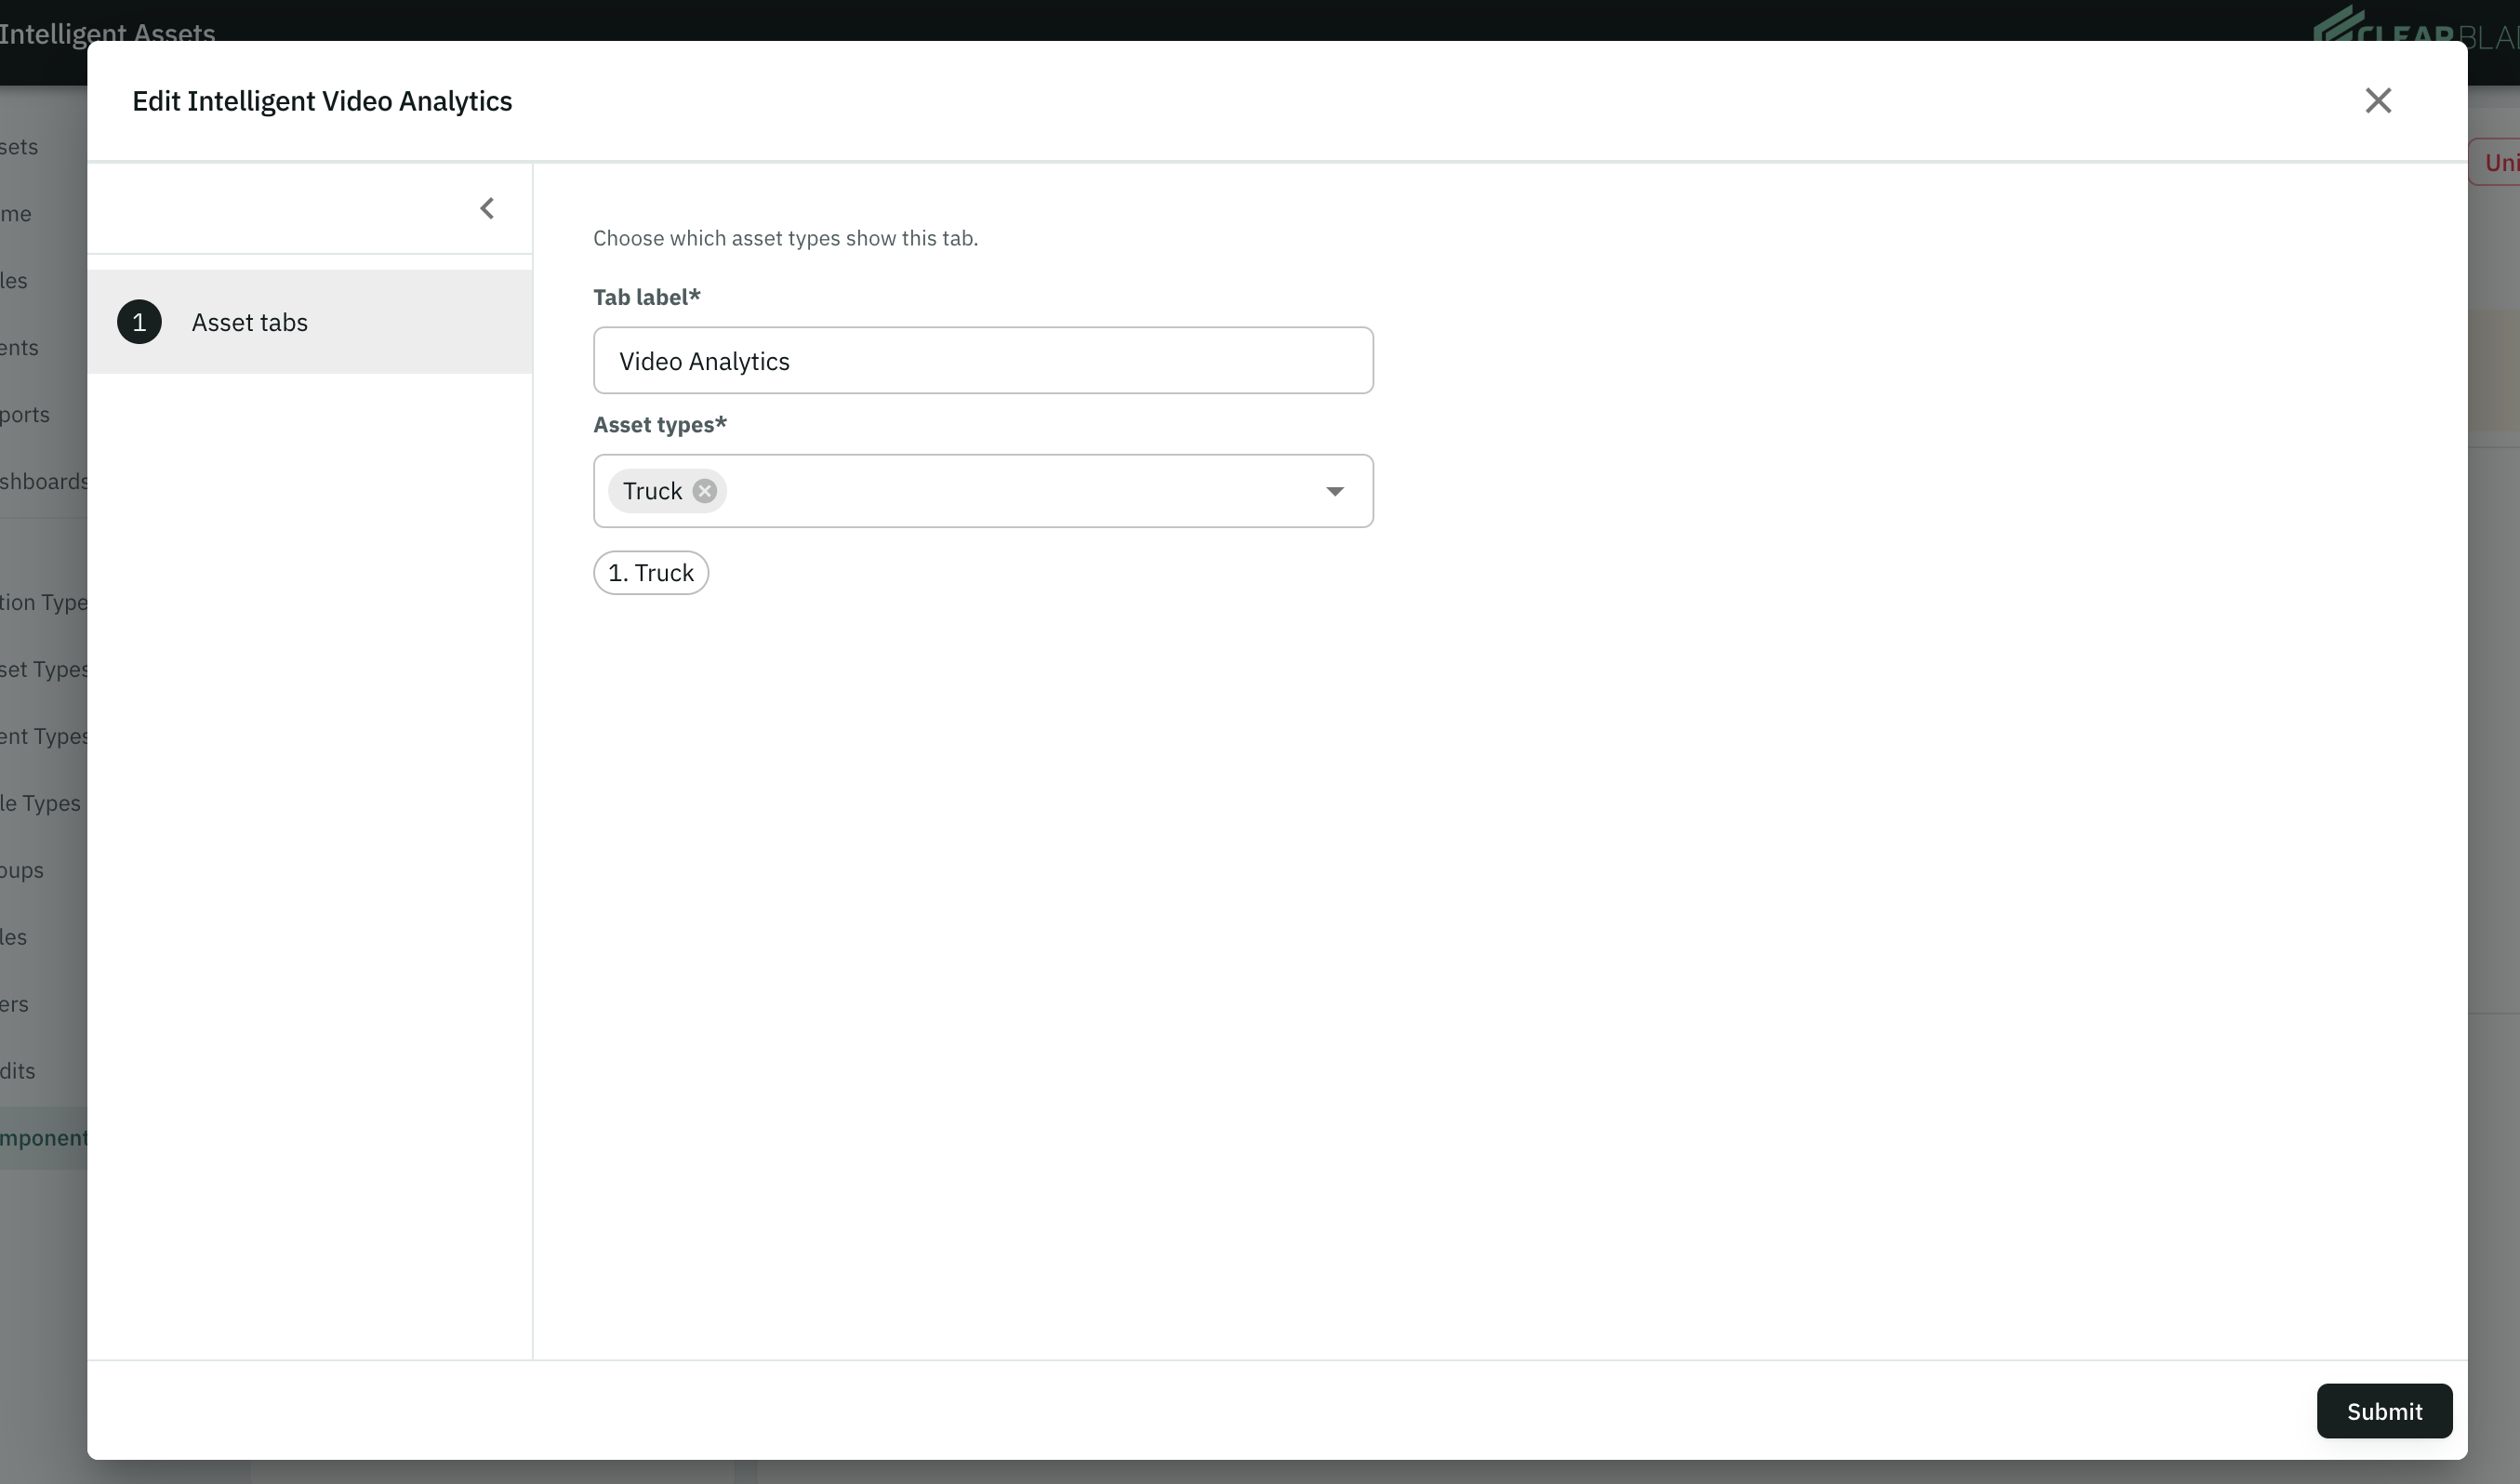
Select a component, then click Edit.
Disable a component
Select a component, then click Disable. If the component added any UI to the app, those elements will be hidden. Everything the component stored stays in place. You can disable a component when you want to stop using it but keep its data.
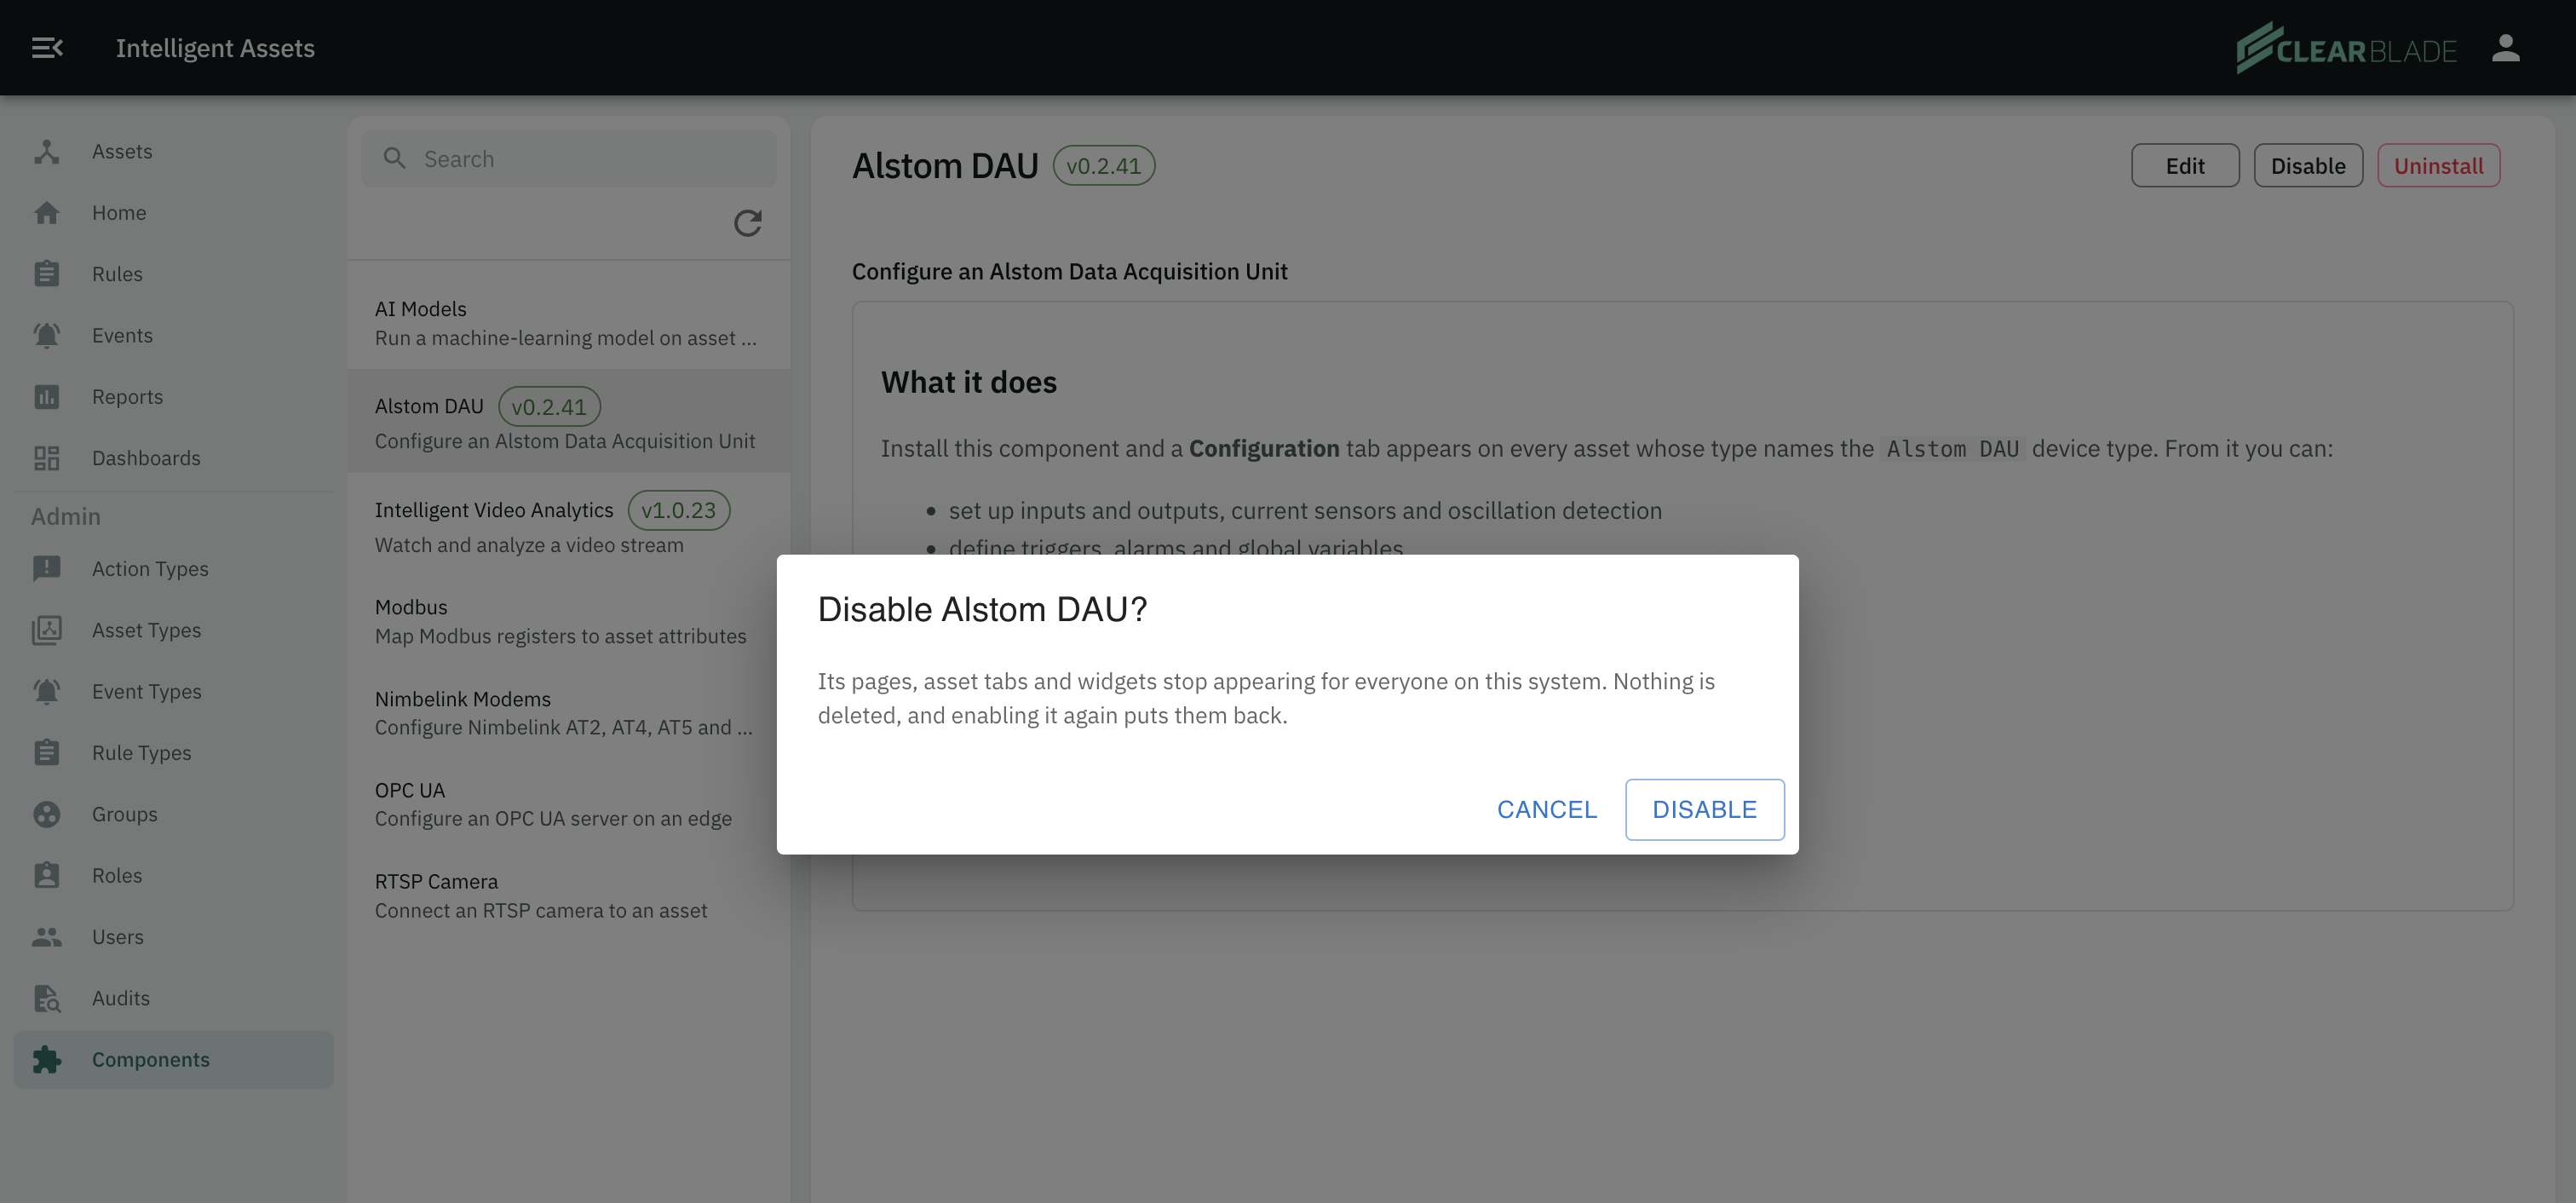
Click Enable to bring UI elements back.
Uninstall a component
Uninstall deletes data. Read the confirmation dialog before you continue for more information. You cannot undo this.
-
Click the component in the list.
-
Click Uninstall.
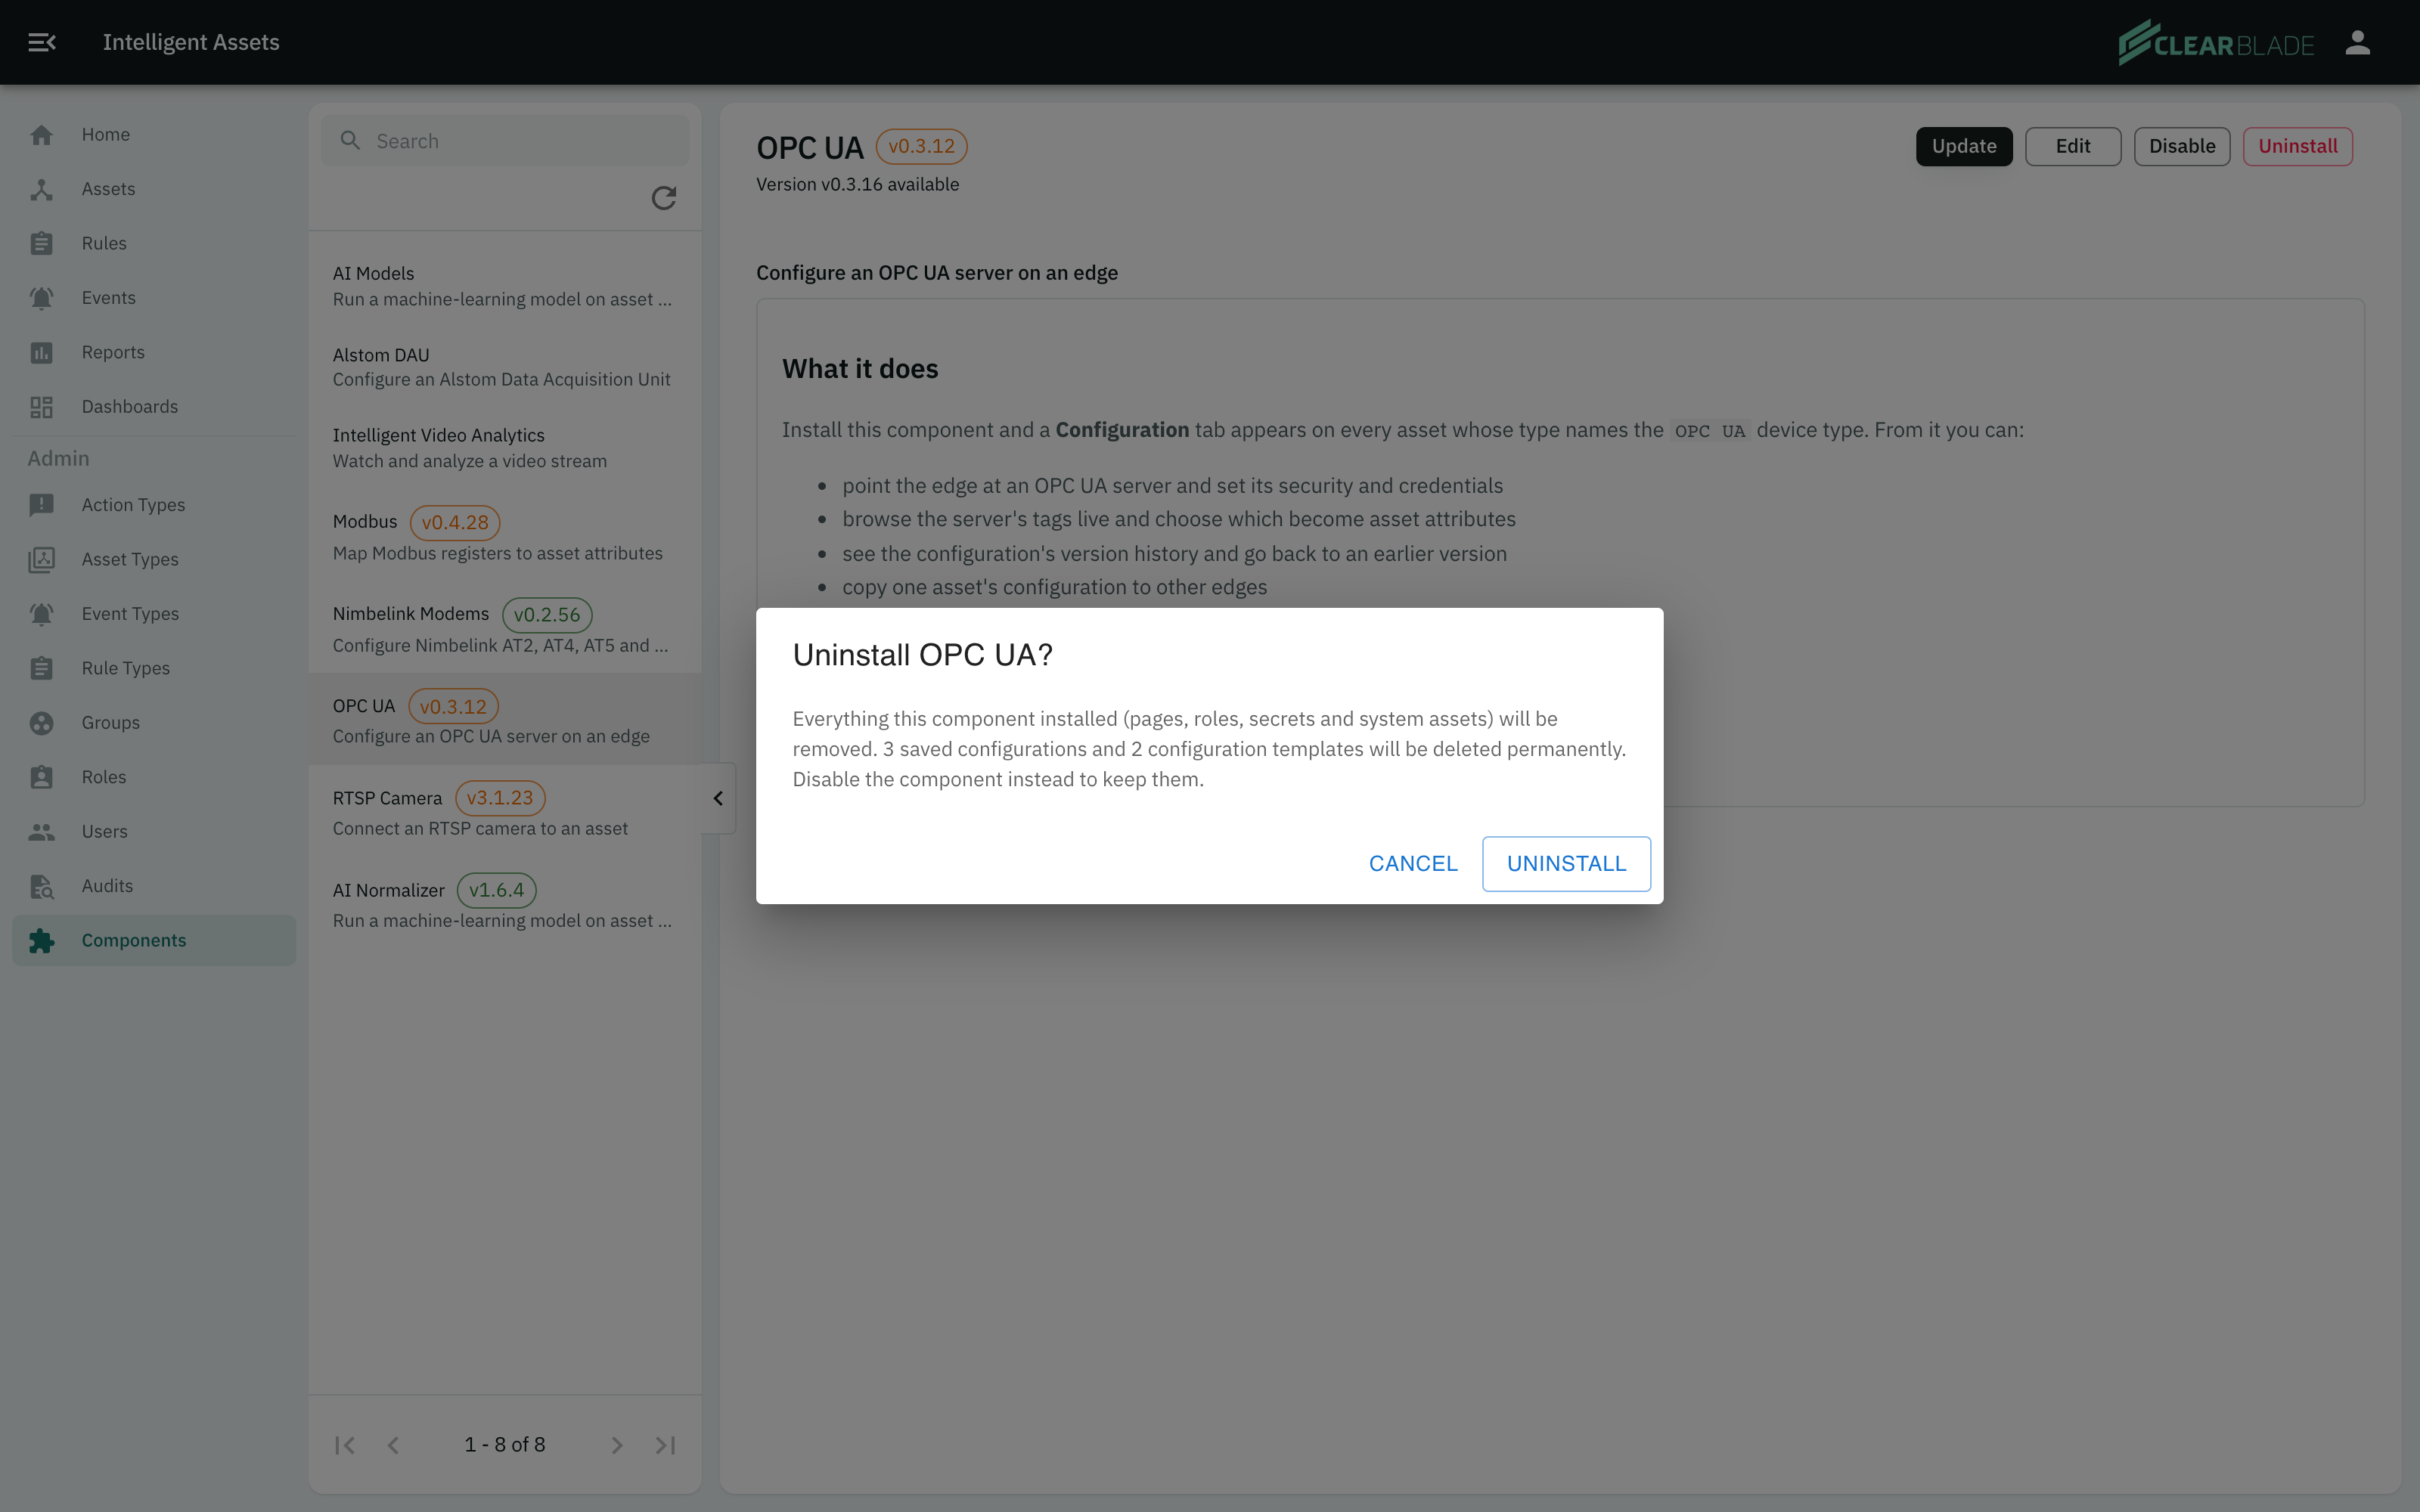
Uninstall removes the pages, roles, secrets and system artifacts the component installed. It also deletes any configurations and templates saved if the component serves a device type.
To keep that data, disable the component instead.
Supply a secret to a component
A component may need a value at runtime, such as an API key. You upload the value once in the System Settings. You then choose it when you install the component.
-
Click your user icon, then click Settings.
-
Click Secrets under System.
-
Click Add secret.
-
Enter a name you will recognize, and the value.
-
Click save.
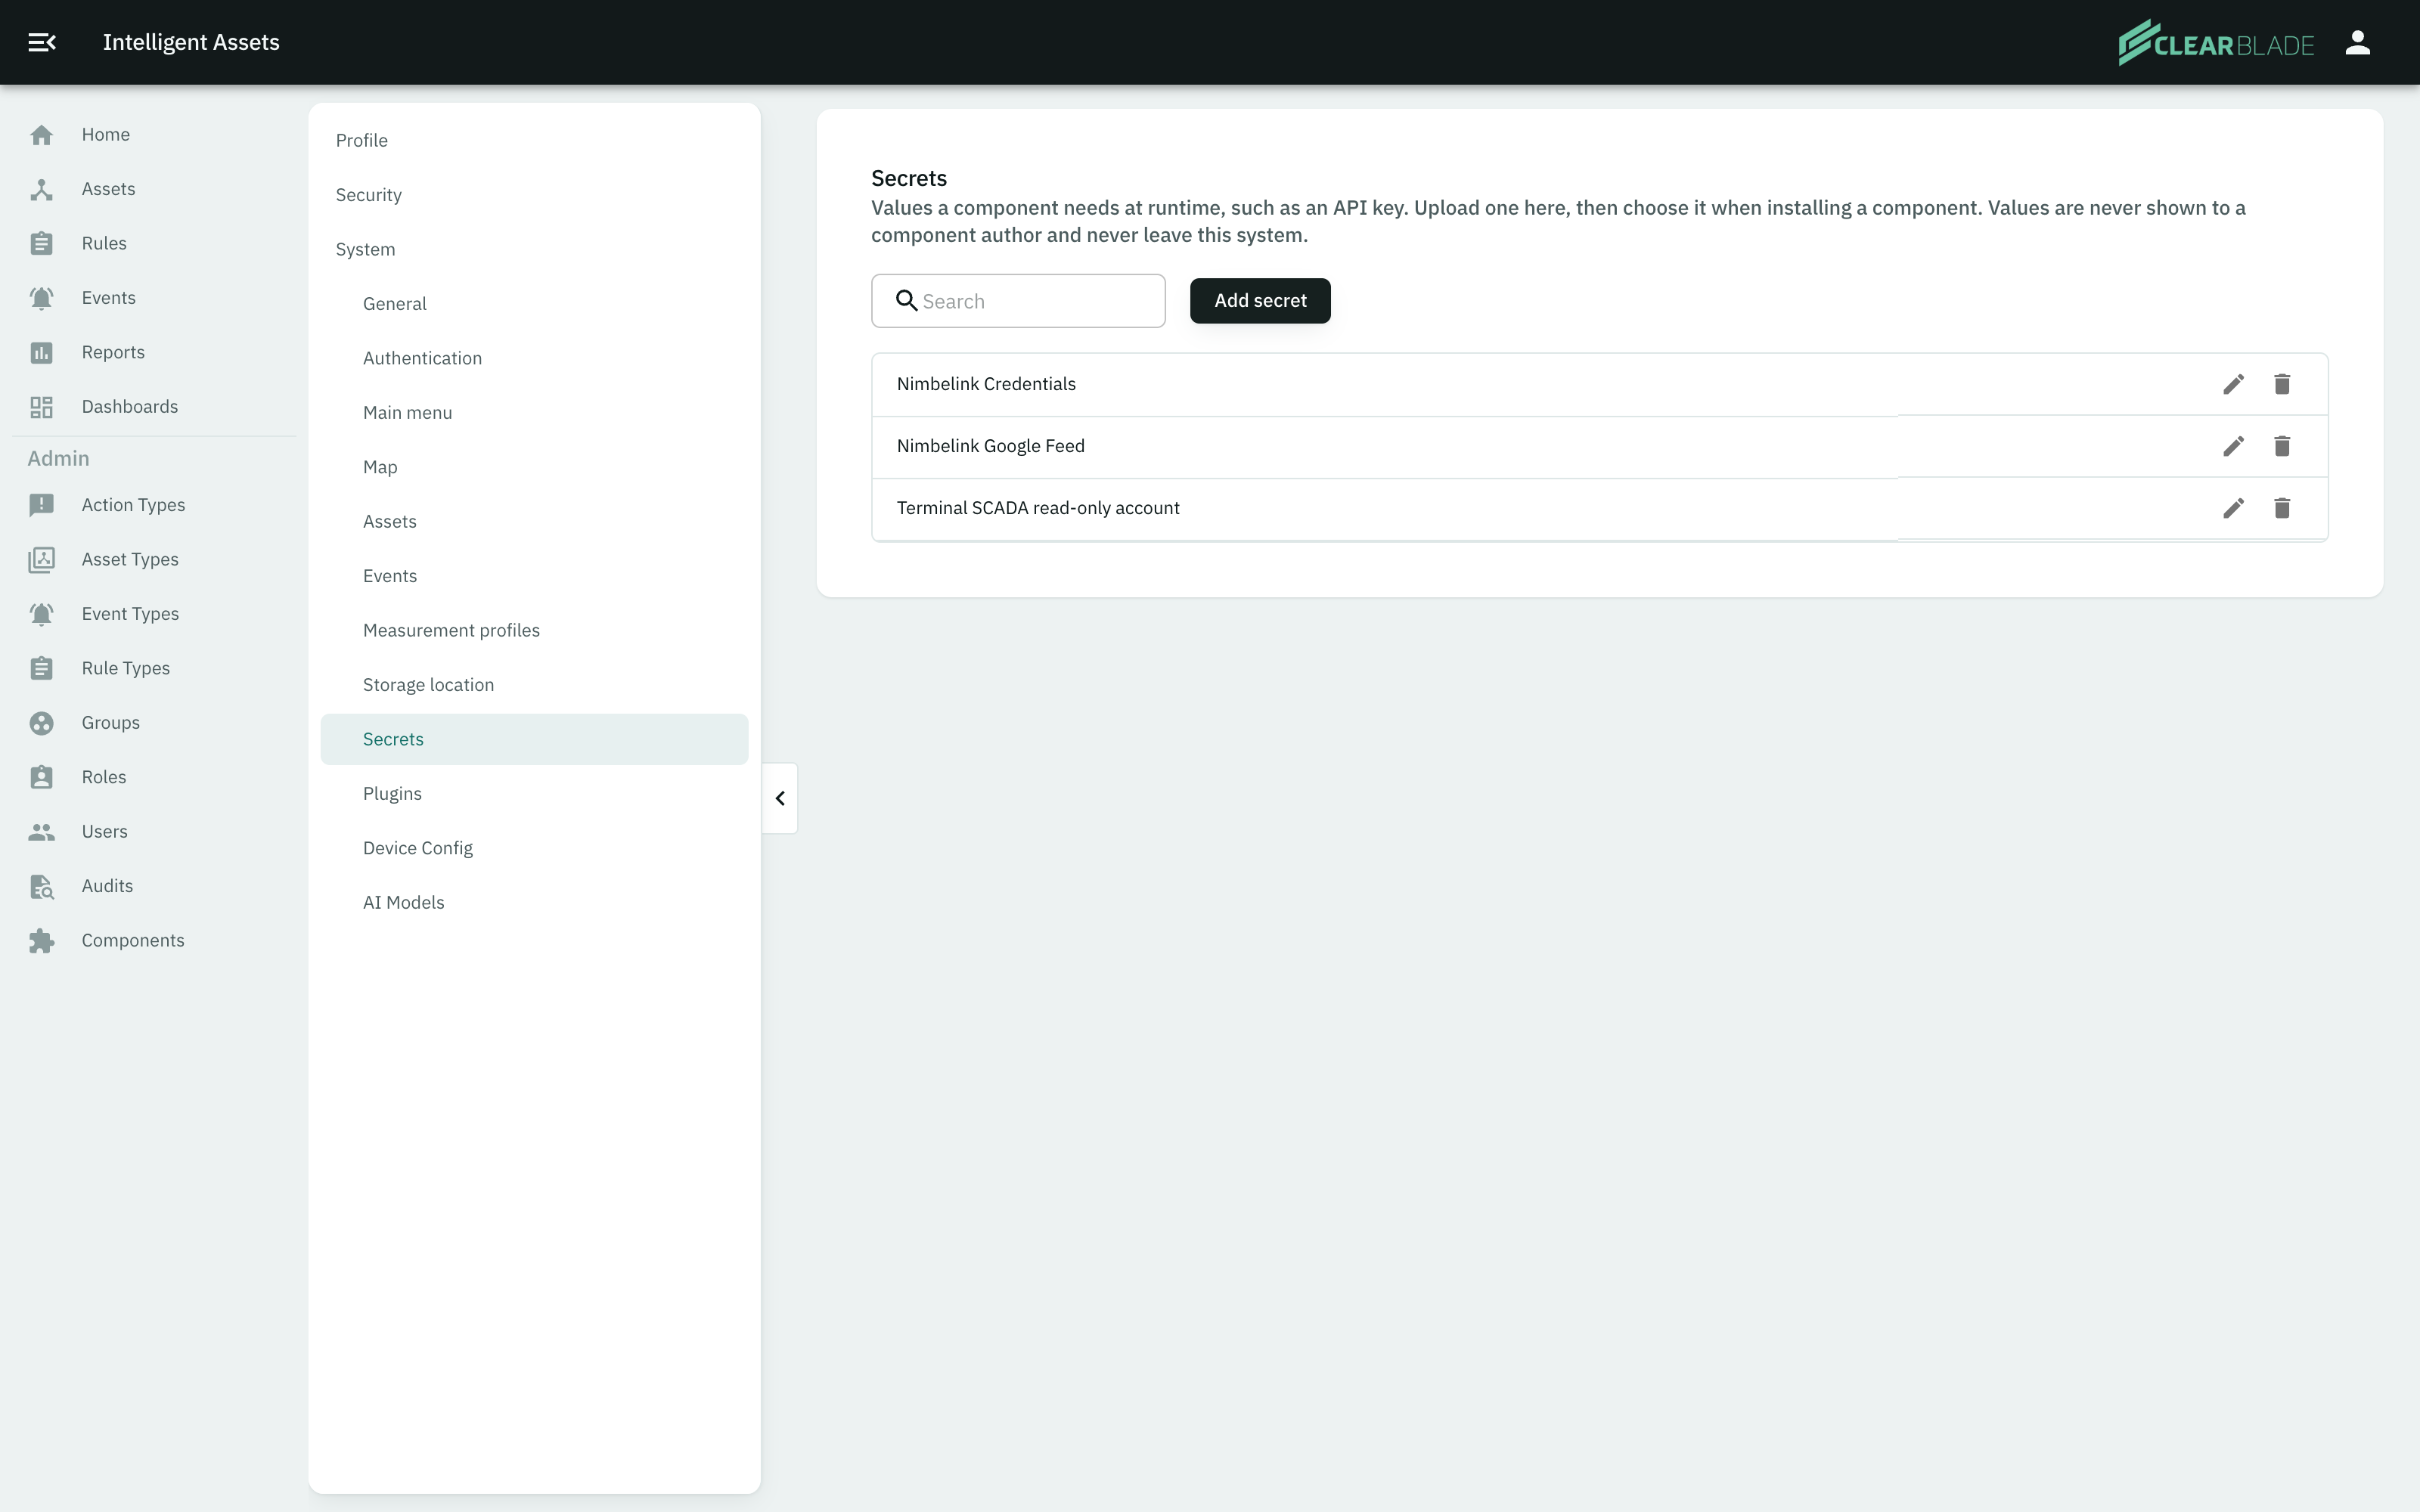
Install the component after you add the secret. The install step lists your secrets and asks you to pick one for each slot the component declares.
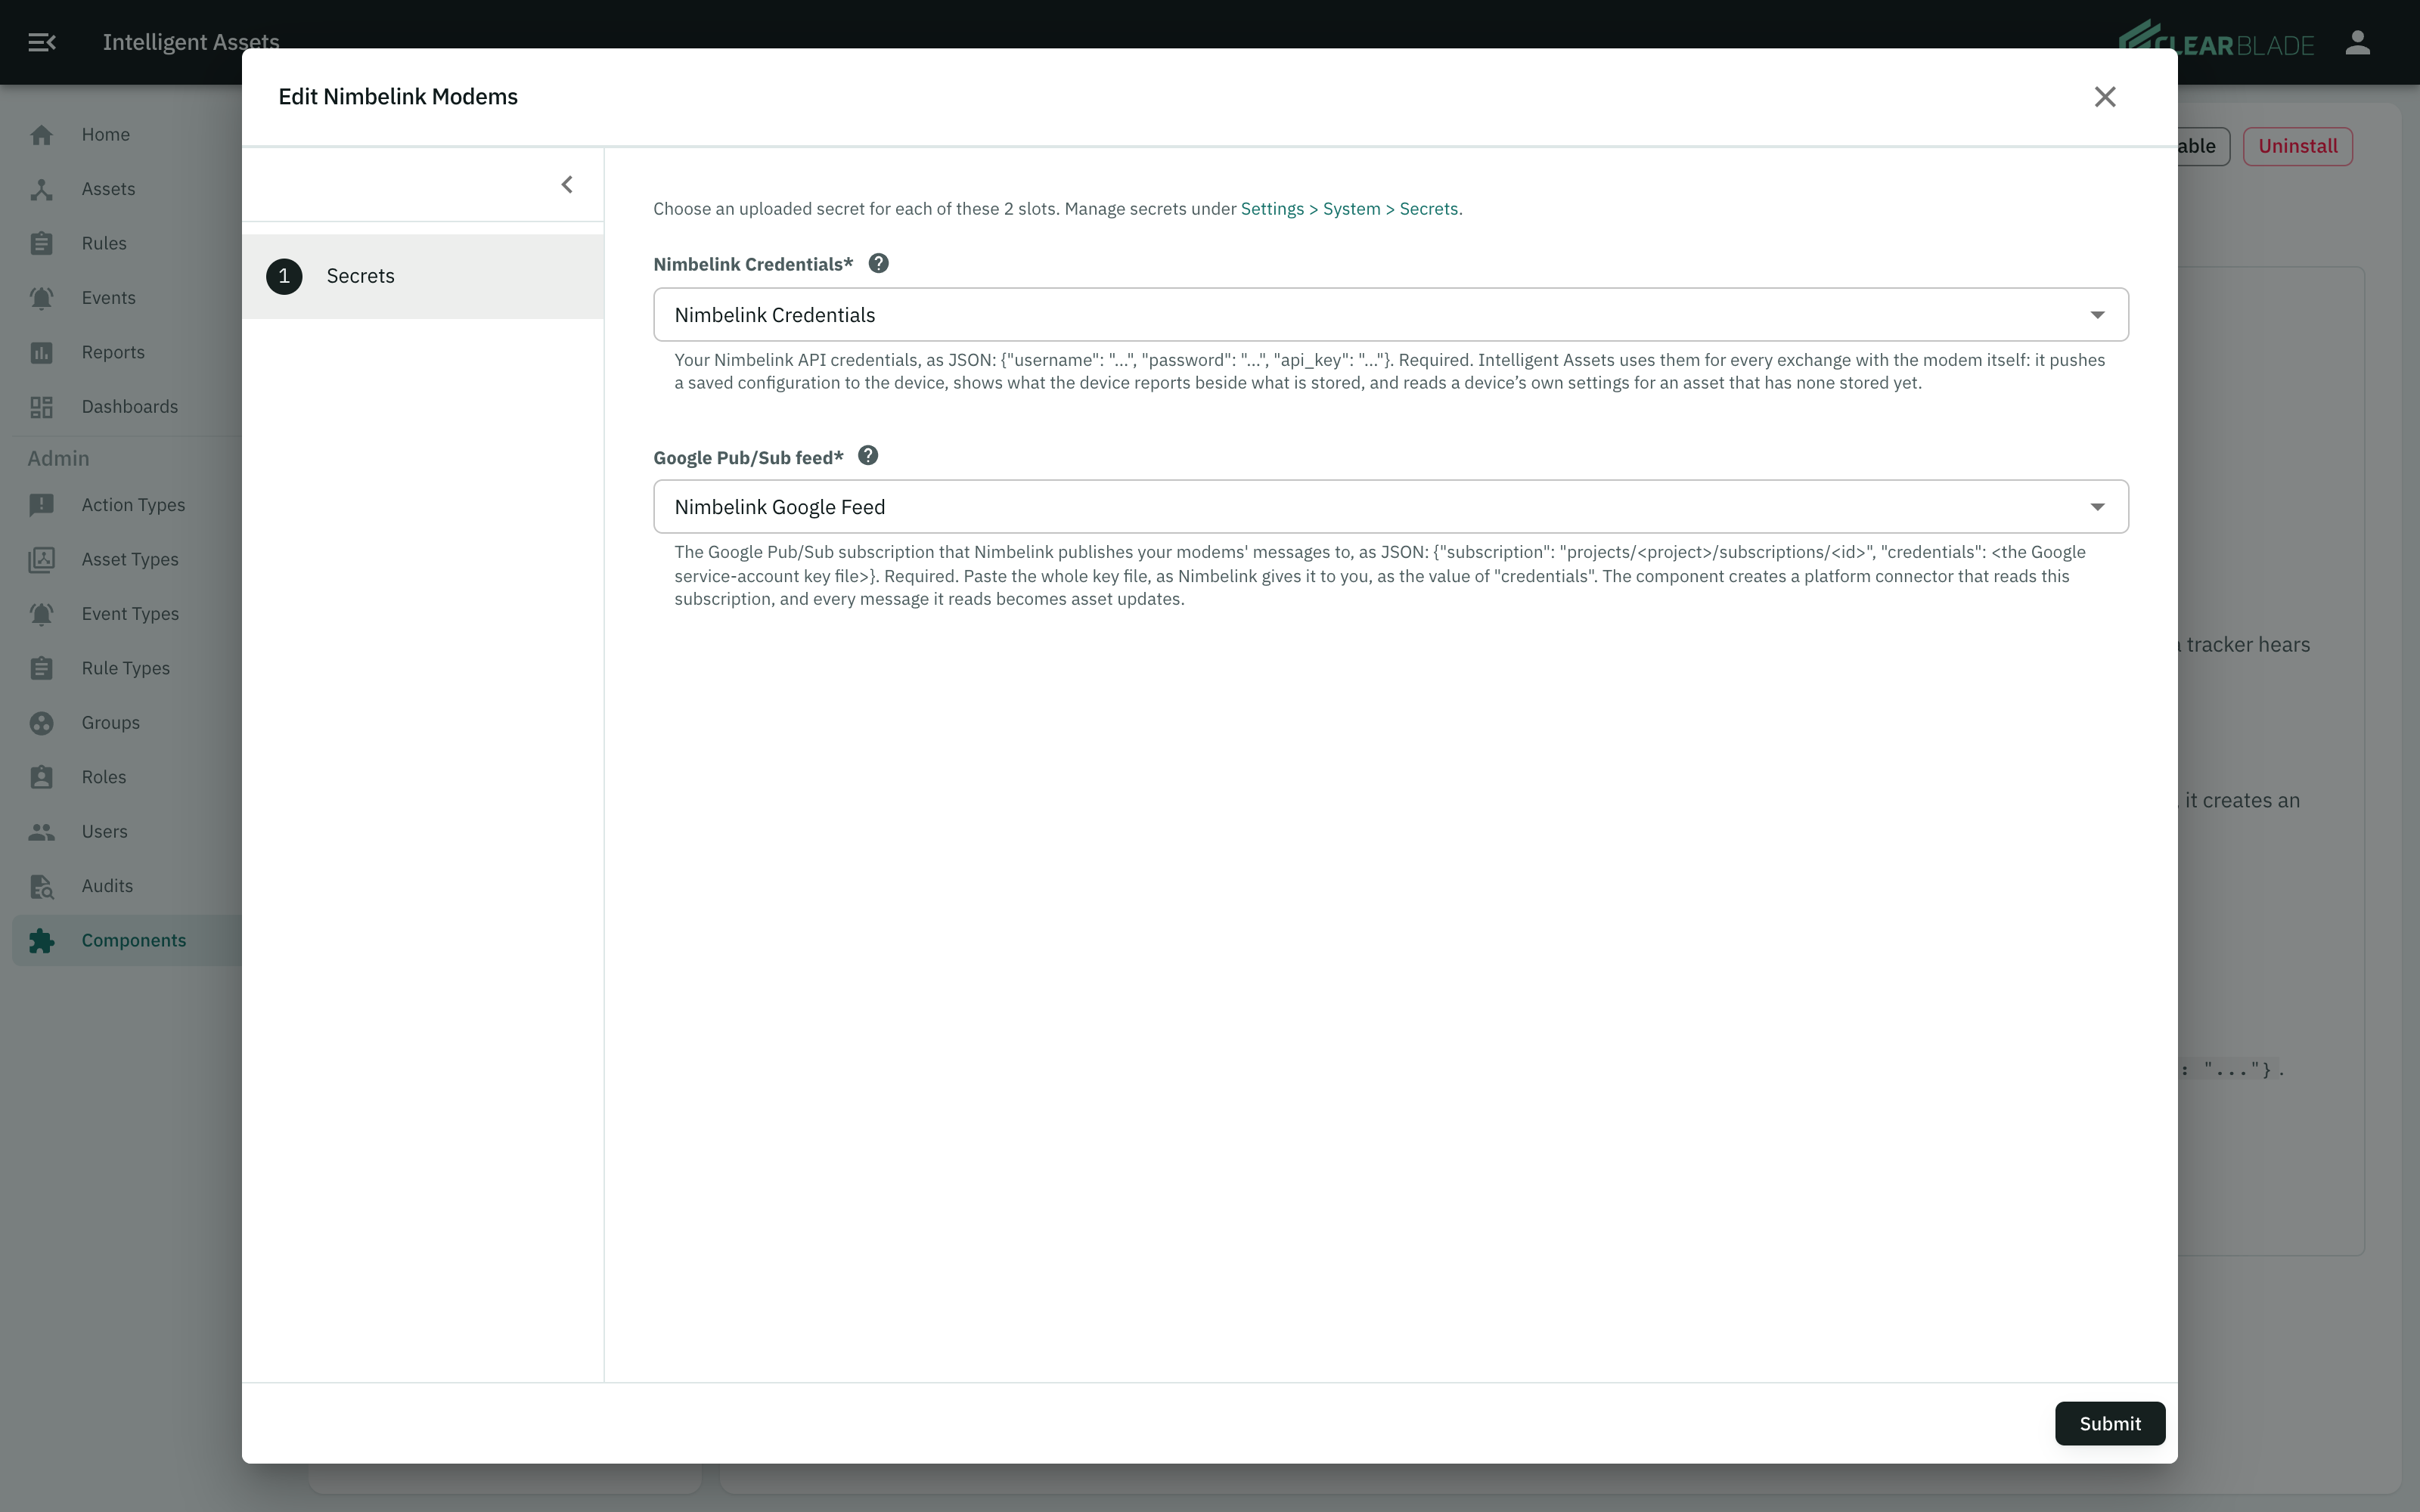
A component states whether a secret is required. If a secret is optional, the component can install without it.
Let people see a page a component added
Some components may add a page to the left navigation menu. The page is protected by its own permission, so it is not visible to everyone straight away.
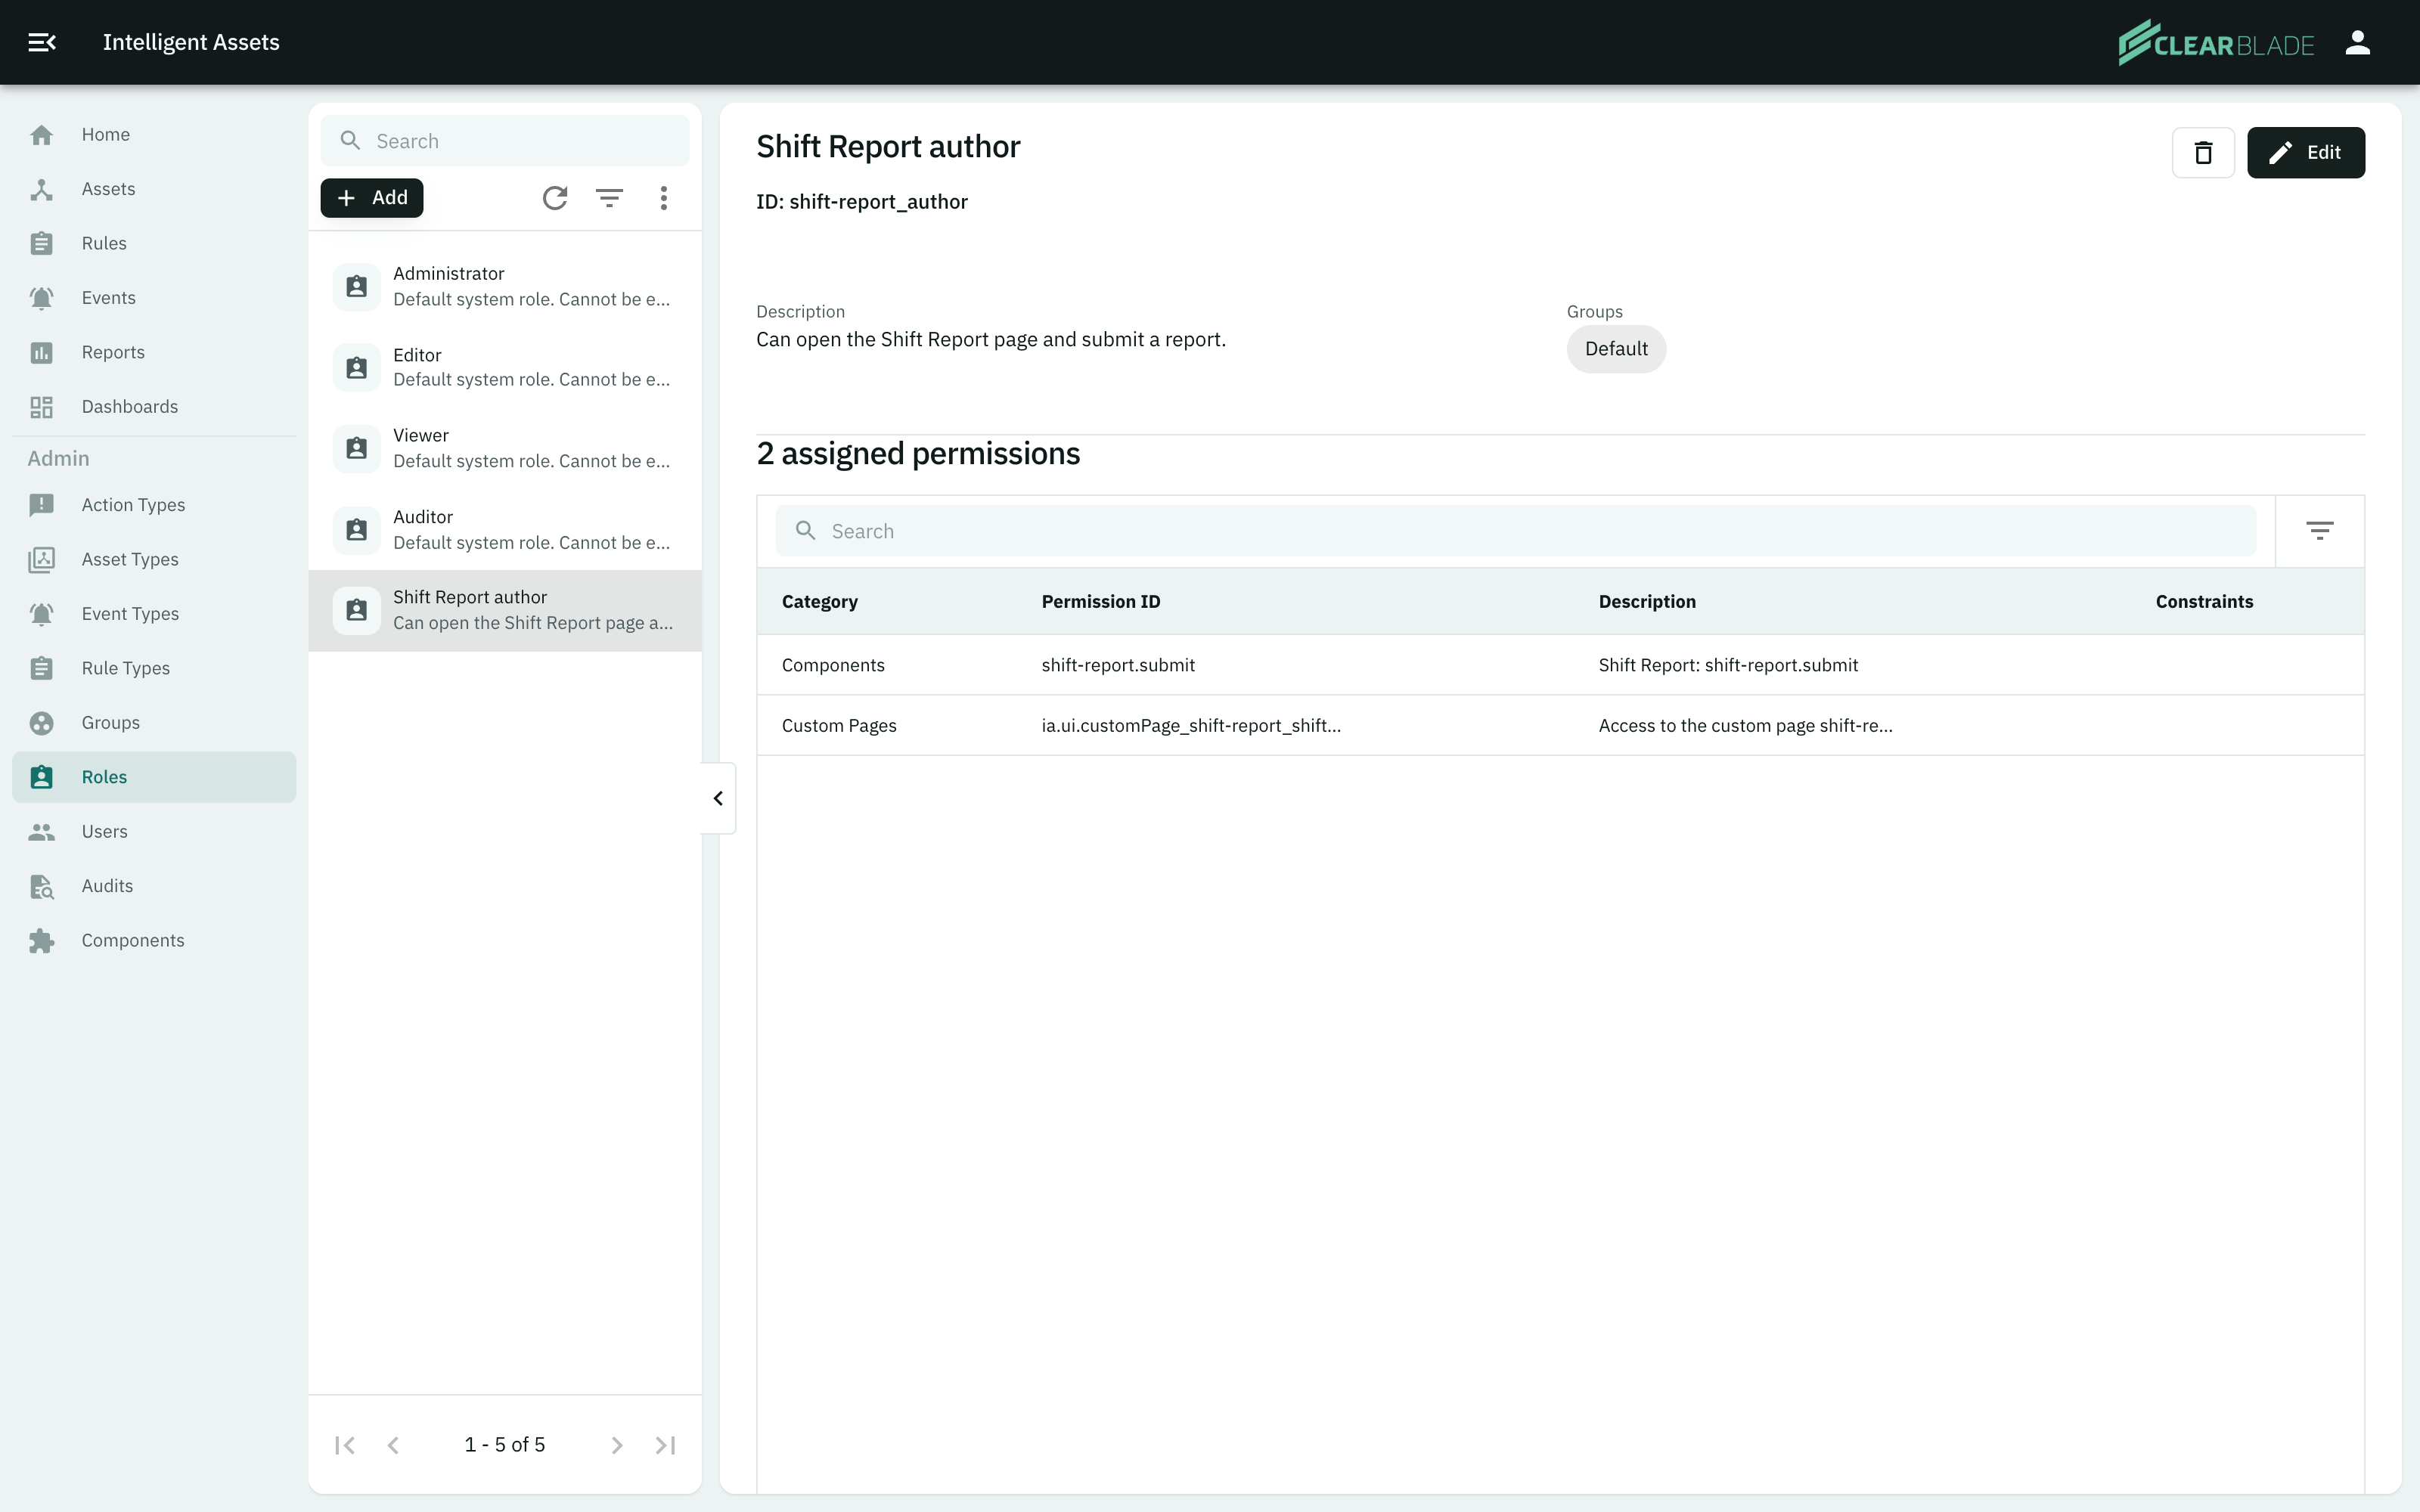
A component that adds a page may also install a role that can open it, though that is not required. To gain access to the new page either:
-
Give your user the custom role the component installed (if it installed one).
-
Add the page's specific permission to a role your user already has.
-
Click Roles in the Admin section of the left menu.
-
Select the role the component installed to see what it grants.
-
To use the role, assign it to the user on the Users page.
-
To use an existing role instead, select that role, add the page's permission, and save.