Migration tutorial
This tutorial will walk through the steps necessary to migrate an existing Google Cloud IoT Core registry into a ClearBlade IoT Core registry. The tutorial steps can be used for pilot and production migrations.
Setup requirements
Before migrating an IoT Core registry, access to a Google Cloud project area is required with specific authorities.
Access to Google Cloud project area
IAM privileges for creating service accounts and granting authorities
Existing IoT Core registry for migration
Access to Cloud Logging and Cloud Monitoring
Access to Pub/Sub for message validation
Ability to enable and purchase Google Cloud services in the Google Cloud Marketplace
Creating a Google Cloud service account
A service account is required to migrate and run the IoT Core service. These instructions allow you to create a service account with the necessary permissions:
1. Select your desired project area.
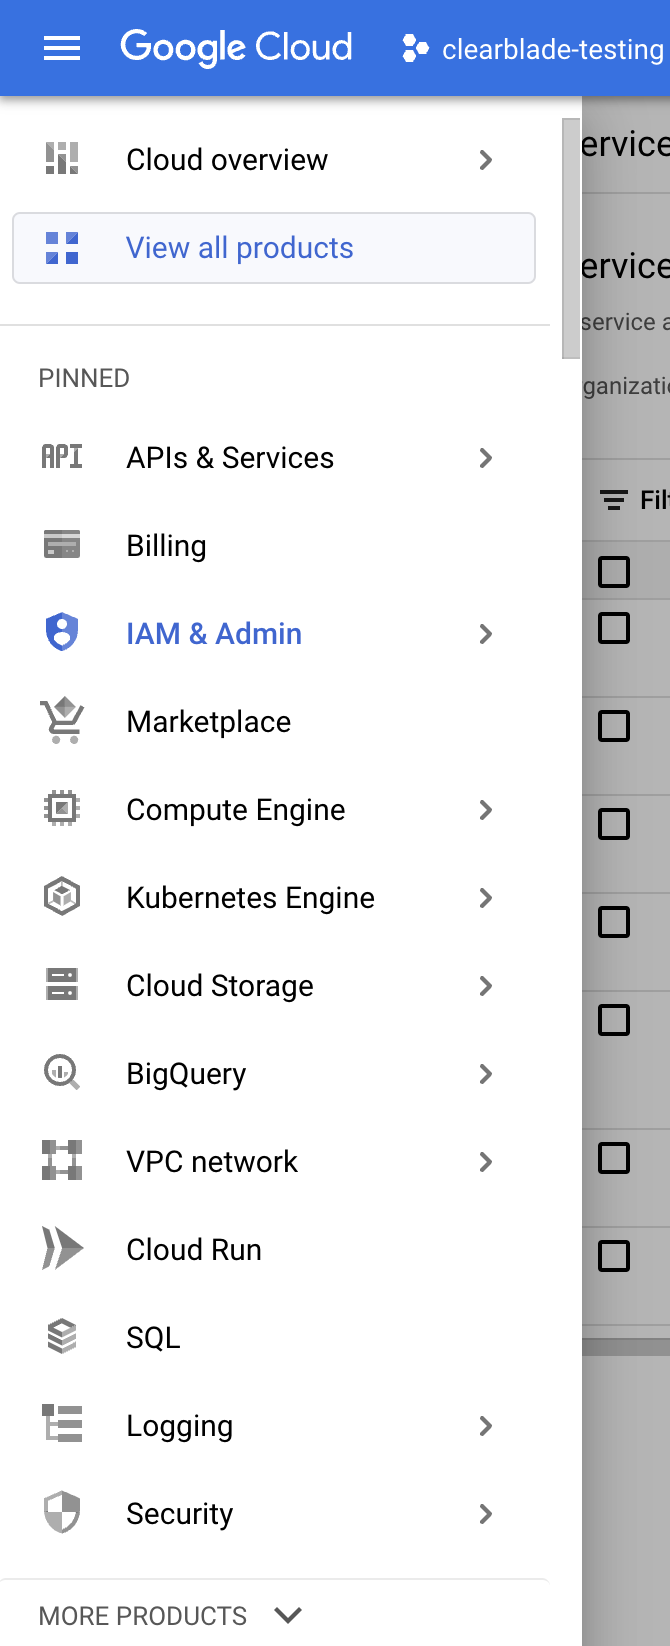
2. Open the IAM & Admin Cloud services from the flyout menu.
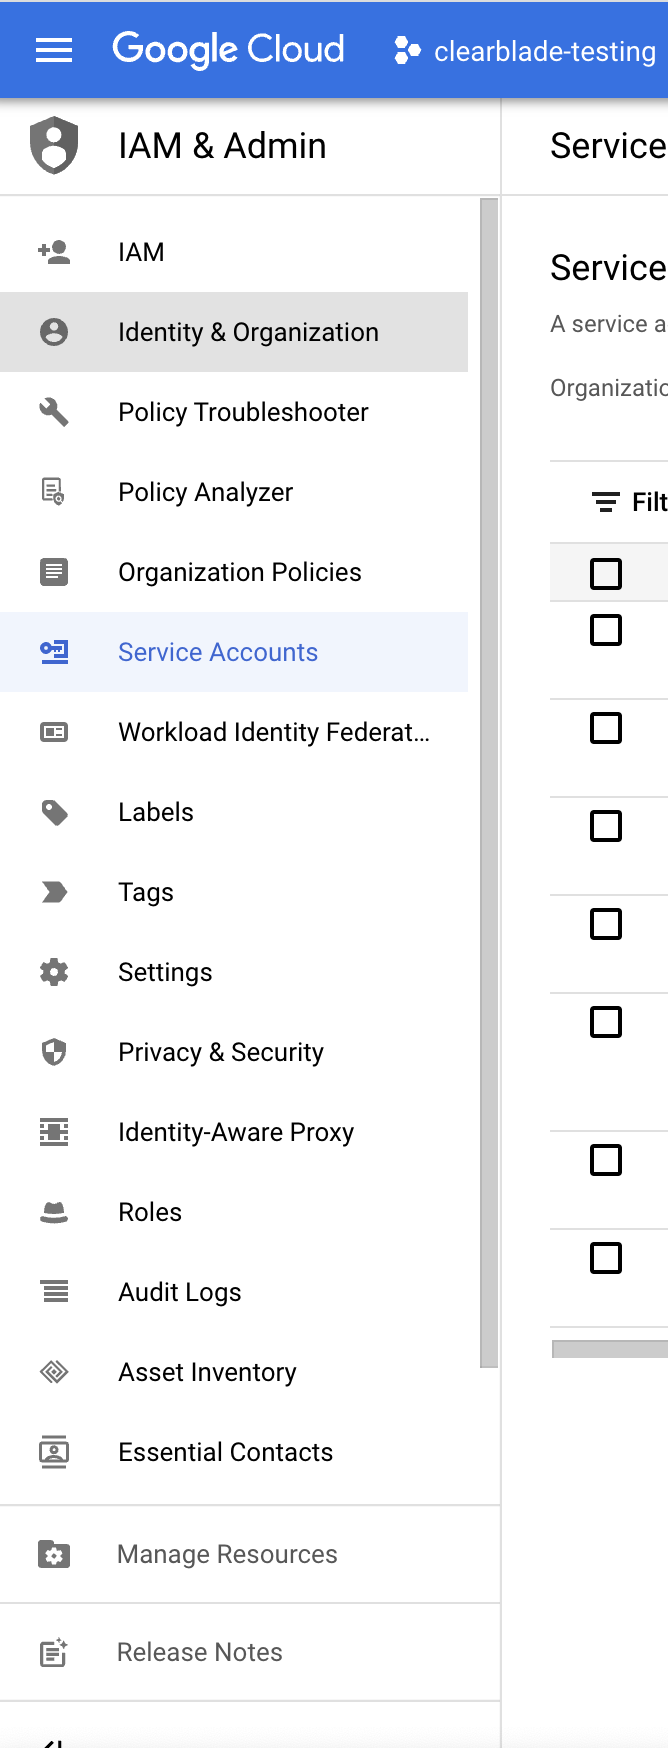
3. Select Service Accounts in the left menu.
4. Click CREATE SERVICE ACCOUNT from the top menu bar.

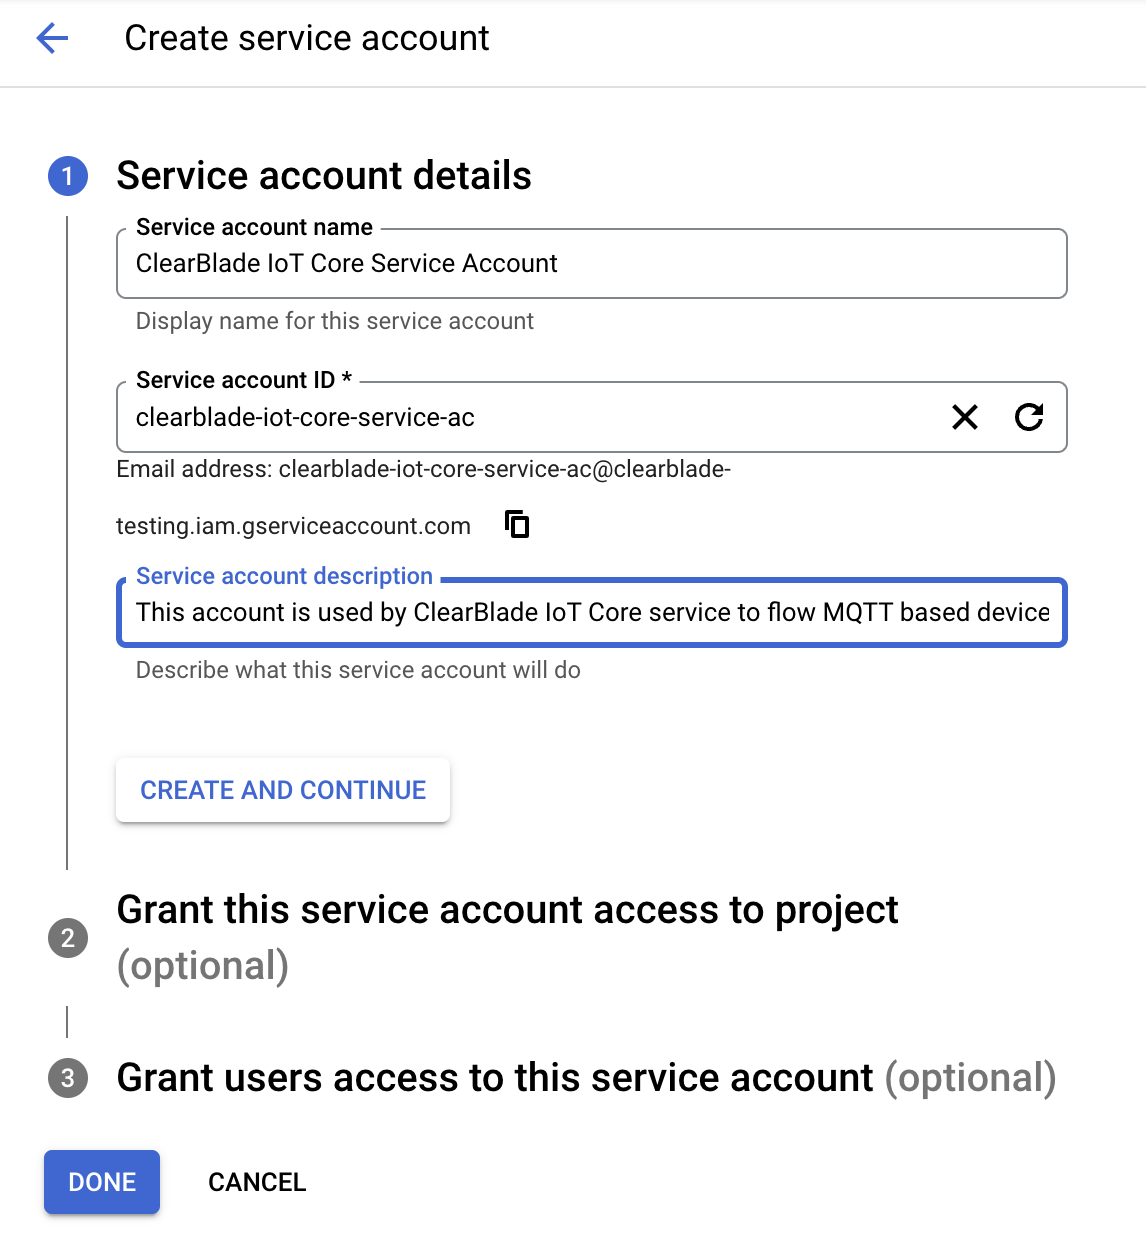
5. Complete the account details.
a. Service account name: ClearBlade IoT Core Service Account
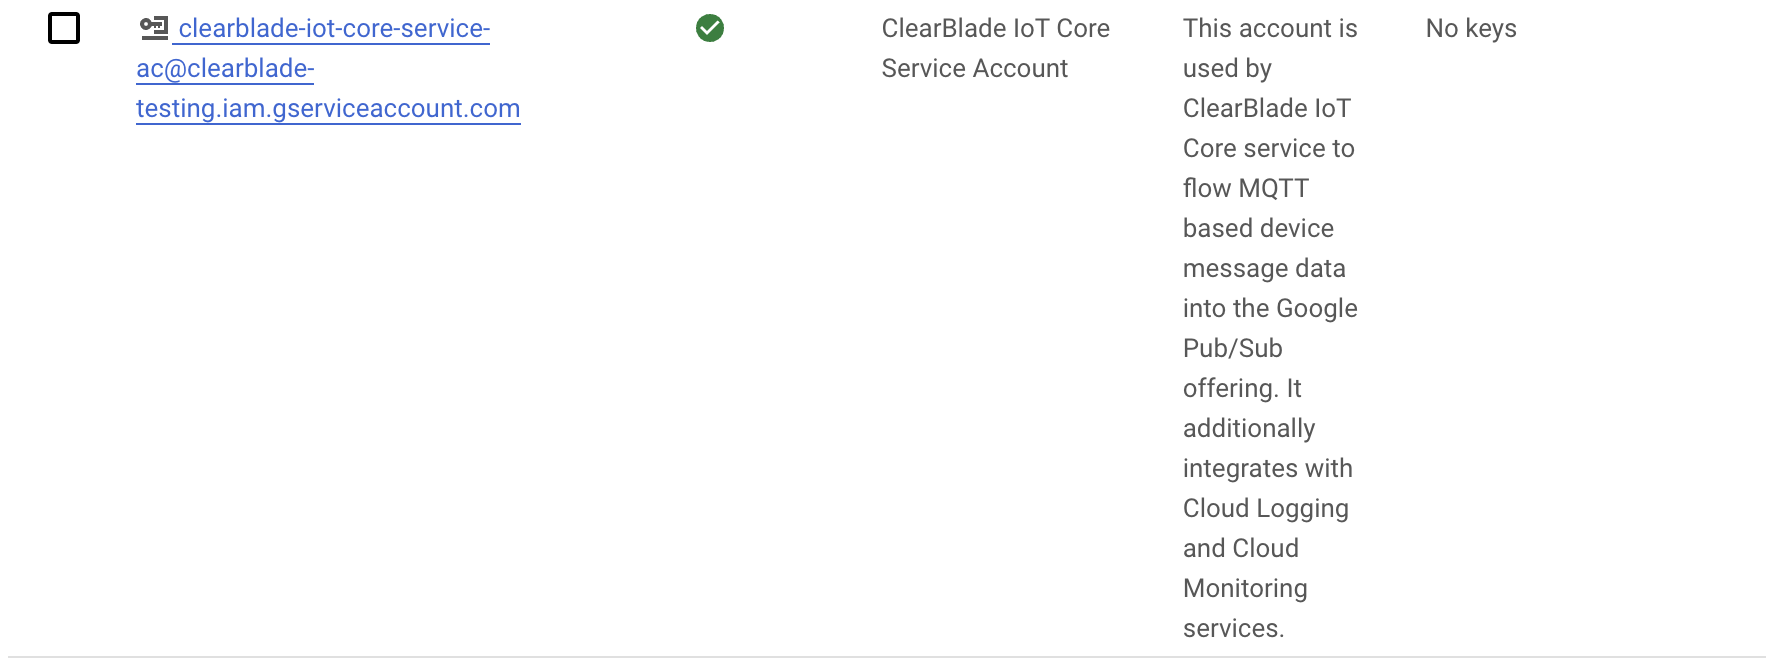
b. Account description: This account is used by ClearBlade IoT Core service to flow MQTT-based device message data into the Google Pub/Sub offering. It additionally integrates with Cloud Logging and Cloud Monitoring.
c. Click CREATE AND CONTINUE.
6. Give your service account the necessary permissions.
Option 1: Create a custom role with the necessary permissions and assign it to your service account
1. Navigate to the IAM & Admin’s Roles page and create a new custom role.
2. Give your role a name and ID, and add these permissions:
Permission | Reason |
|---|---|
cloudiot.devices.list | Needed to migrate IoT Core registries only. It can be removed once the migration is completed. |
cloudiot.registries.get | Needed to migrate IoT Core registries only. It can be removed once the migration is completed. |
cloudiot.registries.list | Needed to migrate IoT Core registries only. It can be removed once the migration is completed via the UI. |
logging.logEntries.create | Required for ClearBlade IoT Core to send data directly to the Google Cloud Logging service. This permission is needed for normal operations. |
monitoring.metricDescriptors.create | Required for ClearBlade IoT Core to send metrics into the Google Cloud Monitoring service. This permission is needed for normal operations. |
monitoring.timeSeries.create | Required for ClearBlade IoT Core to send metrics into the Google Cloud Monitoring service. This permission is needed for normal operations. |
monitoring.timeSeries.list | Required for ClearBlade IoT Core to view metrics in the Google Cloud Monitoring service. This permission is needed for normal operations. |
pubsub.topics.list | Needed to allow the ClearBlade IoT Core console to browse Google Pub/Sub topics to send events and status updates. This permission is needed for normal operations. |
pubsub.topics.publish | Needed to allow ClearBlade IoT Core to publish messages into Google Cloud Pub/Sub topics. This permission is needed for normal operations. |
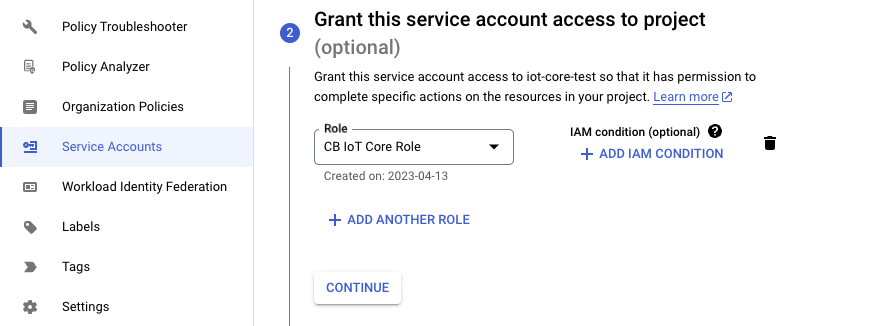
Your custom role should look like this:
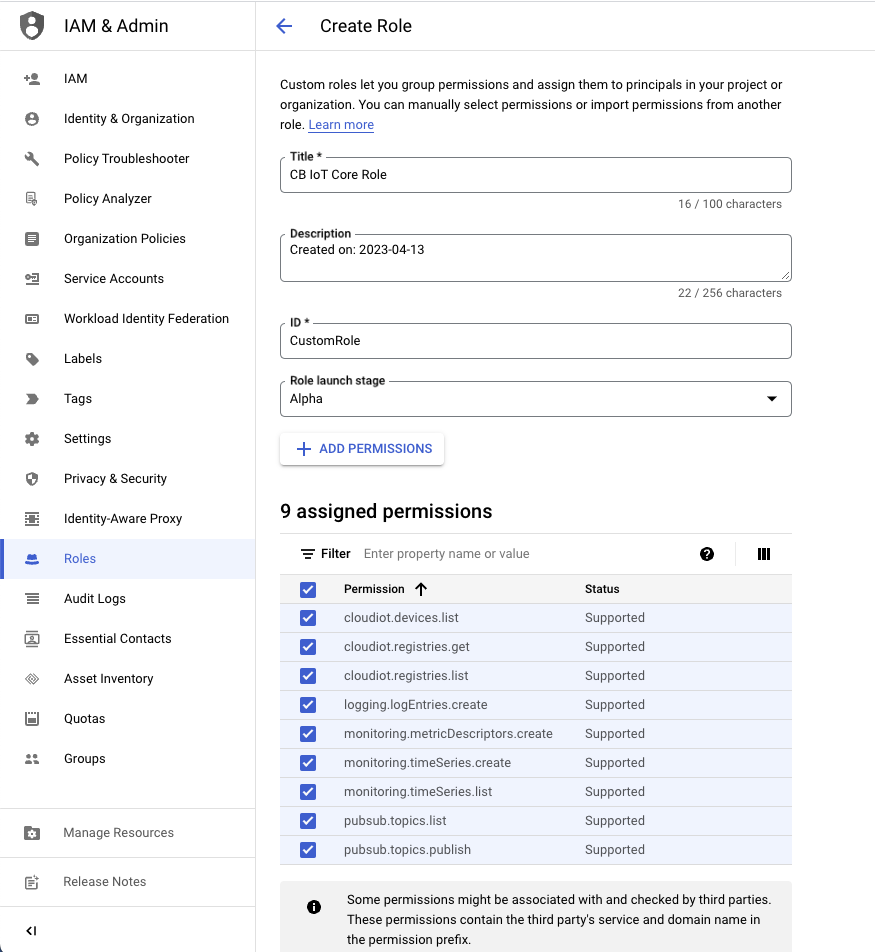
Create the role and add it to your service account:
Option 2: Add predefined roles to your service account
This option will result in excess permissions to your service account.
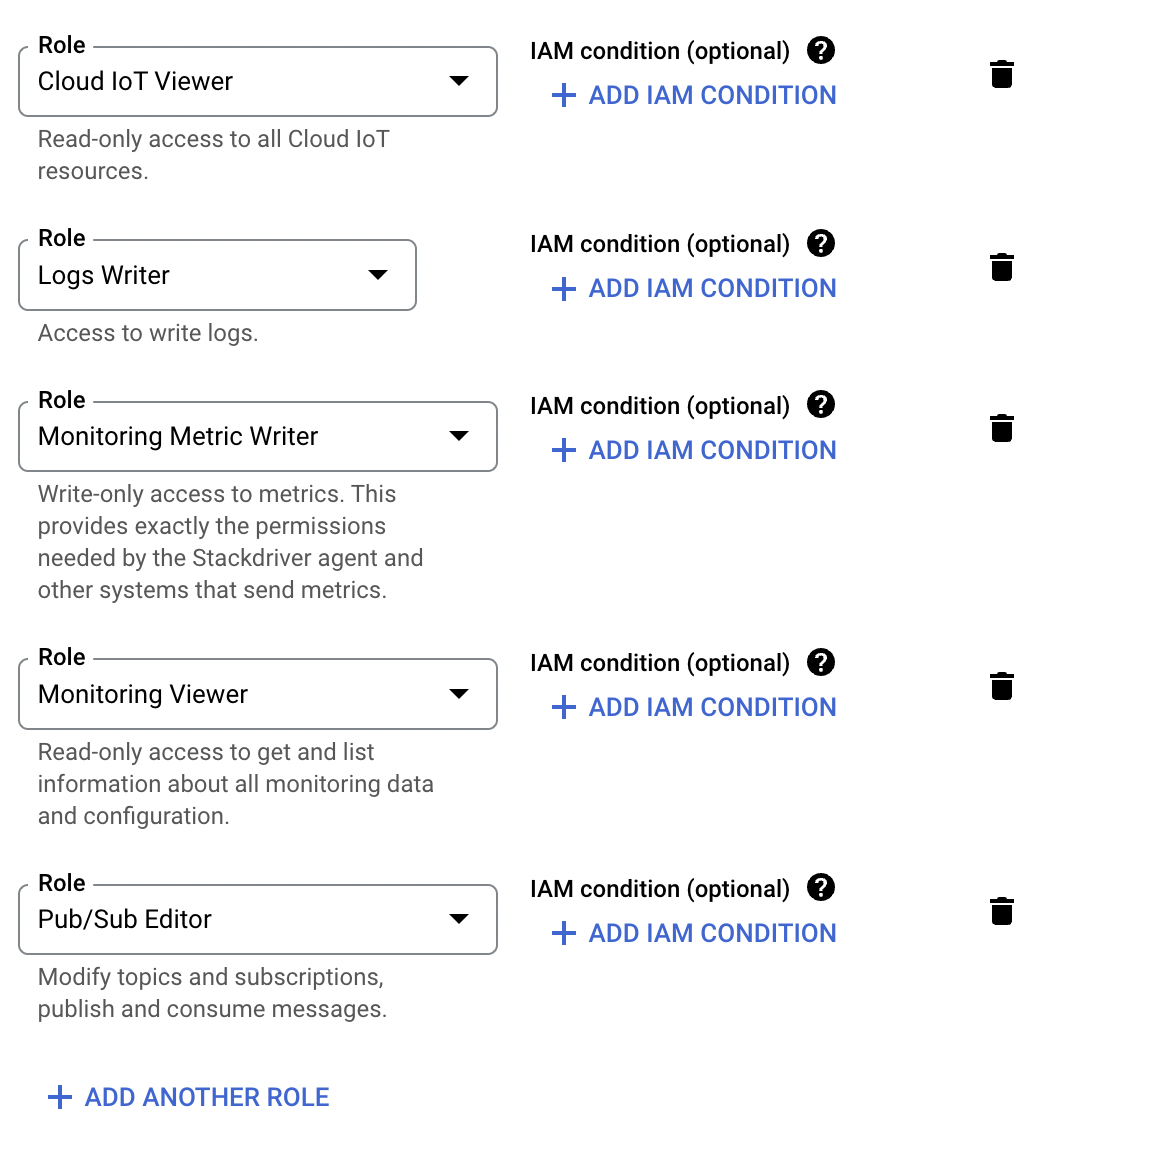
Add these predefined roles to your service account:
Role | Reason |
|---|---|
IoT Viewer | Needed to migrate IoT Core registries only. It can be removed once the migration is completed. |
Pub/Sub Editor |
|
Logs Writer | Required for ClearBlade IoT Core to send data directly into the Google Cloud Logging service. This role is needed for normal operations. |
Monitoring Metric Writer | Required for ClearBlade IoT Core to send metrics into the Google Cloud Monitoring service. This role is needed for normal operations. |
Monitoring Viewer | Required for ClearBlade IoT Core to view metrics in the Google Cloud Monitoring service. This role is needed for normal operations. |
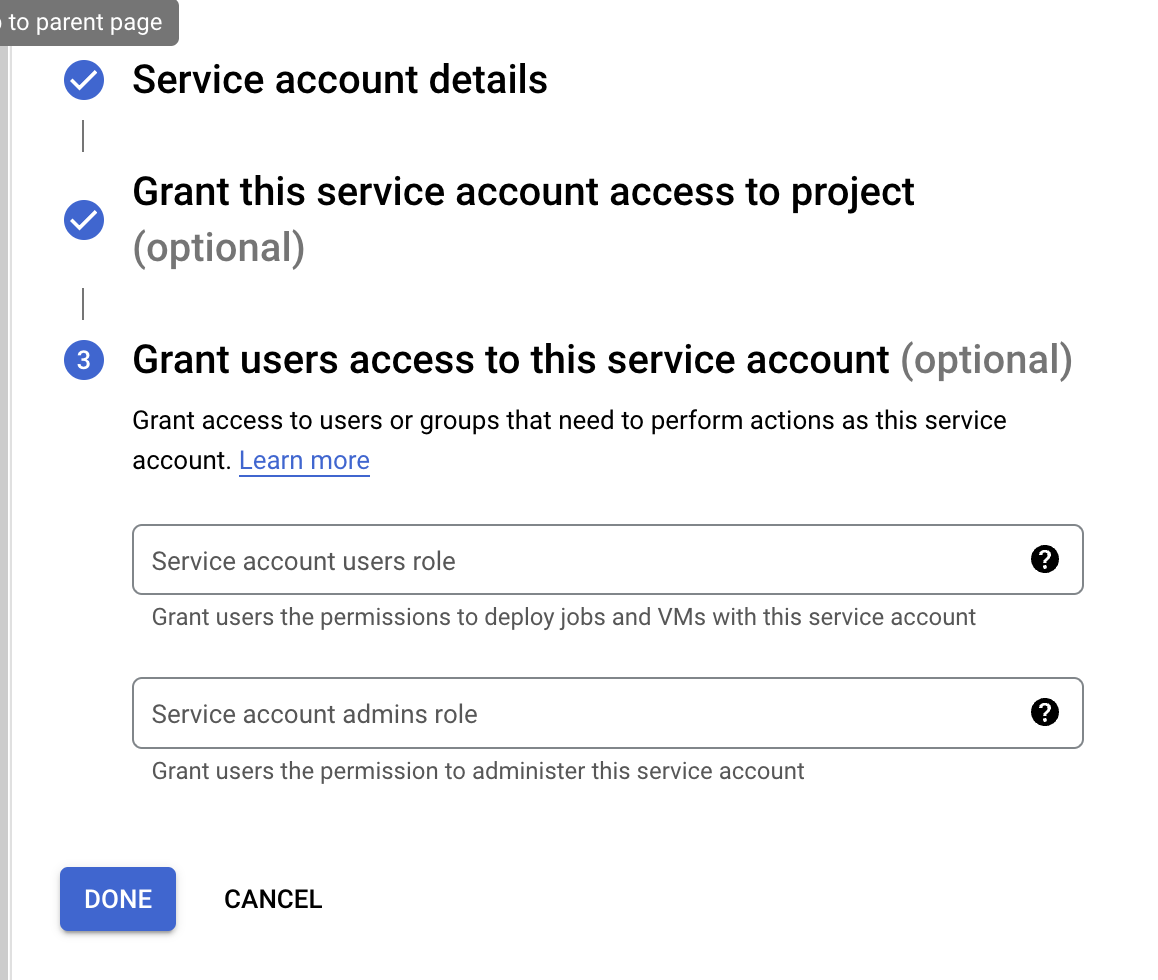
1. Leave the field to grant users access to the service account blank.
2. Click DONE to complete the service account creation.
3. Select the newly created account by clicking the email hyperlink.
4. Select KEYS from the top button bar on the Service Account page.

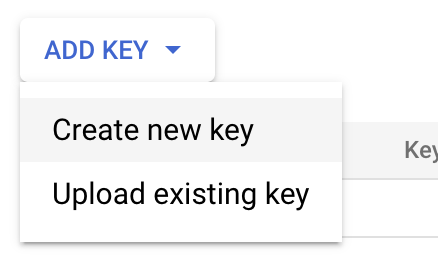
5. Click ADD KEY → Create new key.
6. Choose JSON as the key type and click CREATE.
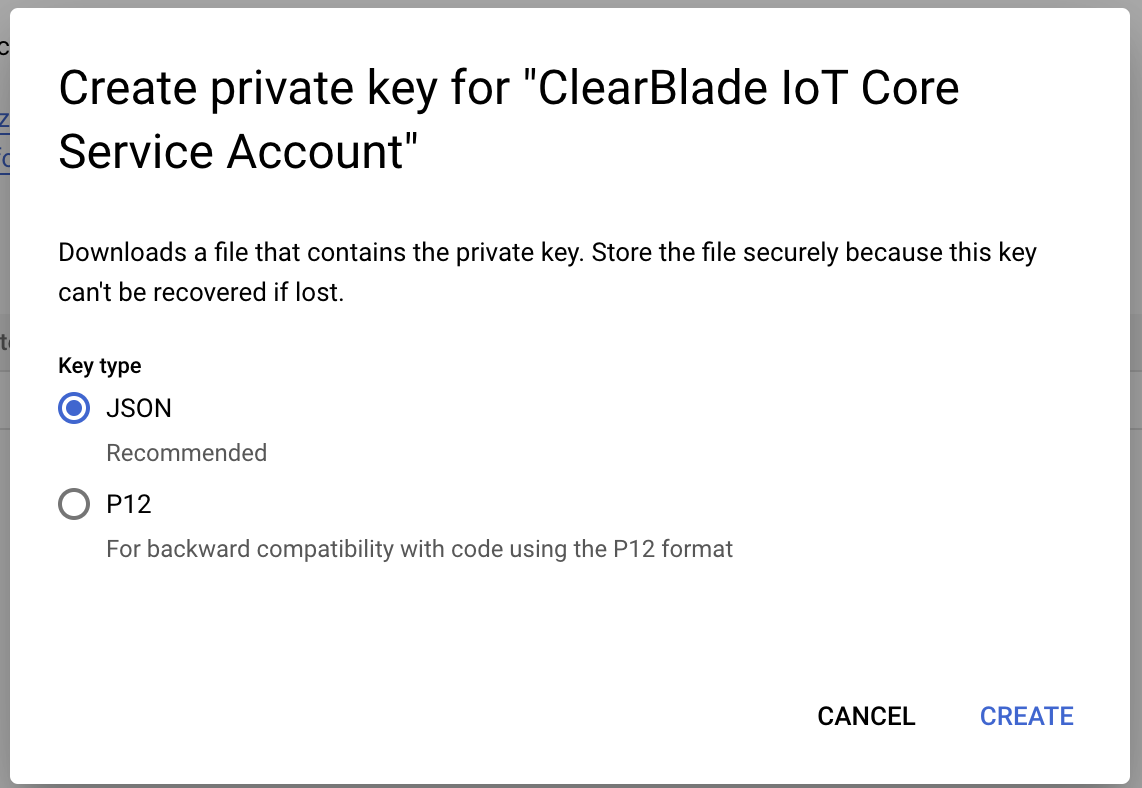
7. A new .json key file is downloaded to your device.

Purchase IoT Core from the Google Marketplace
To access the ClearBlade IoT Core offering, you must first activate it for your organization or Google Cloud Account.
Migrating a Google IoT Core registry to a ClearBlade IoT Core registry
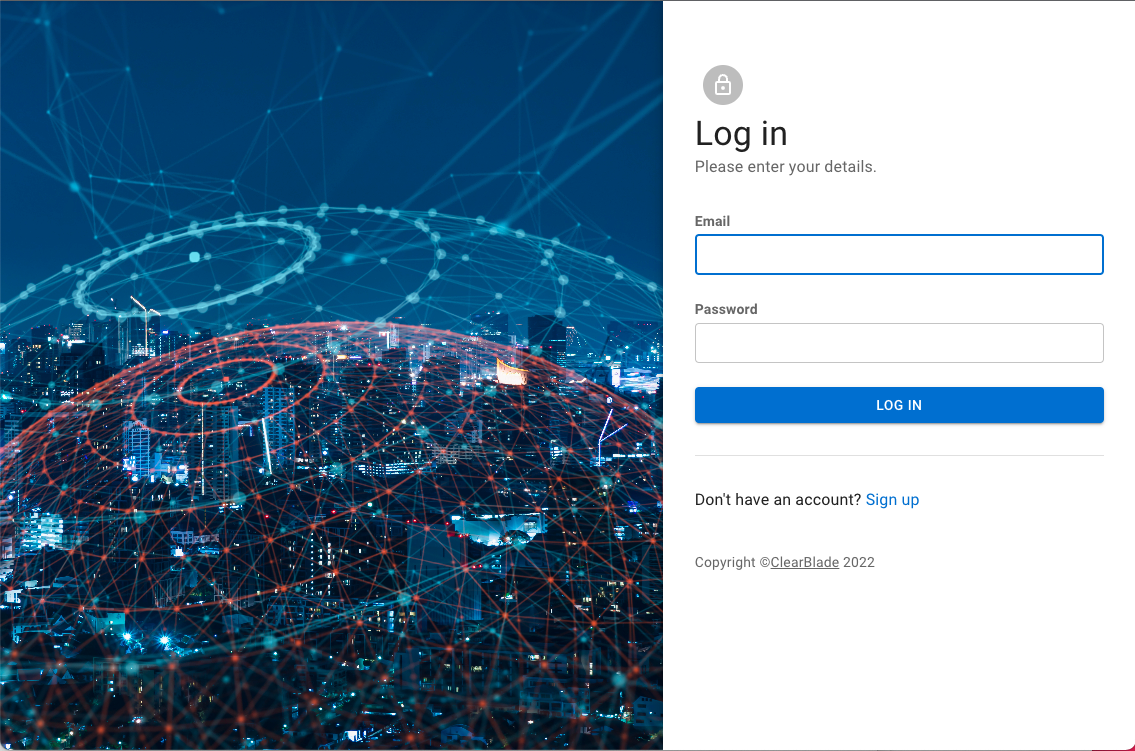
1. Log into ClearBlade IoT Core.
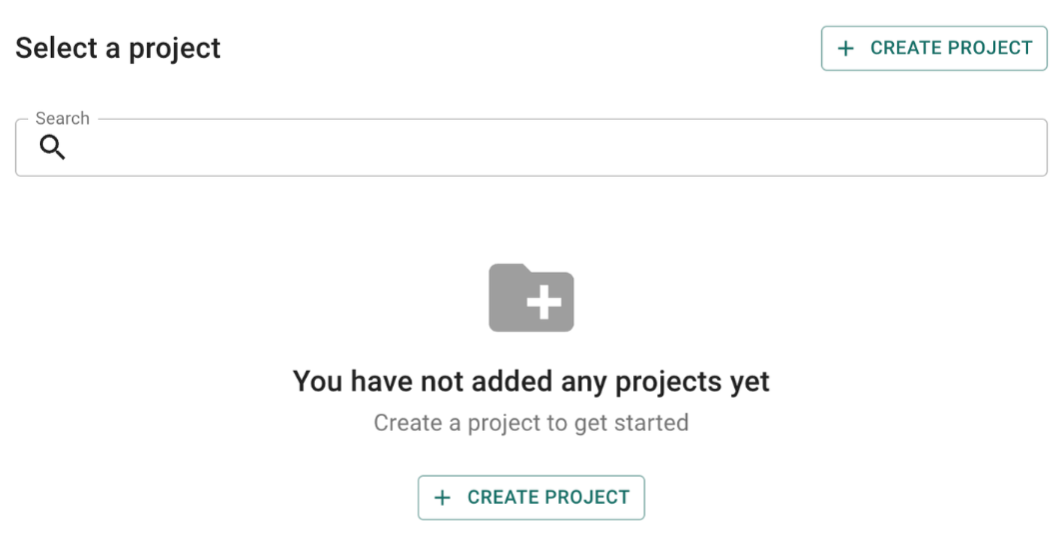
2. Create a project.
3. On the enter credentials section, click UPLOAD to load the service account key .json file created in this migration guide’s second section.
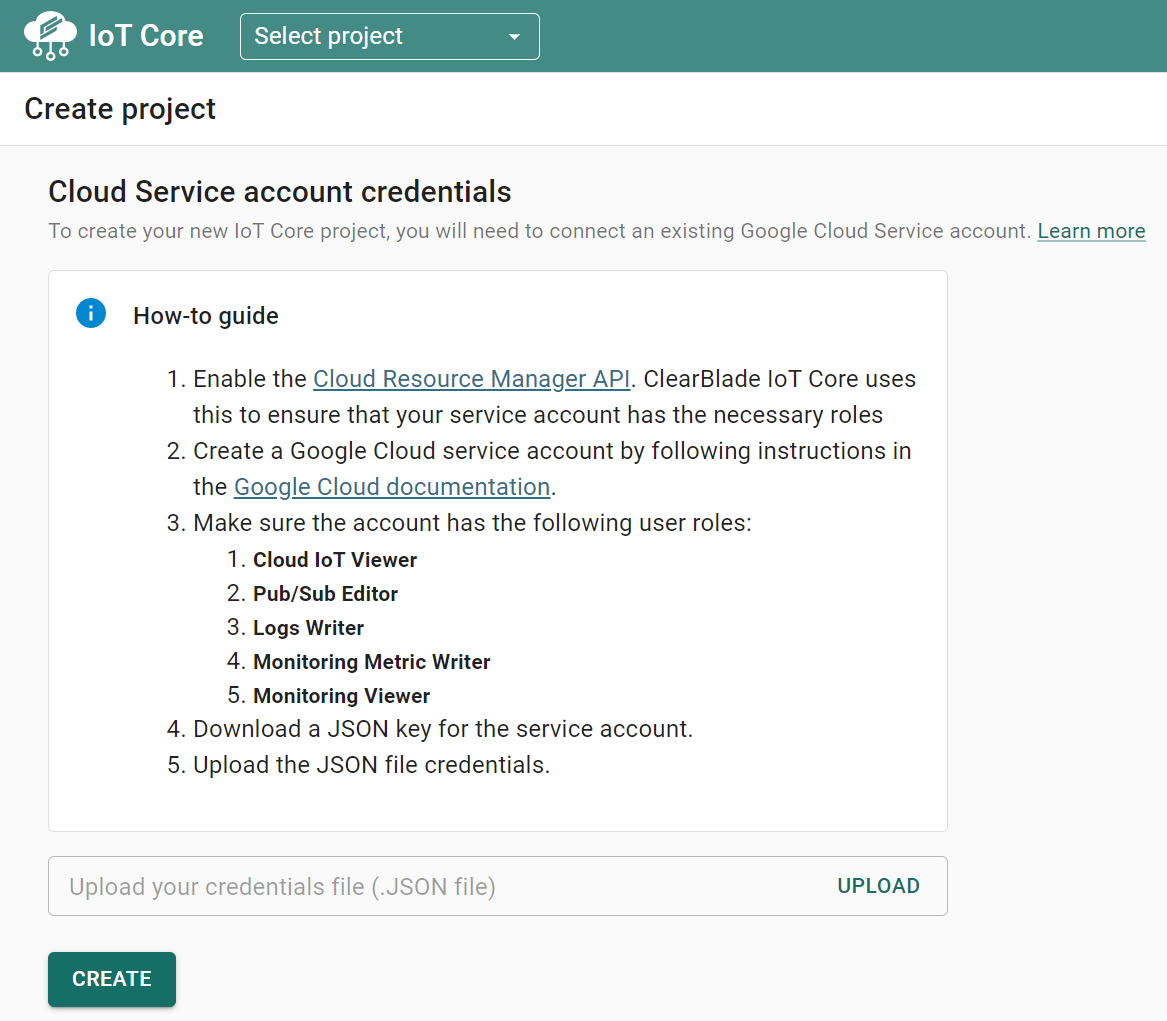
4. Click CREATE.
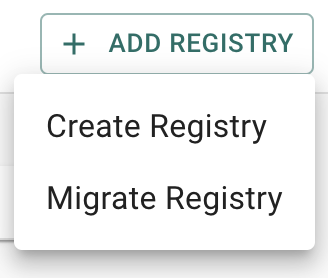
5. Start the migration by clicking ADD Registry and selecting Migrate Registry.
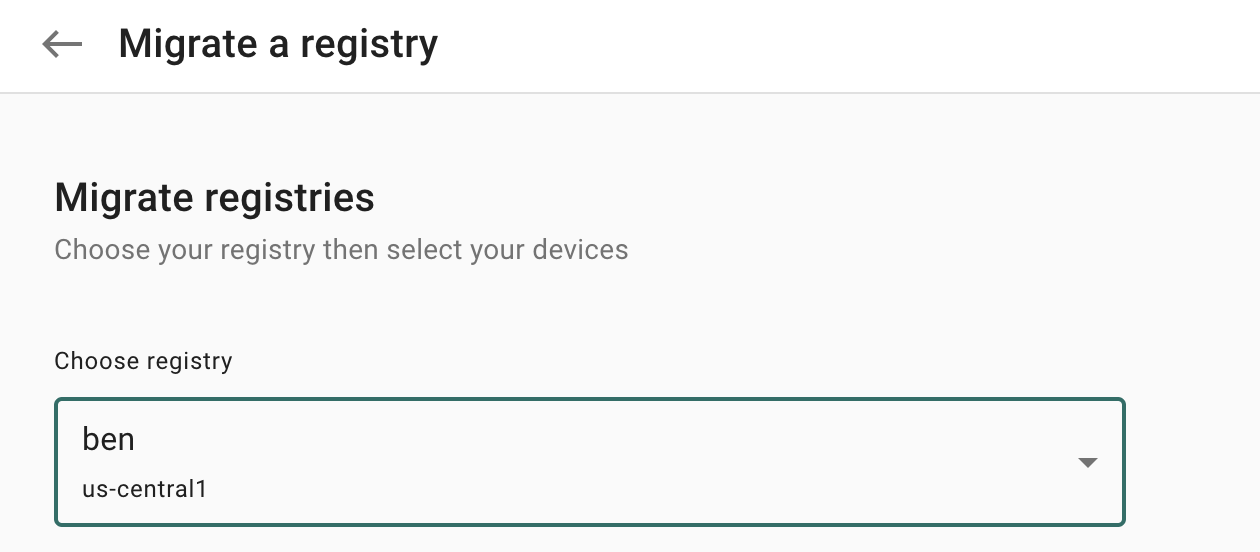
6. Select the Google IoT Core registry to be migrated.
7. Select which devices to be migrated by clicking the checkboxes to the left of each device name. Only ten IoT Core console user interface devices may be migrated. To migrate more devices, see the IoT Core Migration Tool.
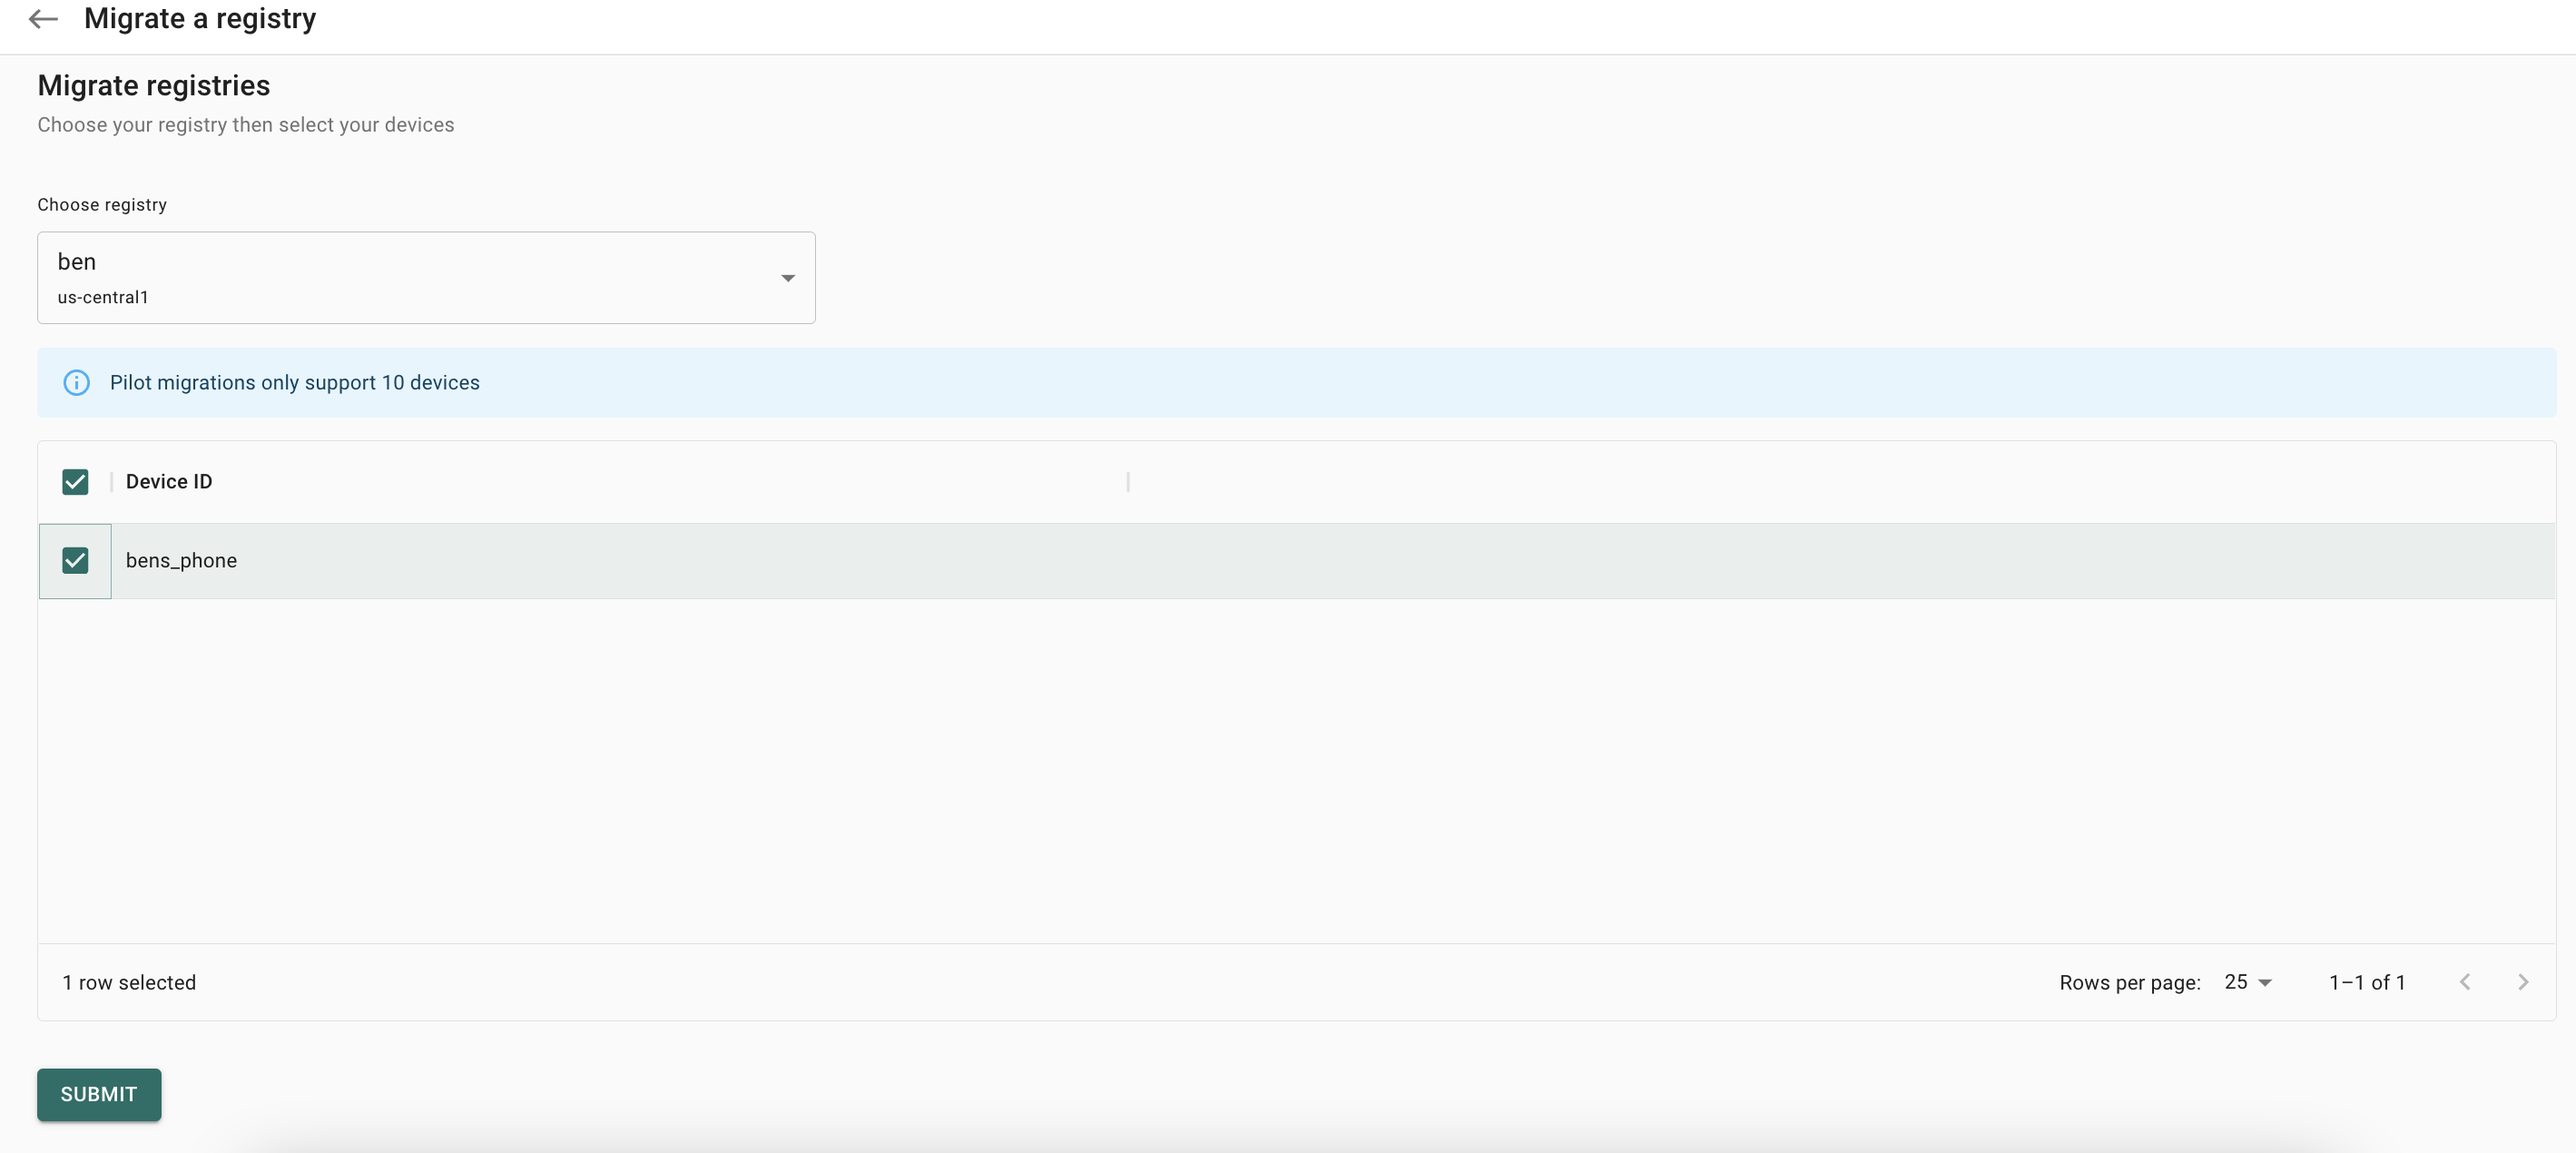
8. Click SUBMIT and wait for the migration to complete. Migrating ten or fewer devices may take two minutes or less. Depending on the registry size, this process can take several hours.

9. The migrated IoT Core registry is completed and available for use.

Migration validation
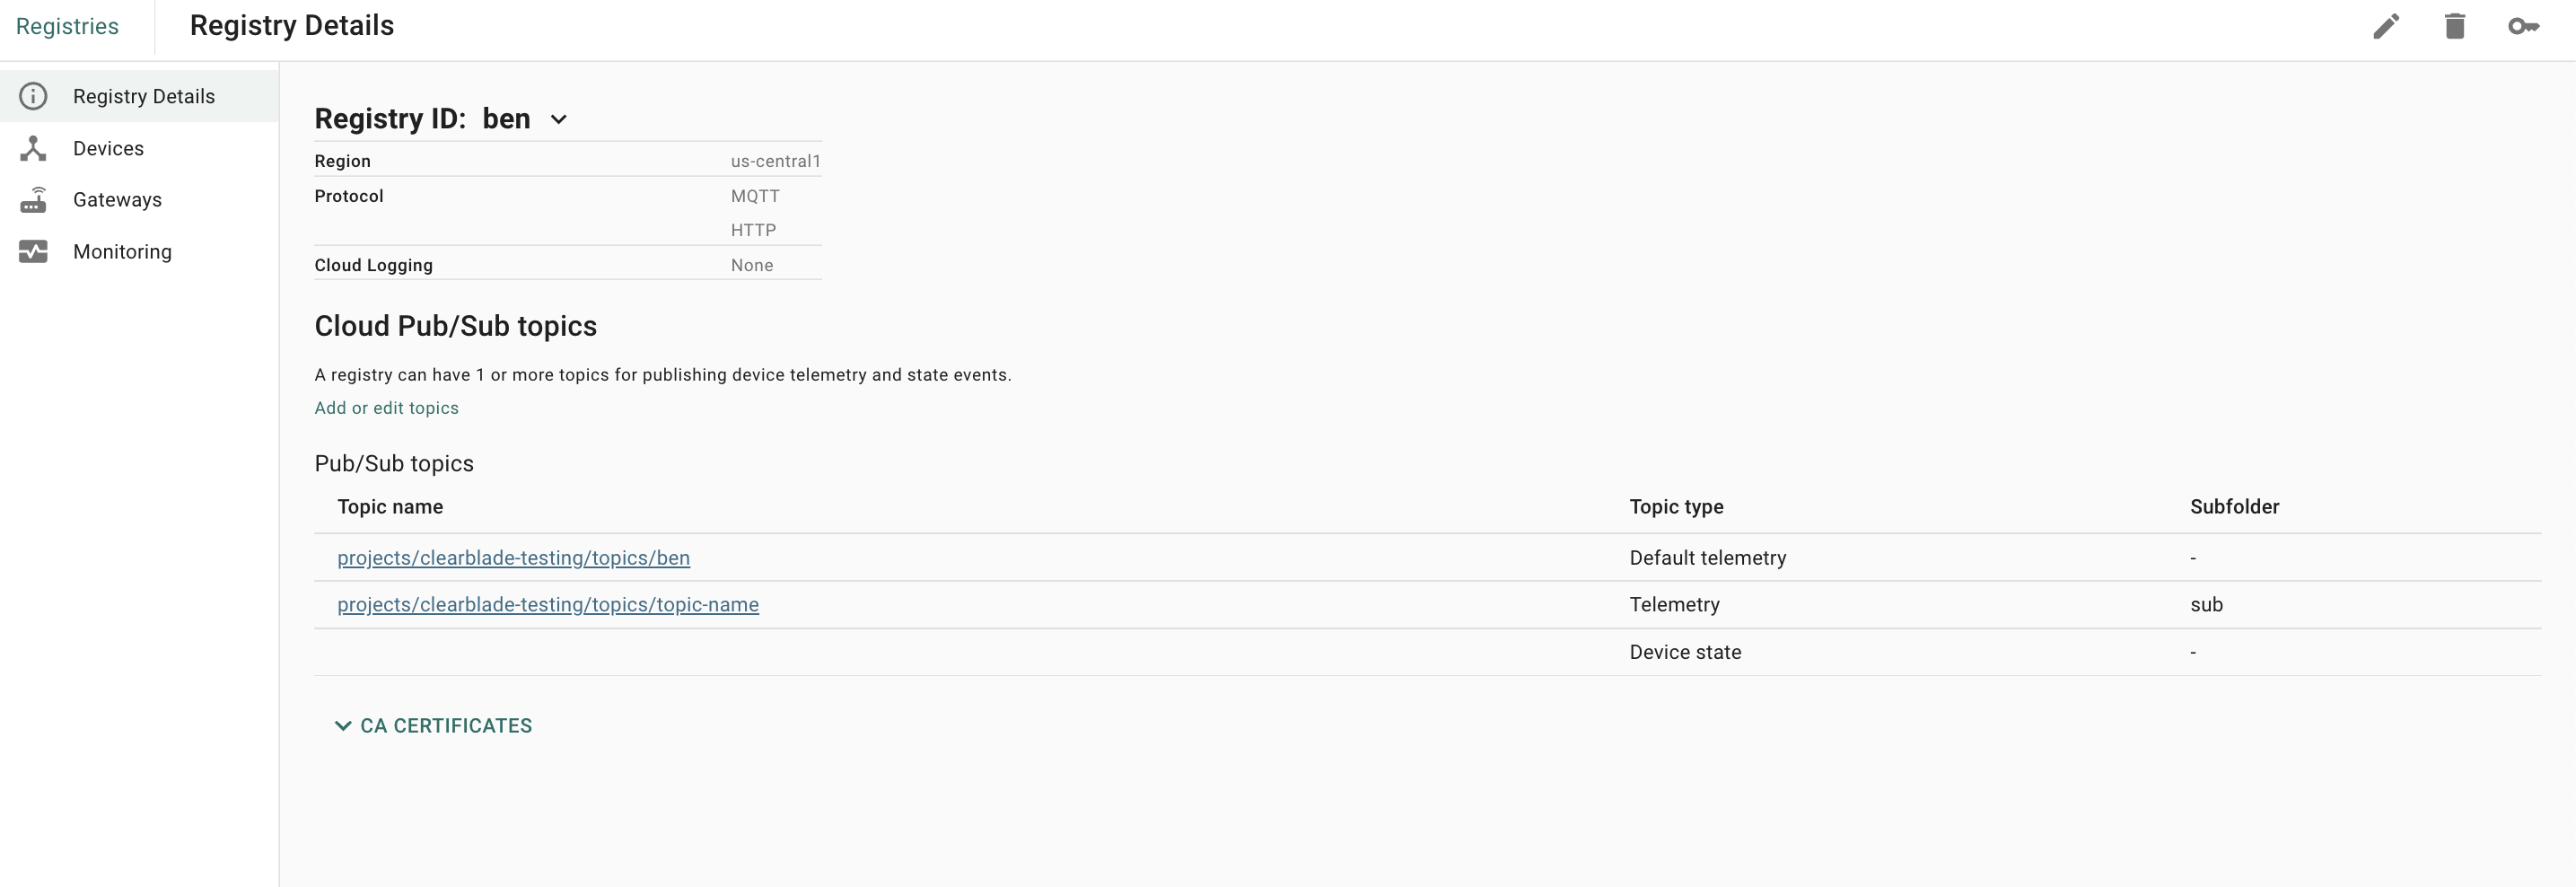
1. Select the newly created ClearBlade IoT Core device registry and review the system settings.
a. Check region
b. Check logging settings
c. Check Pub/Sub topics for events and state
d. Check roots.pem migration
2. Select Devices and validate the correct devices migrated.

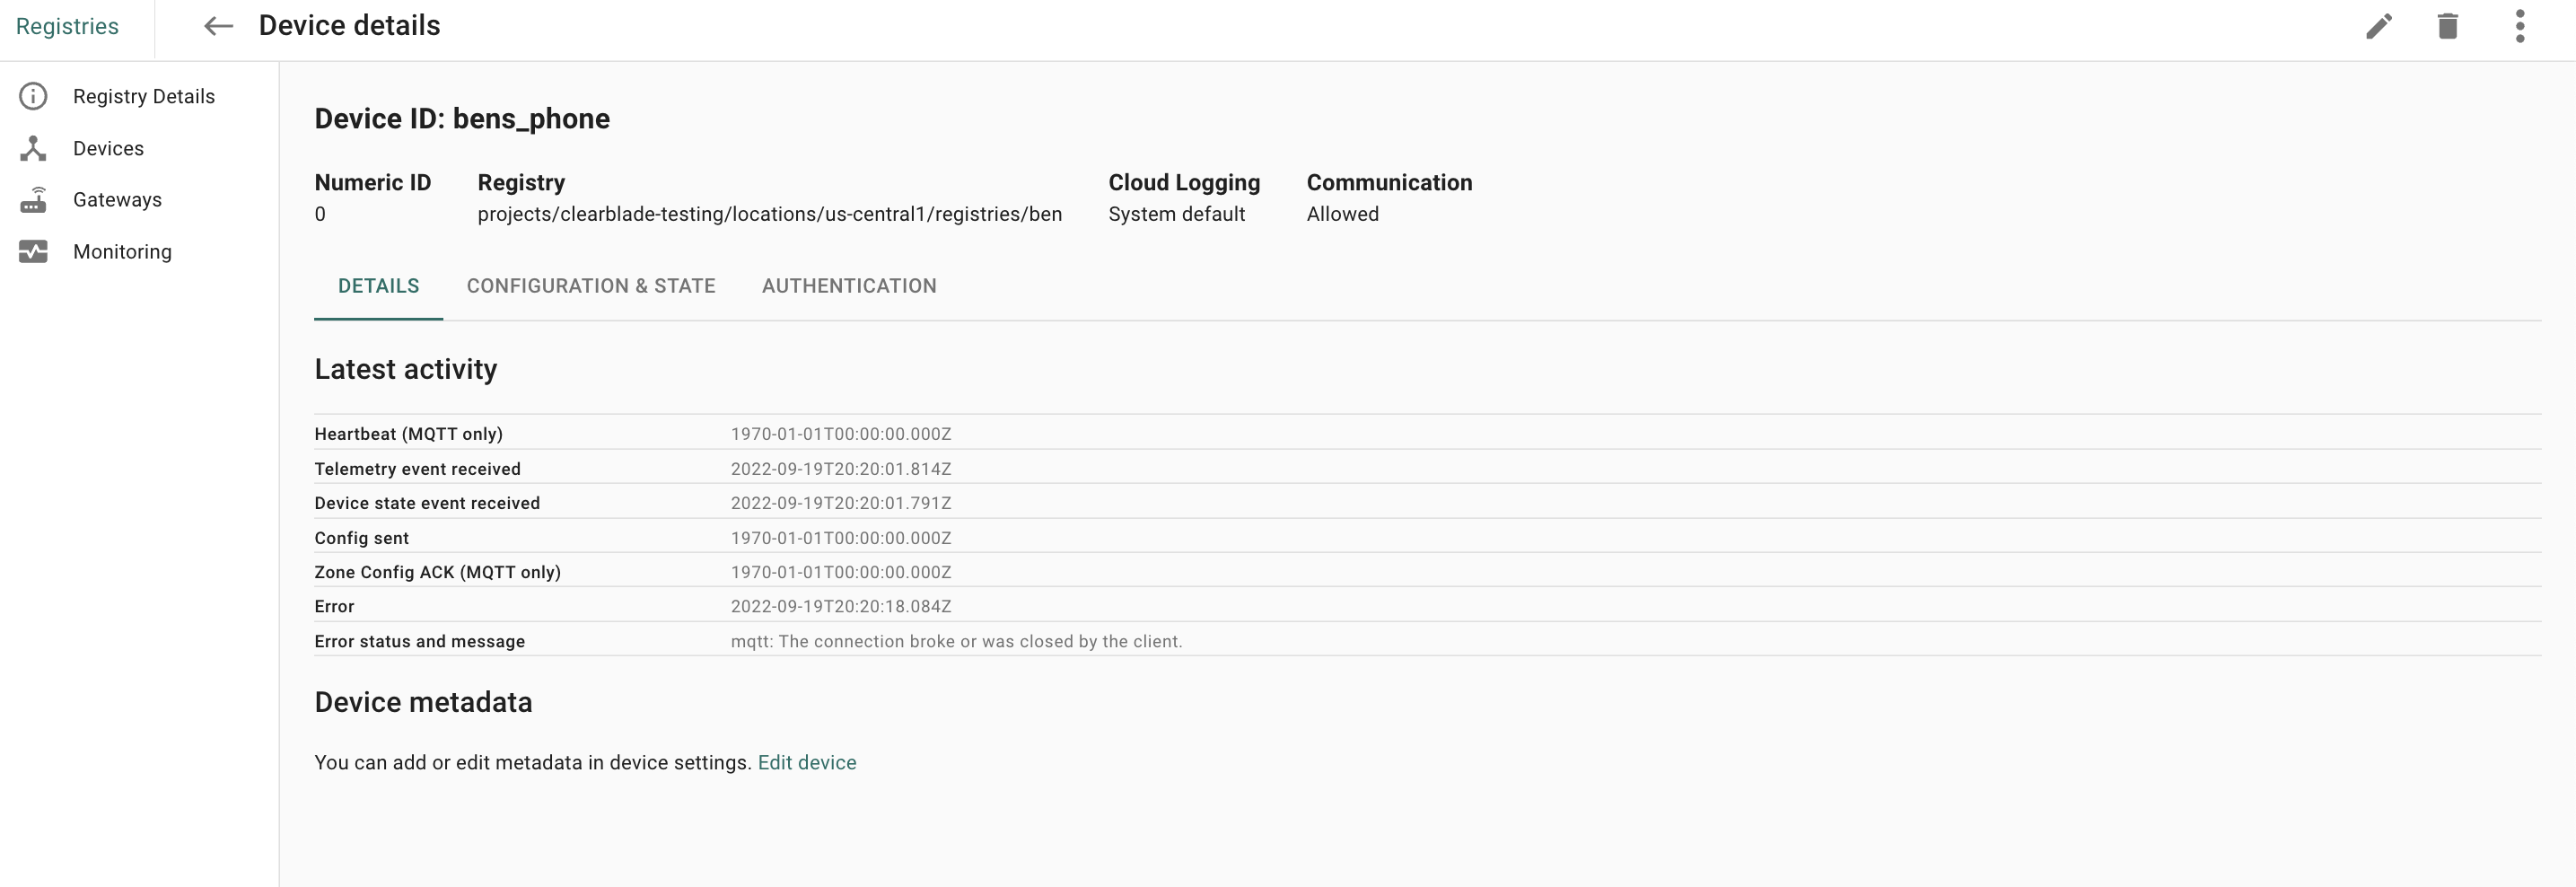
3. Select Device and validate:
a. ID
b. DETAILS: Logging settings and device metadata
c. CONFIGURATION & STATE: Configuration and state history
d. AUTHENTICATION: Pem files
Your IoT Core registry migration is completed.
