
Accessing the main menu settings
-
Click this icon on the top right of the page:

-
Click Settings.
-
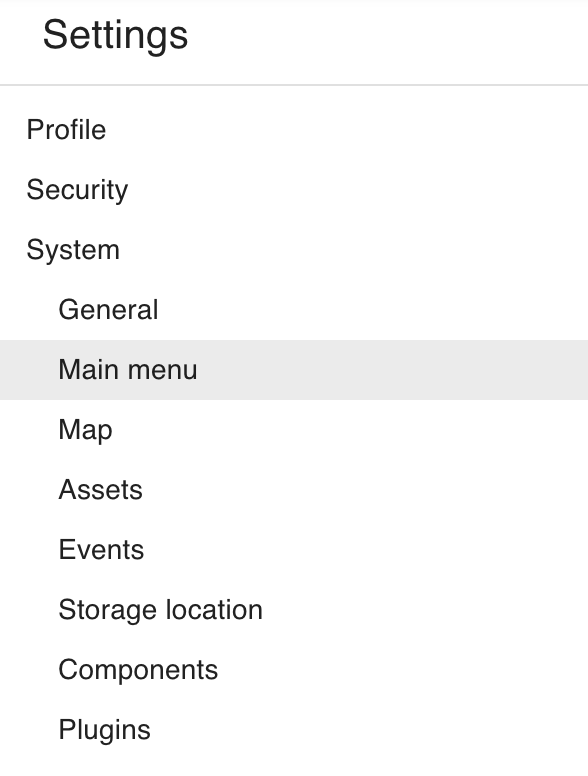
Navigate to Main menu on the left, under System:
-
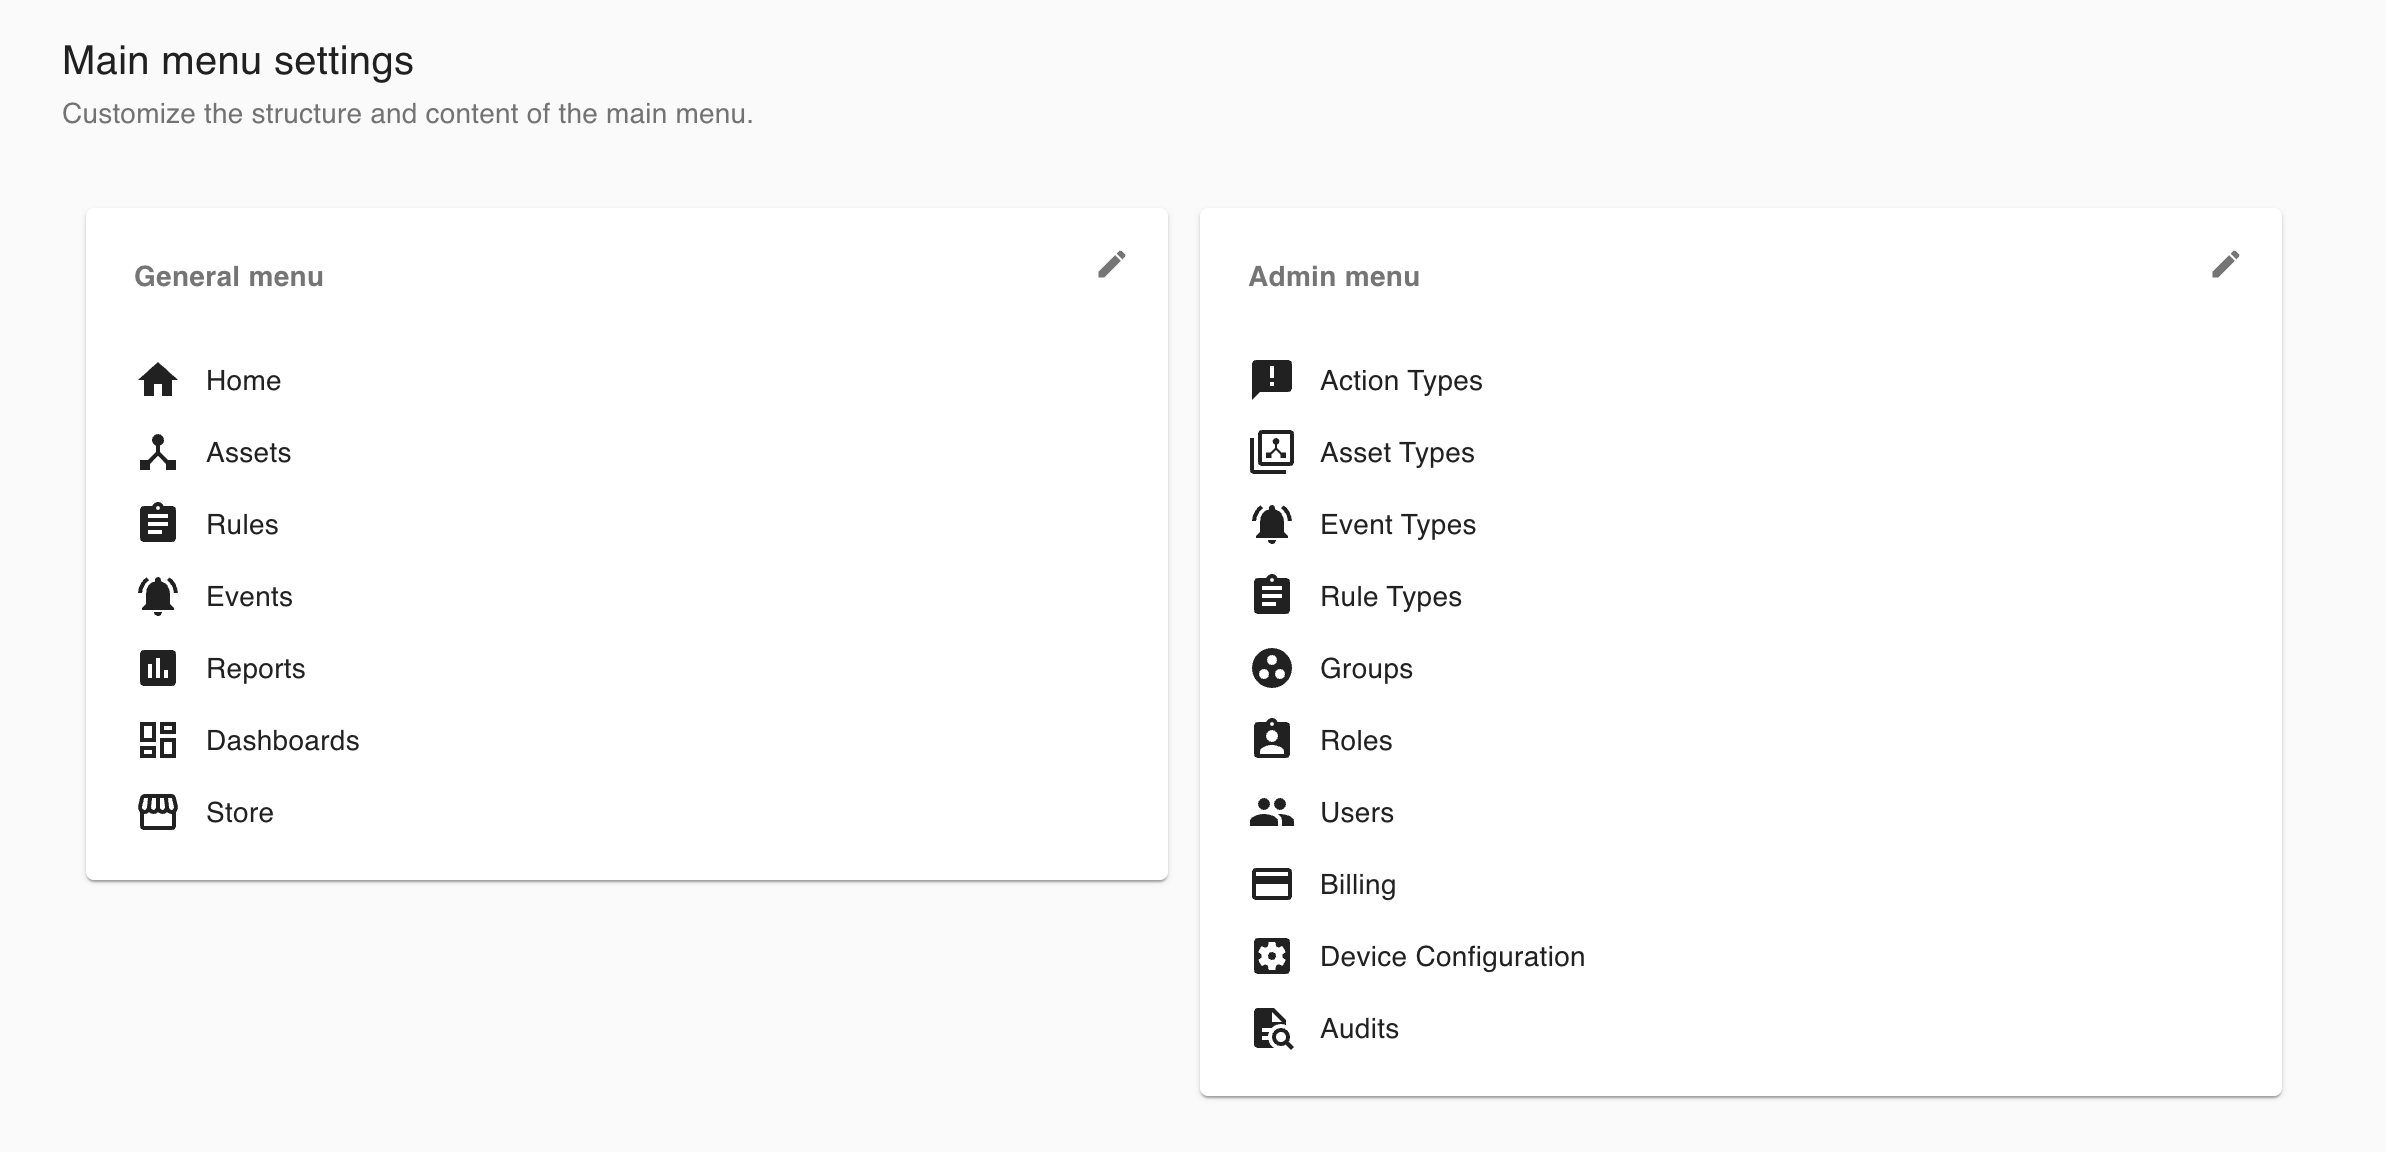
You should now see the Main menu settings. From here, you can create and delete custom pages, modify page names and labels, change the ordering of the pages and toggle their visibility.
-
To start editing either the general or admin menus, click the pencil icon (

The rest of this guide will assume that this dialog box is open.
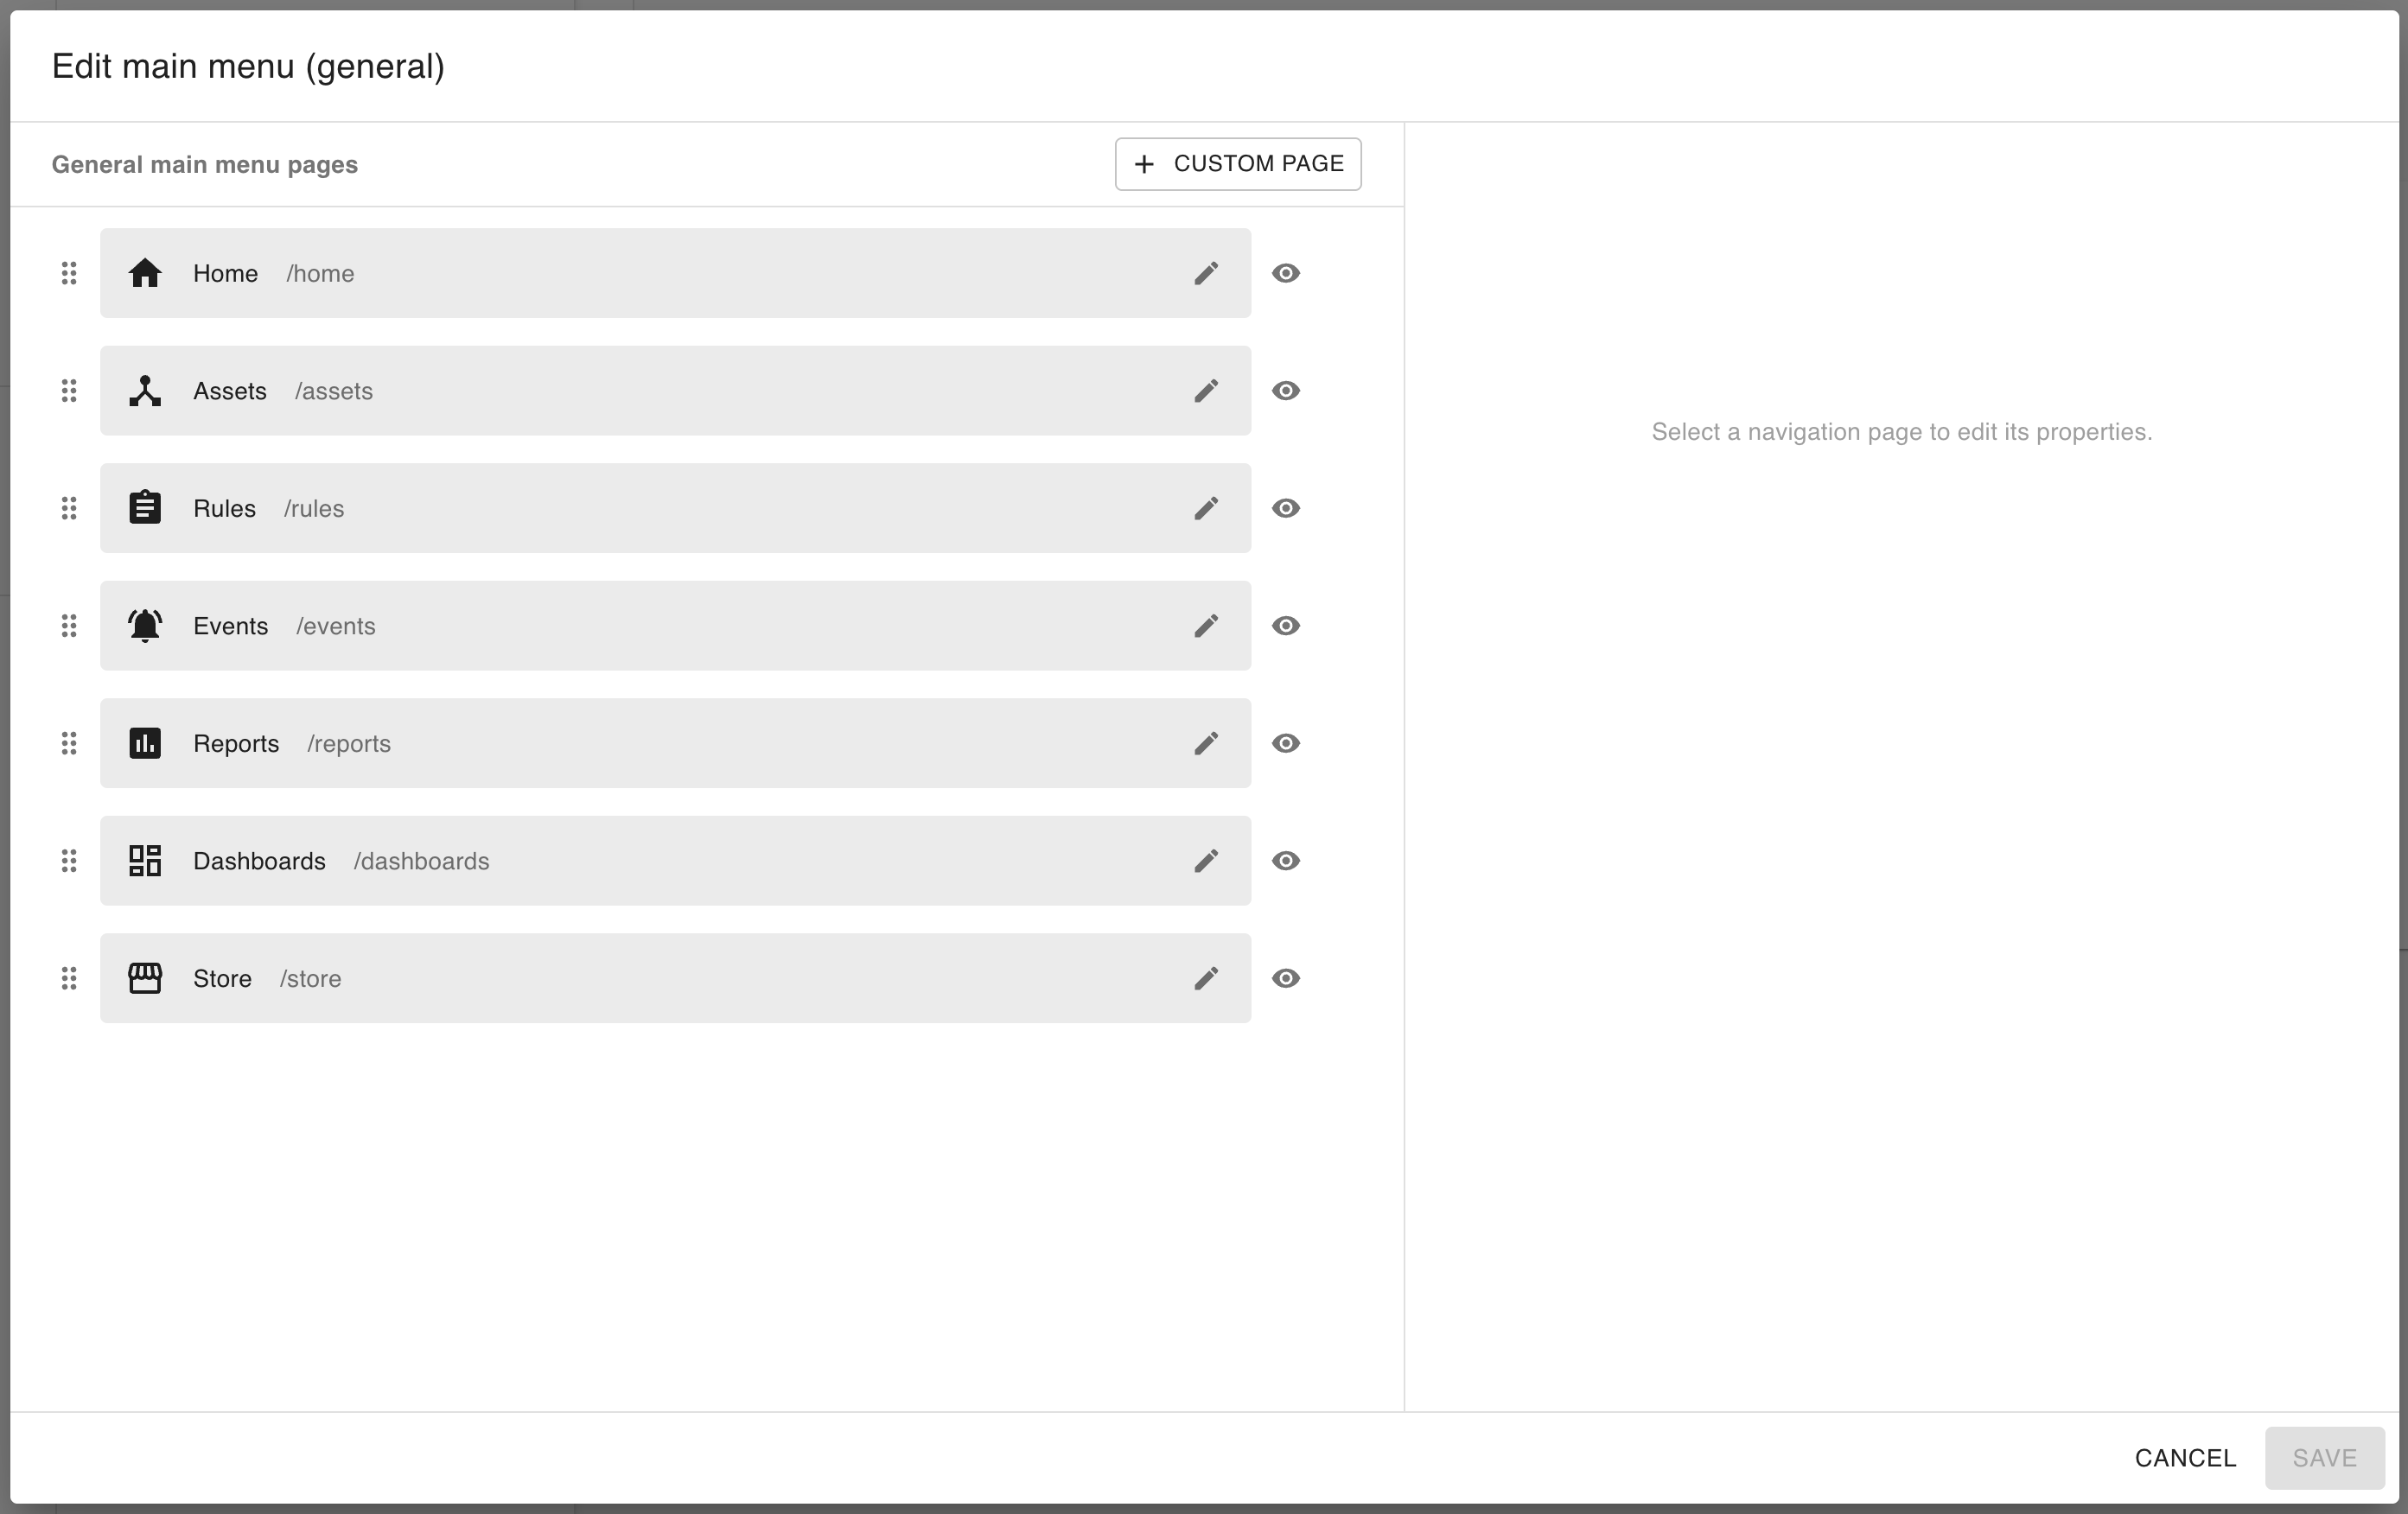
Editing the pages in either the General or Admin sections
Reordering the pages
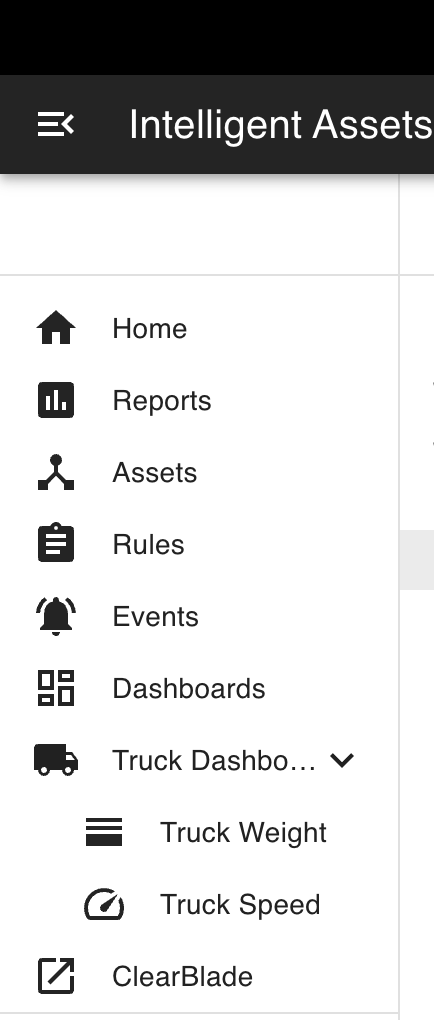
To change the order in which the pages appear in the app drawer (where the user navigates to pages on the left-hand side of Intelligent Assets), press and hold the six dots ( ![]()
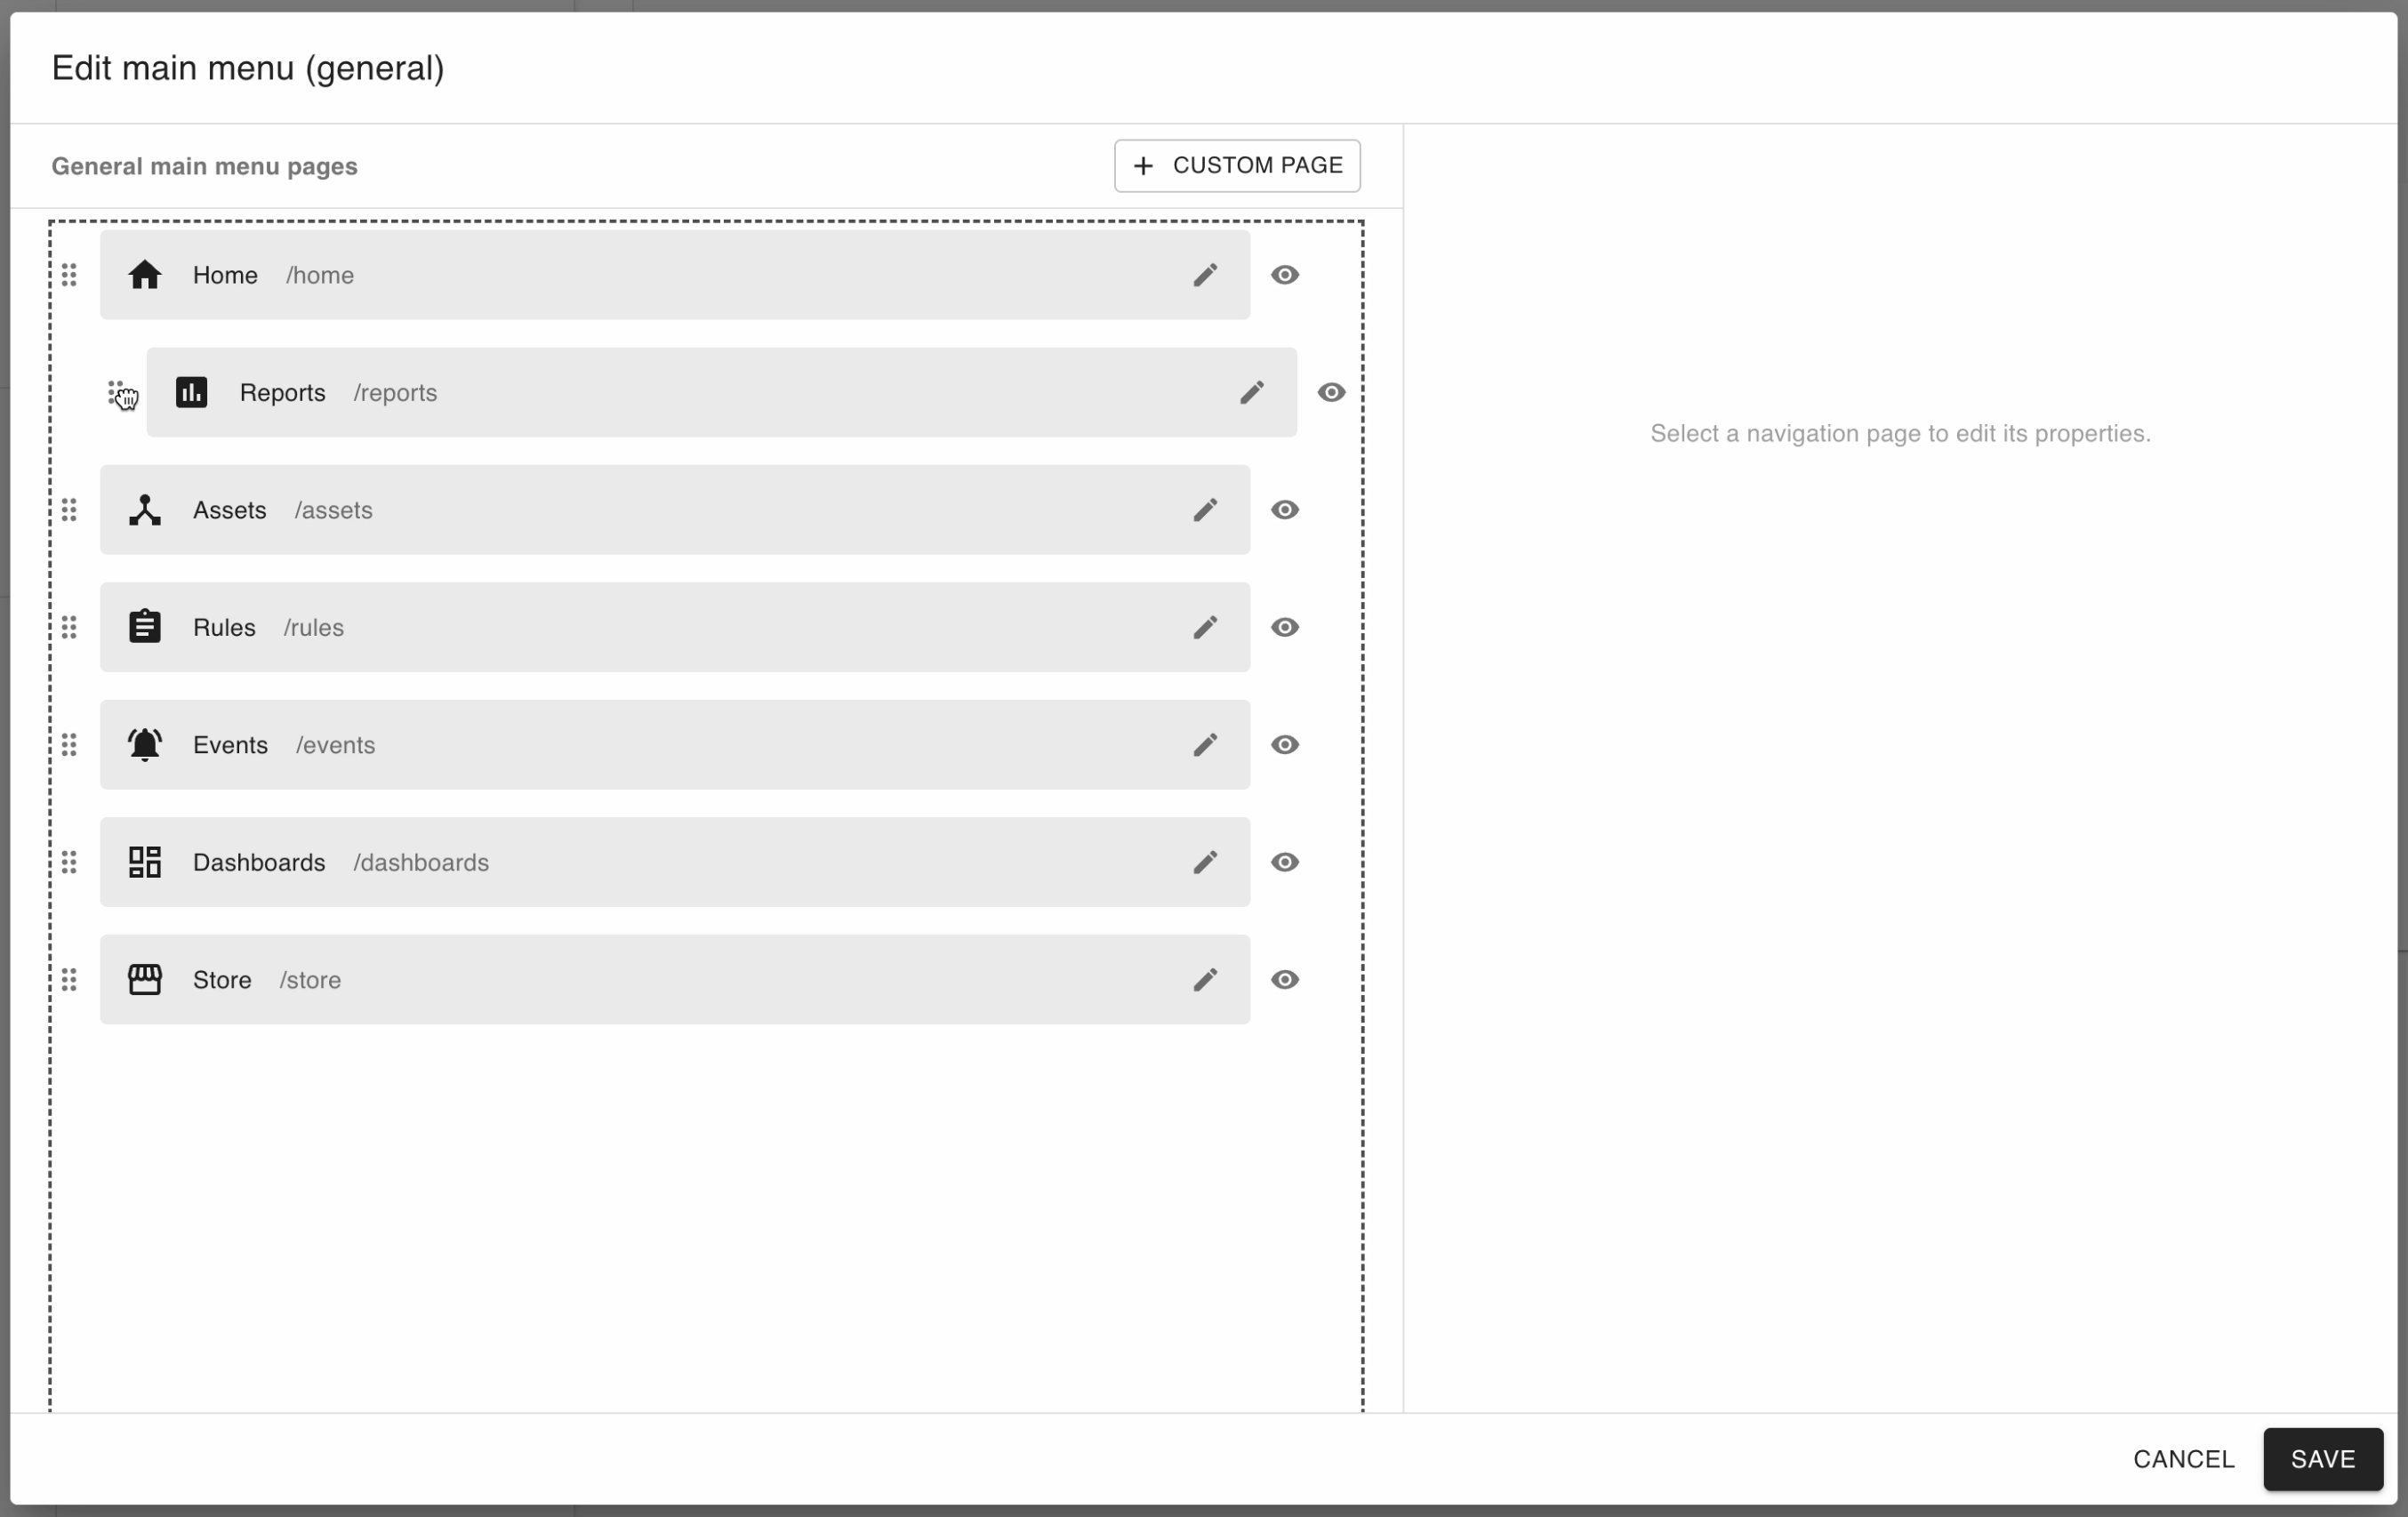
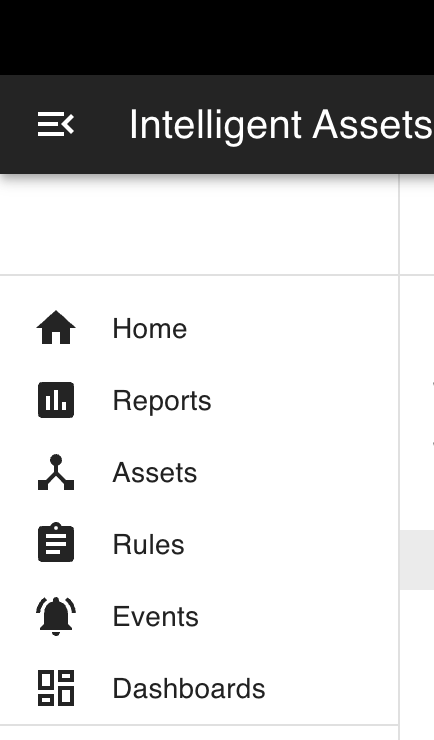
You can then click Save in the bottom-right corner to save your changes. In the above example, the user changed Reports to appear underneath the Home screen; immediately after saving, these changes are reflected in the app drawer to the left:
Changing the label and icon for a page
Core pages (configured by ClearBlade, which cannot be deleted) and custom pages (configured by the user, which can be deleted) both allow their labels and icons to change according to user input.
To change the label and/or icon for a page, simply click the pencil icon ( ![]()

This will then open the page’s edit menu to the right:
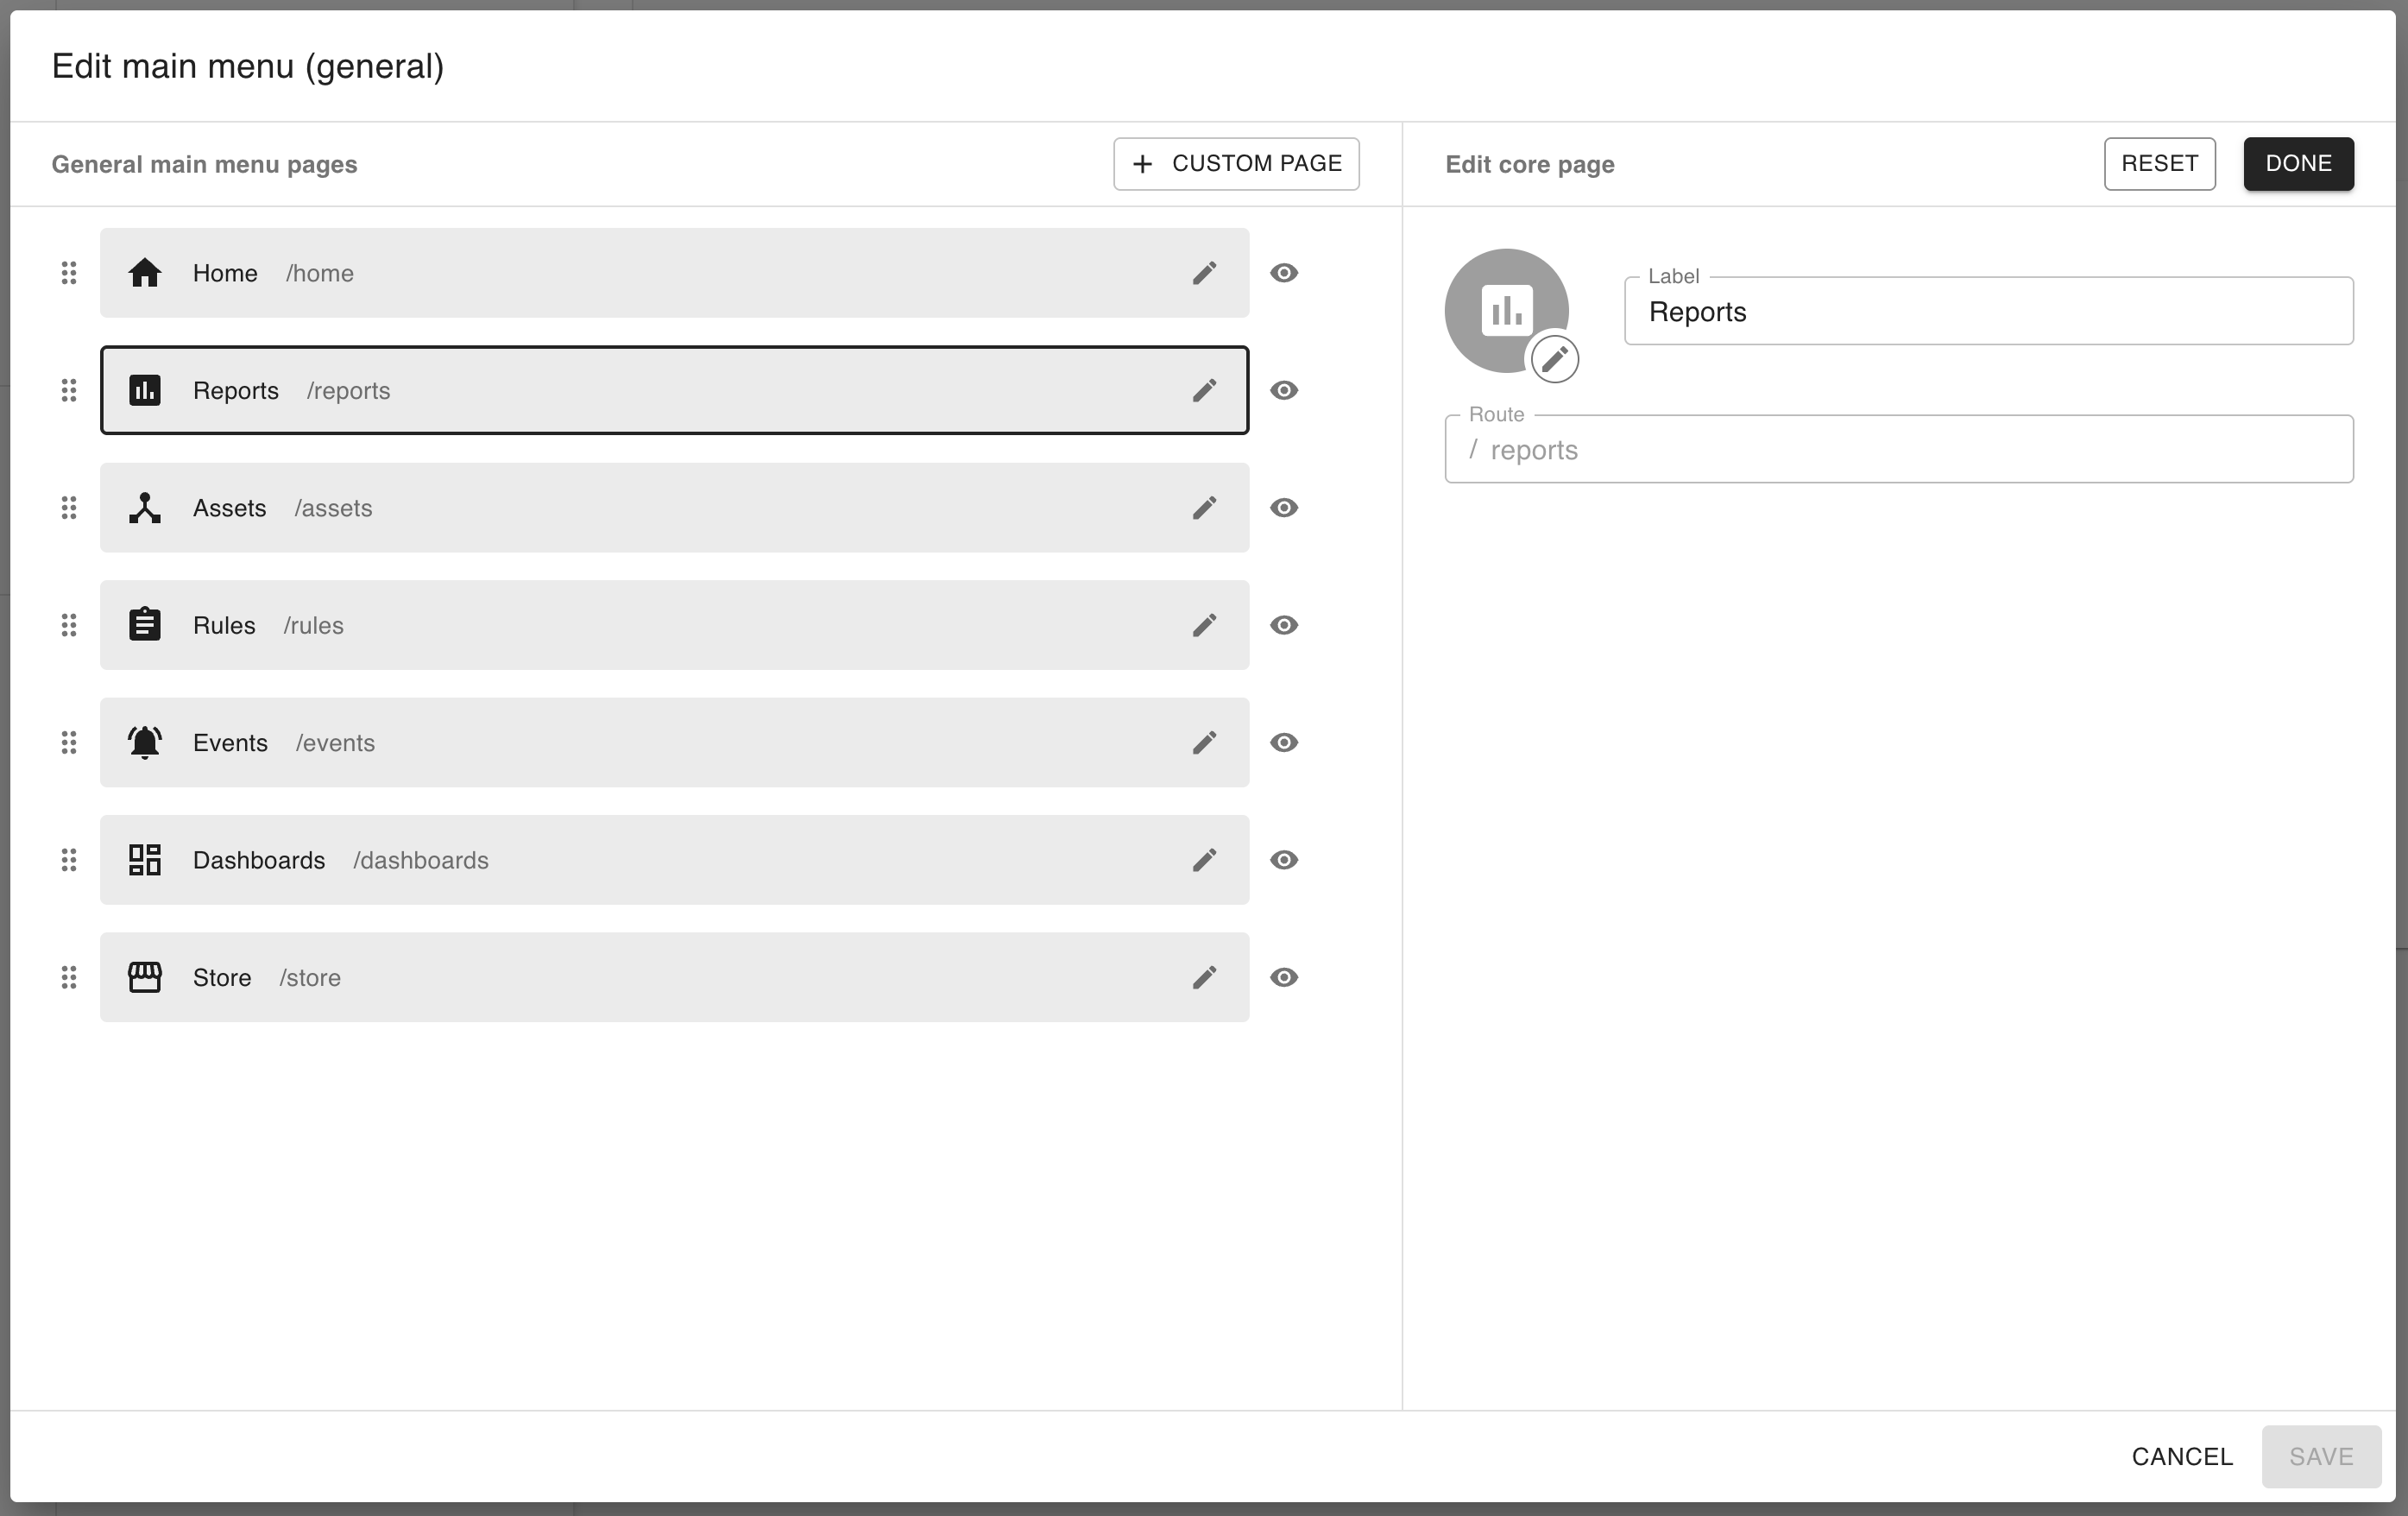
From this menu, you can change the label associated with the page:

Or you can click the encircled pencil icon ( ![]()

From here, you can choose from many icons for your page. In this example, the user searches “chart”, then selects the Score icon:
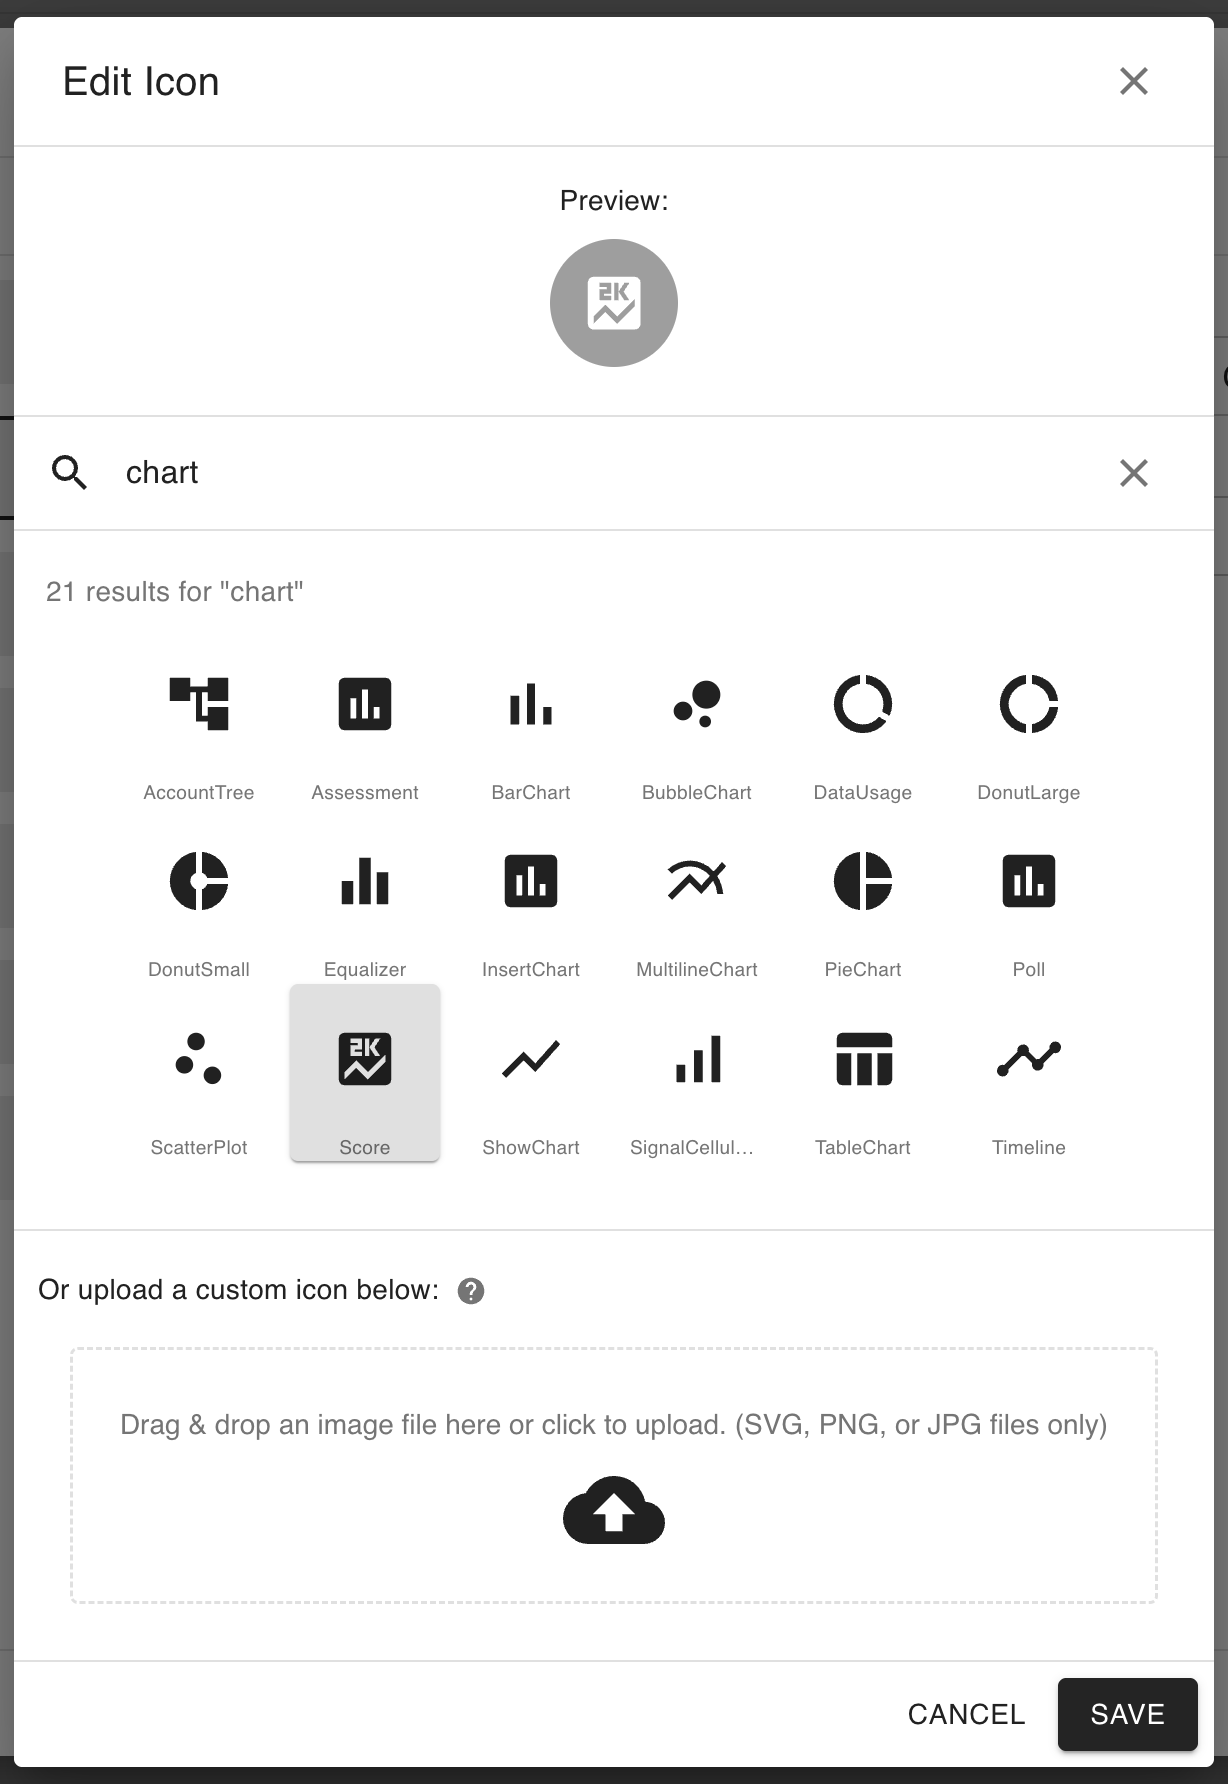
After selecting your icon, click Save to save the icon to the page. This is immediately reflected in the page’s edit menu:
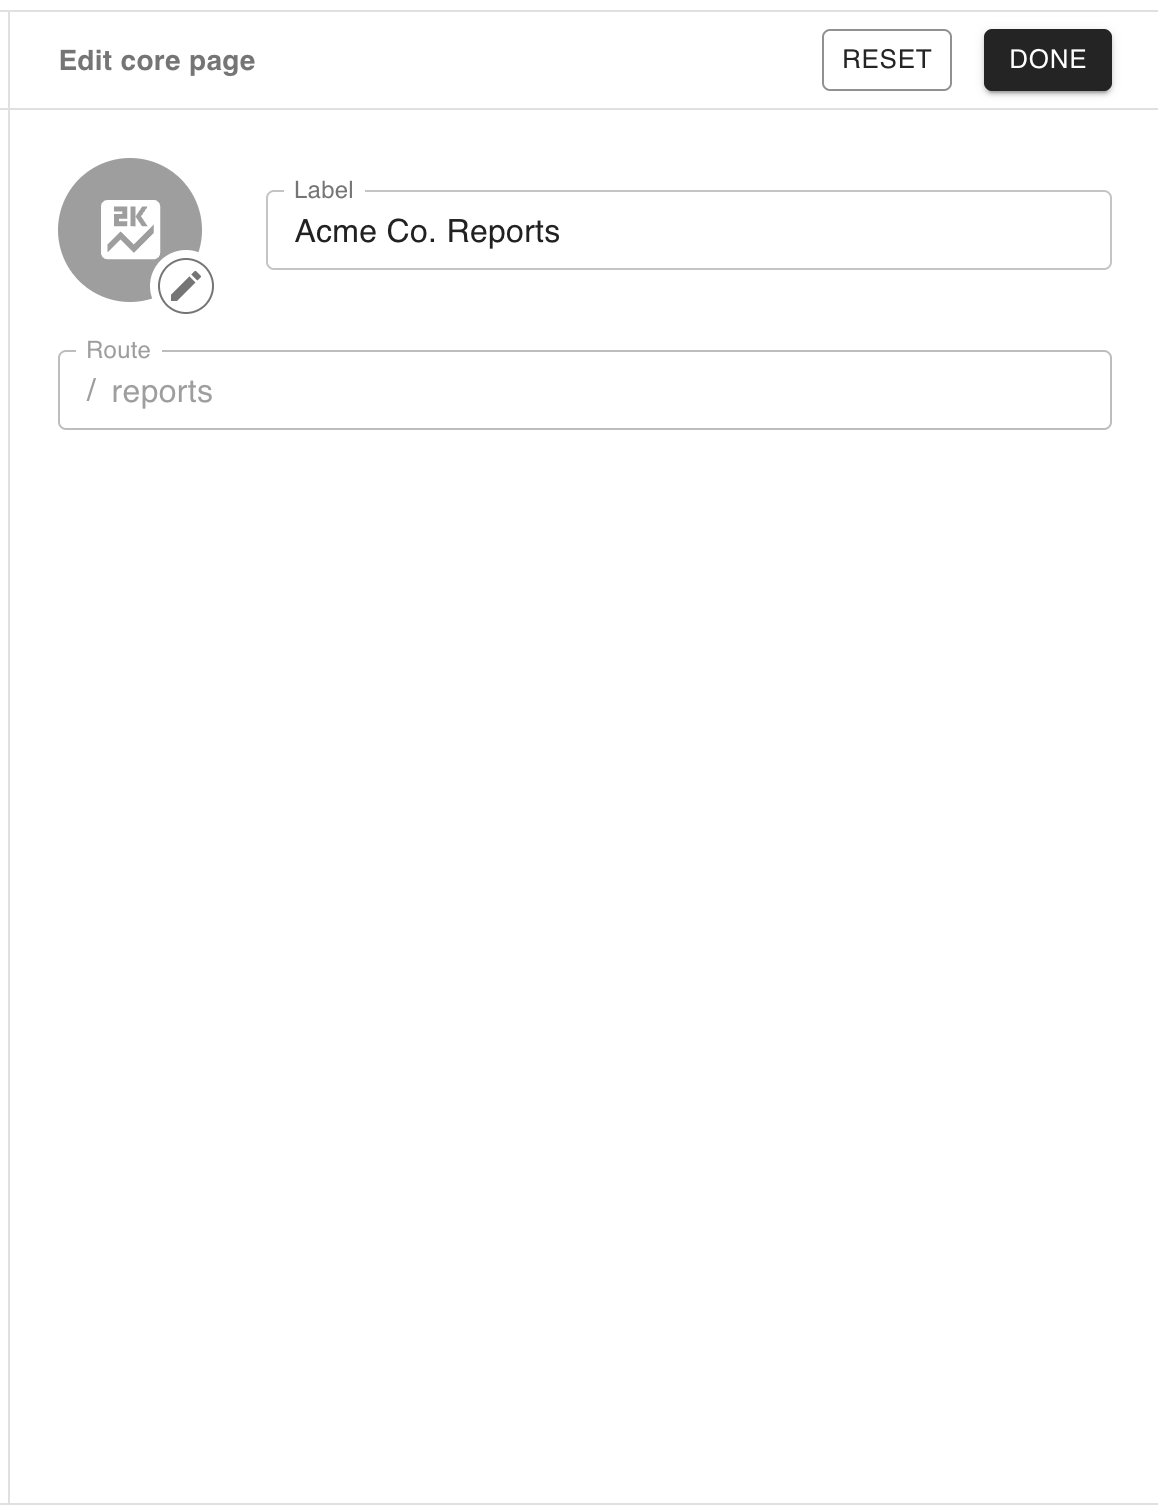
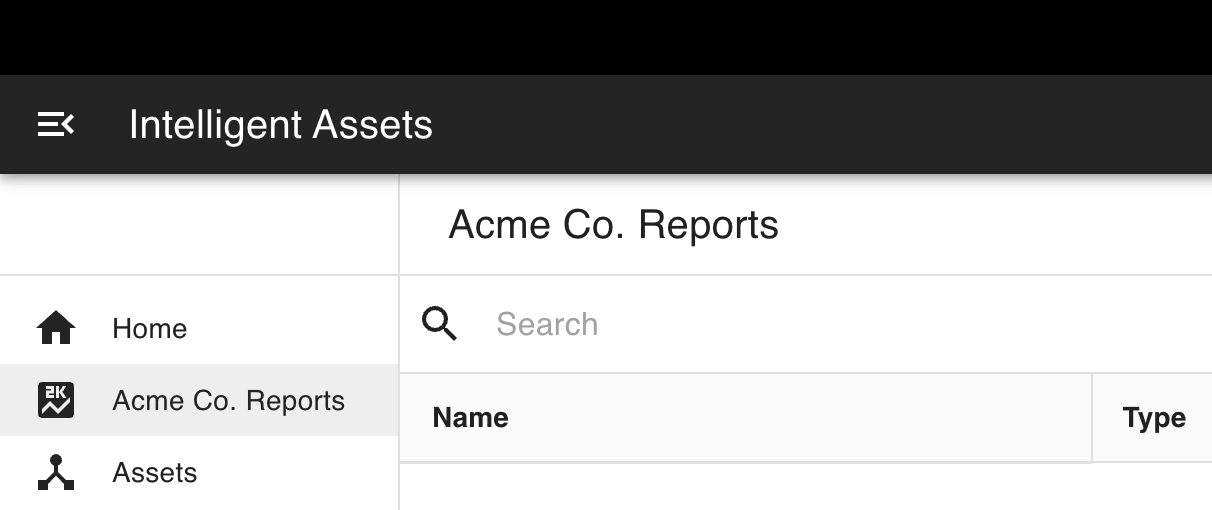
Upon saving the new changes, the page’s new label and icon are immediately visible from the app drawer, as well as from the page itself:
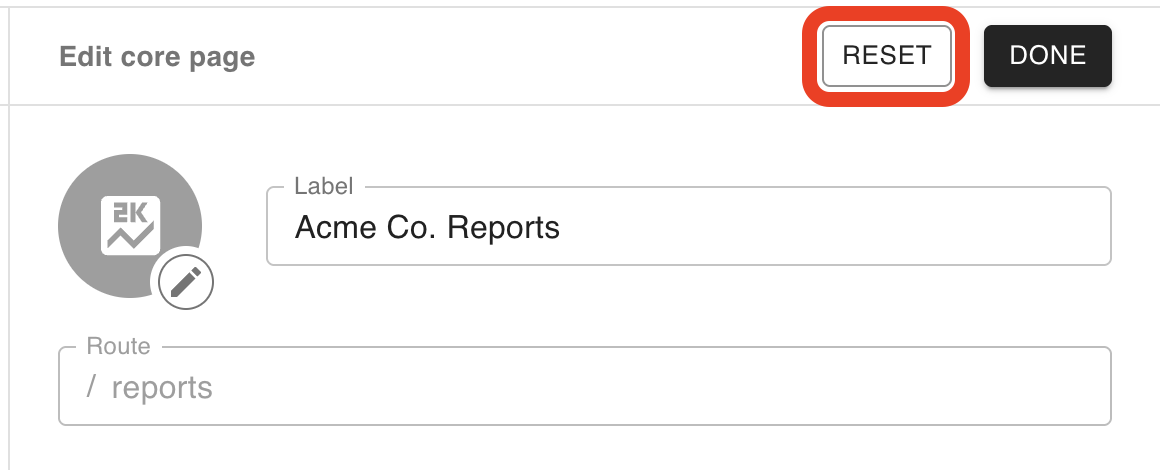
Resetting a core page
To reset a core page’s configuration back to its default state, click the Reset button at the top of the page’s edit menu:
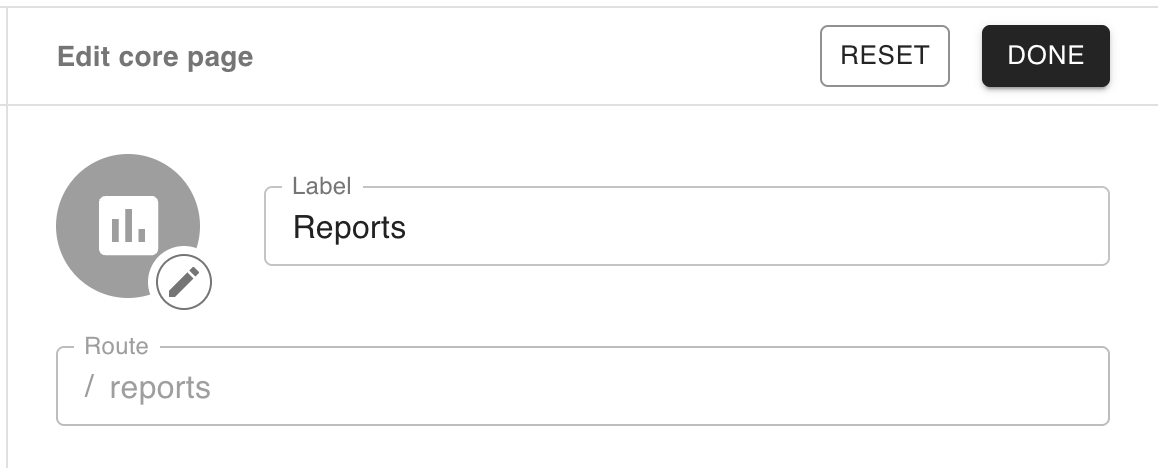
This will revert any changes made to its icon or label:
Showing/hiding a page
To show or hide a page, click the eye ( ![]()

Clicking this will toggle the page’s visibility status between visible and hidden, like below, where the user has hidden the Reports page:

The user can click the hidden icon ( ![]()
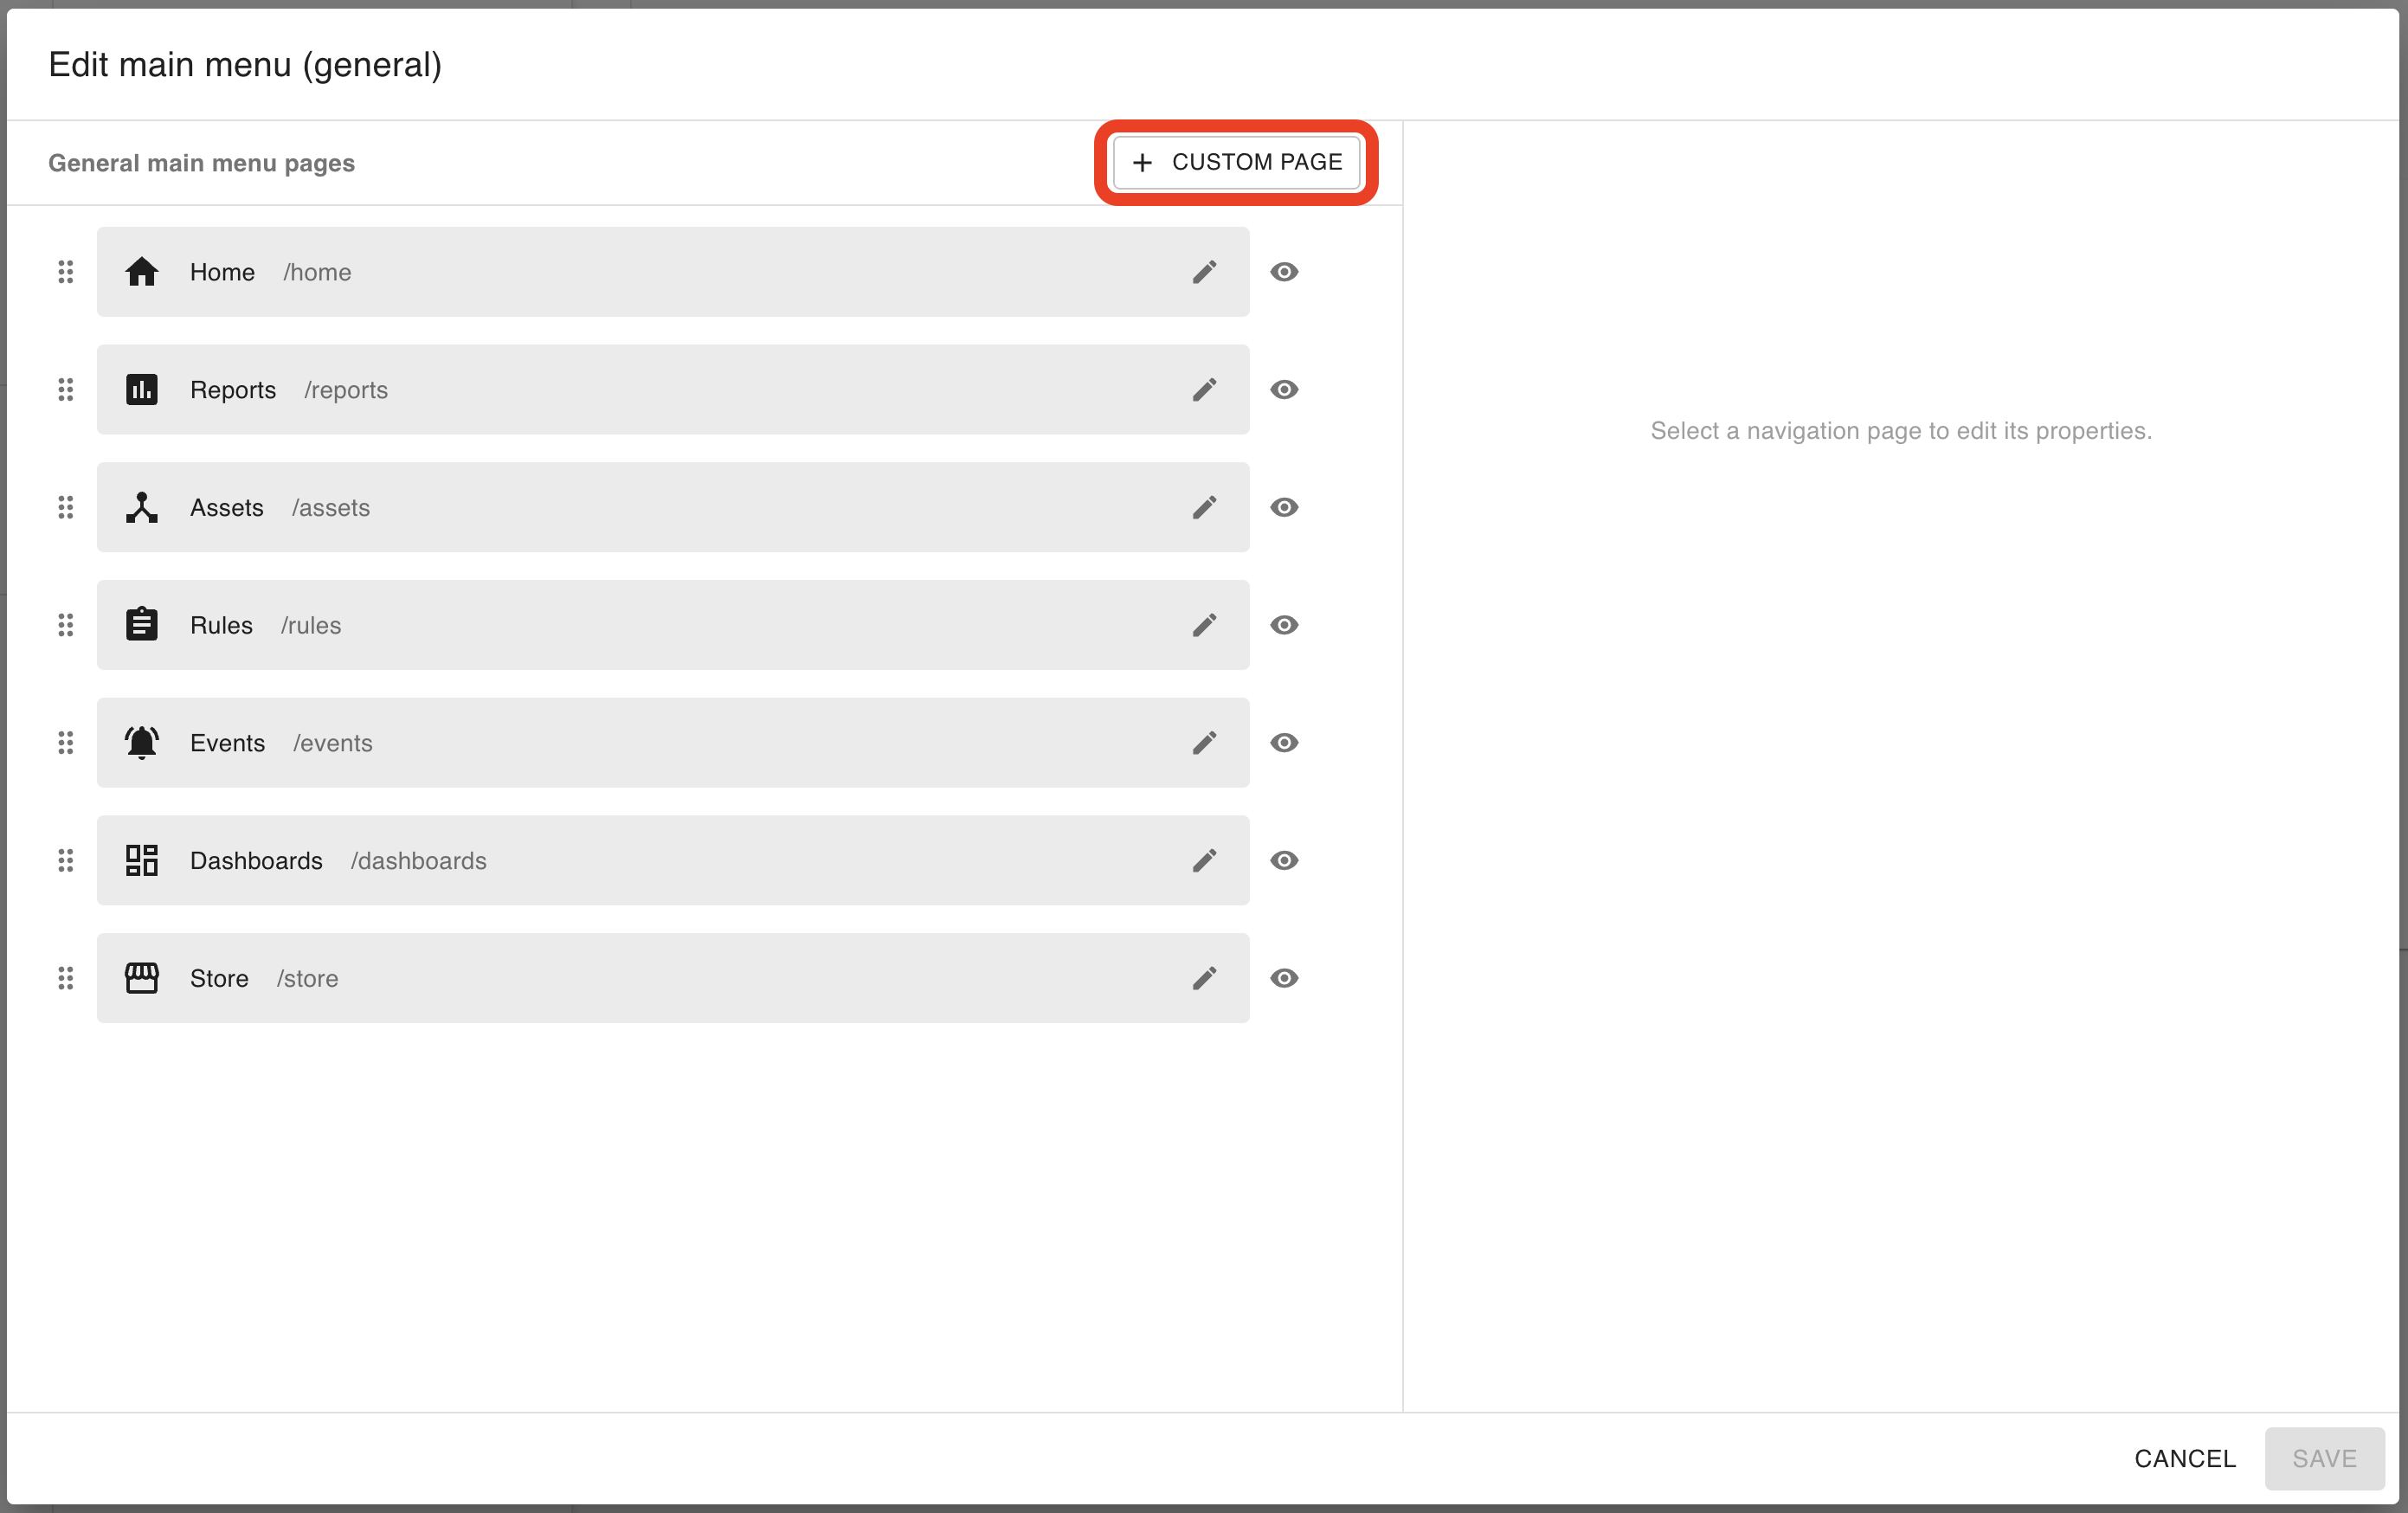
Creating a new custom page
To create a custom page, click the Custom page button to the top-left of the list of pages:
This will add the page and open its configuration in the edit menu to the right:
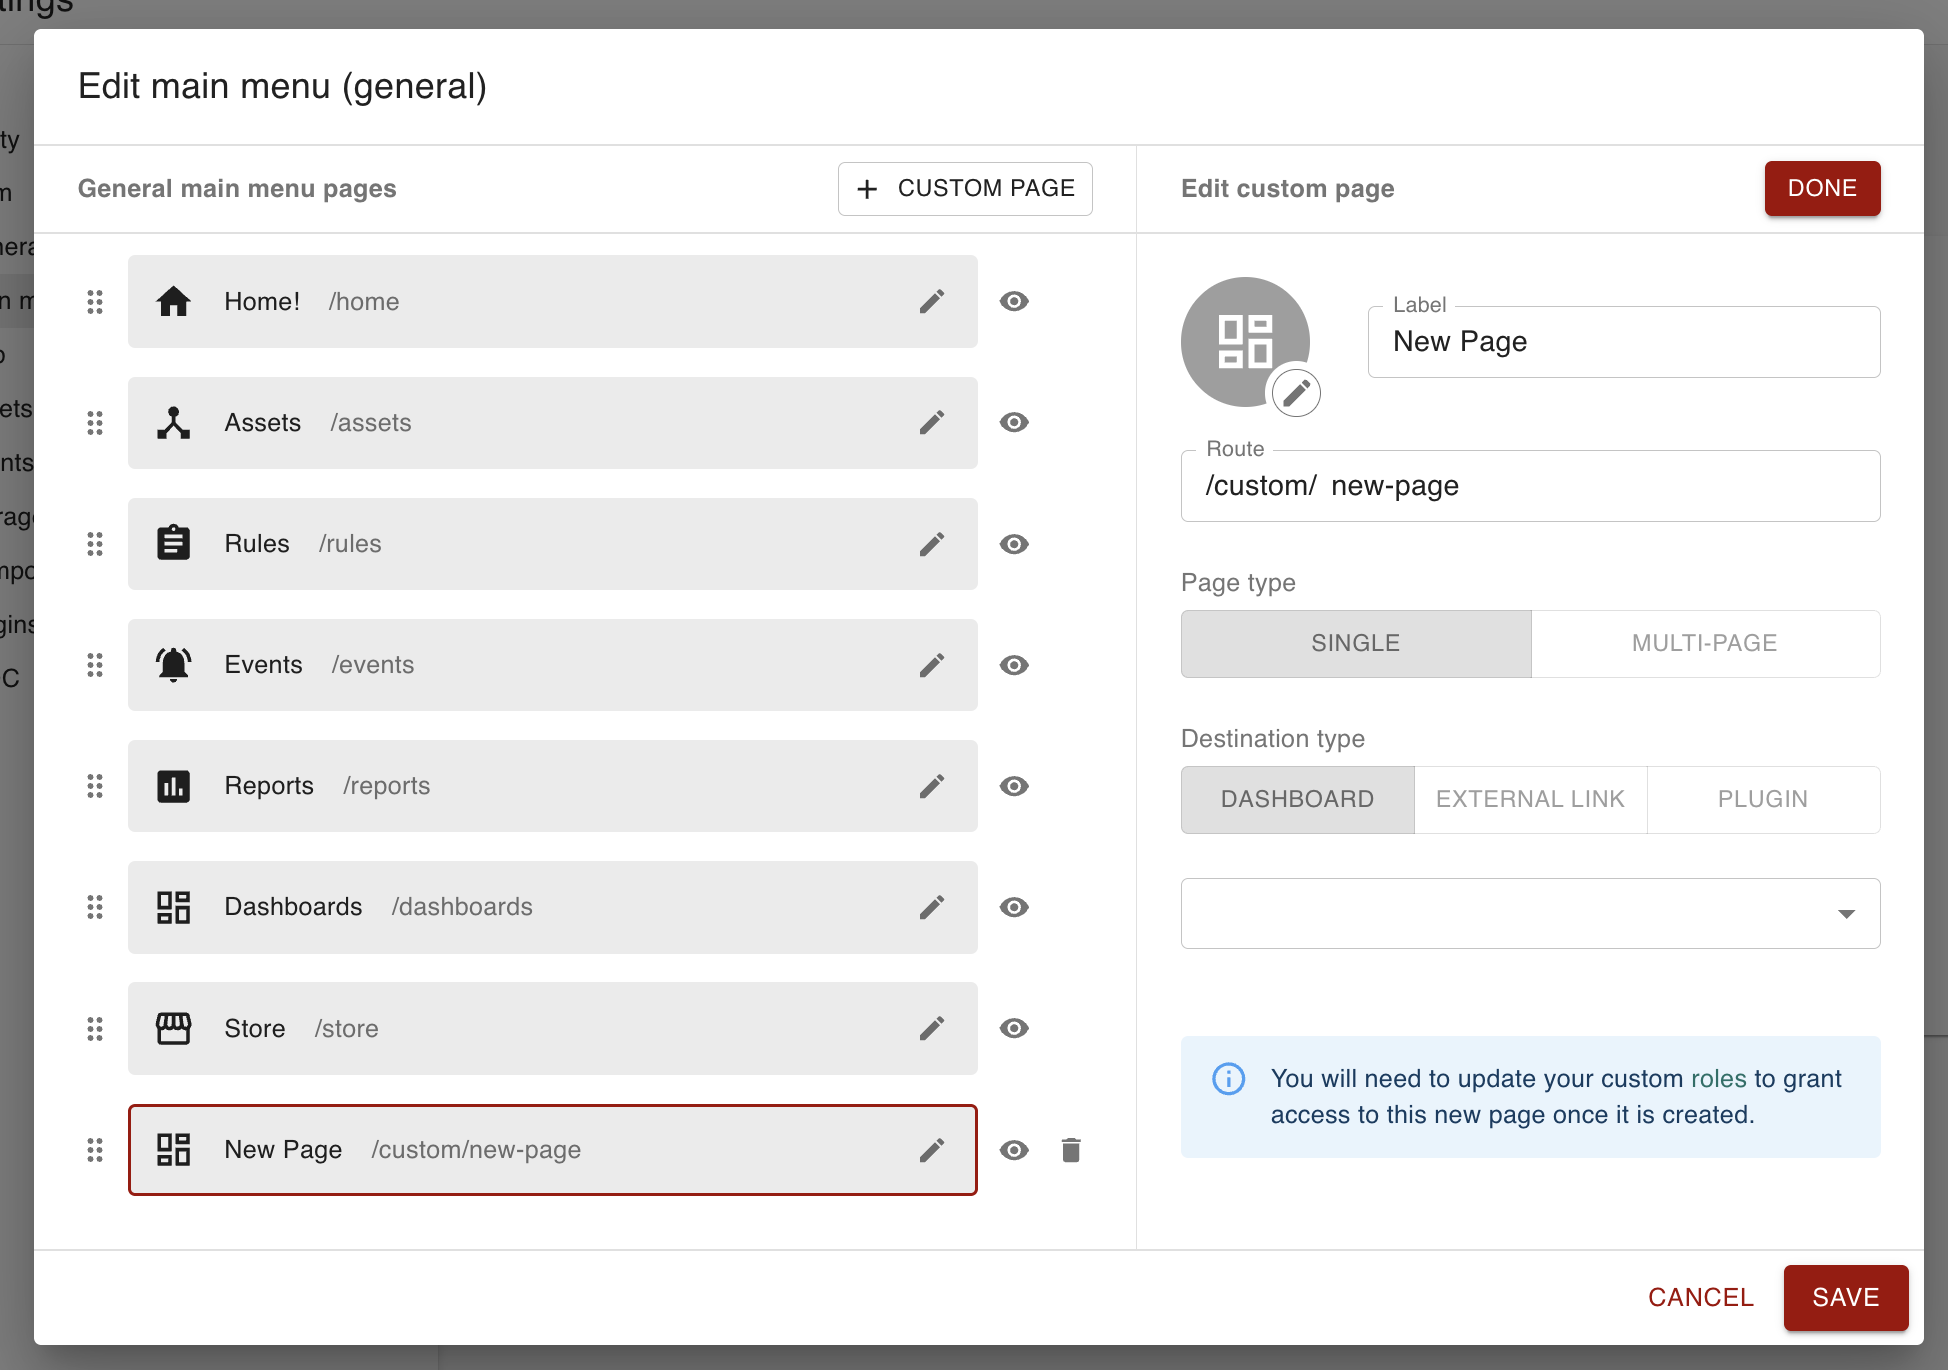
From here, you can configure the page’s label and icon, which is exactly the same as modifying the icon and label for core pages.
You can also modify its route, change whether it’s a single- or multi-content page, change its destination type, and select the destination in question.
Granting access to a role after creating the page (important)
While creating the page, you may notice an alert that states the following:
You will need to update your custom roles to grant access to this new page once it is created.
In other words, once you’ve created this page, roles will not intrinsically have view access for it; instead, you must create a new role for viewing this page (option A below), and/or tack this page’s access permission onto a previously-existing custom role (option B below).
For the following steps, let’s assume we created a new page Truck Speed Dashboard, with a route truck-speed-dashboard.
Option A: creating a new role for viewing the page
-
Navigate to Roles on the left-hand navigation menu.
-
Create a new role:
-
Hit the add button in the top-right corner (
-
Give the role a name indicating that it allows users to view the custom page you created. For example, “Can View Truck Speed Dashboard”.
-
When assigning permissions, assign it the
ia.ui.customPage_<page route>.accesspermission, where<page route>corresponds to the route you created for the page. This enables that role to view the page. For our example, this permission will beia.ui.customPage_truck-speed-dashboard.access. -
Click Save in the bottom-right corner.
-
-
Navigate to Users on the left-hand navigation menu. From this page, assign this role to whichever users should have access to the page. To view the page yourself, you must assign yourself the role.
A single role can also allow its users to view multiple custom pages. Using our example scenario, you can create a custom role “Can View Truck Pages”, then assign it all access permissions related to custom truck-related pages, like so:
-
Role name: Can View Truck Pages
-
Permissions:
-
ia.ui.customPage_truck-speed-dashboard.access -
ia.ui.customPage_truck-weight-dashboard.access -
ia.ui.customPage_external-truck-management-portal.access
-
Assigning this role to a user would thus allow them to view the truck-related pages listed.
Option B: adding the custom page’s access permission to a previously-existing custom role
-
Navigate to Roles on the left-hand navigation menu.
-
Select a custom role. This means a role created specifically for your instance of Intelligent Assets, since none of the built-in roles (Administrator, Editor, Viewer and Auditor) can be edited.
-
Edit the custom role:
-
Click the pencil icon in the top-right hand corner (

-
When assigning permissions, assign it the
ia.ui.customPage_<page route>.accesspermission, where<page route>corresponds to the route you created for the page. This enables that role to view the page. For our example, this permission will beia.ui.customPage_truck-speed-dashboard.access. -
Click Save in the bottom-right corner.
-
-
Navigate to Users on the left-hand navigation menu. From this page, assign this role to whichever users should have access to the page. To view the page yourself, you must assign yourself the role.
Changing a new custom page’s route
The route is what appears in the URL when the user accesses the page. In the below example, the user is creating a page titled Truck Speed Dashboard, with a route set to /custom/truck-speed-dashboard:
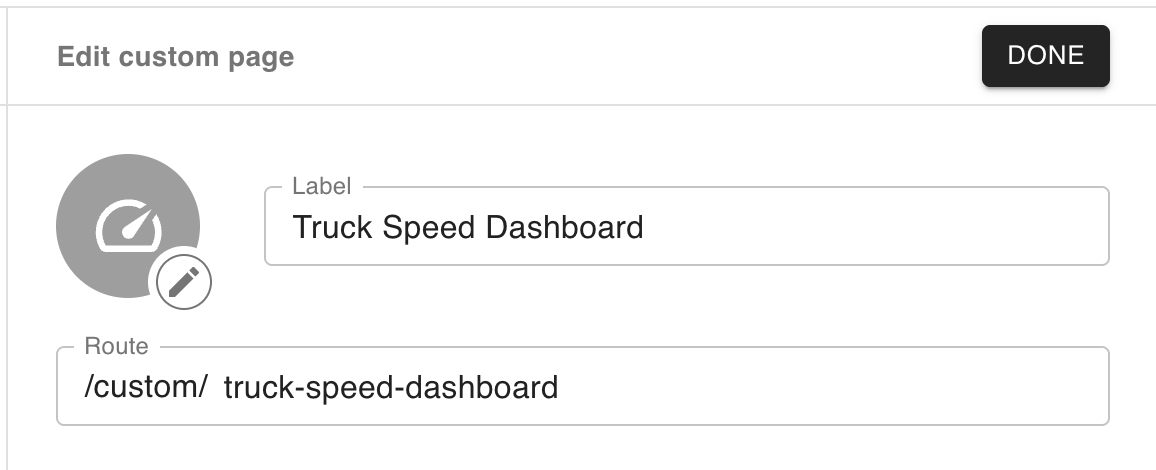
Once the user saves this page, they can access it via /ia/CUSTOMER_NAME/custom/truck-speed-dashboard.
Once the page is finalized and saved, the route is no longer editable.
Changing a custom page’s content
Destination types
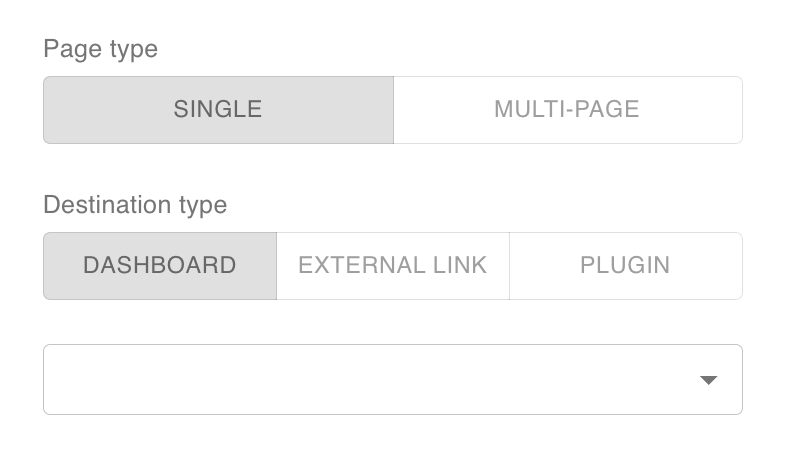
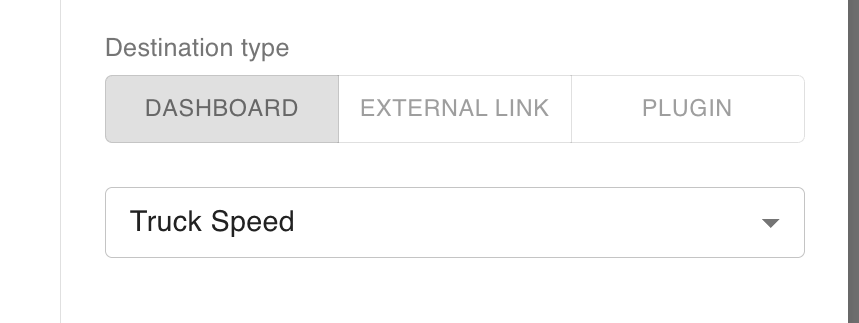
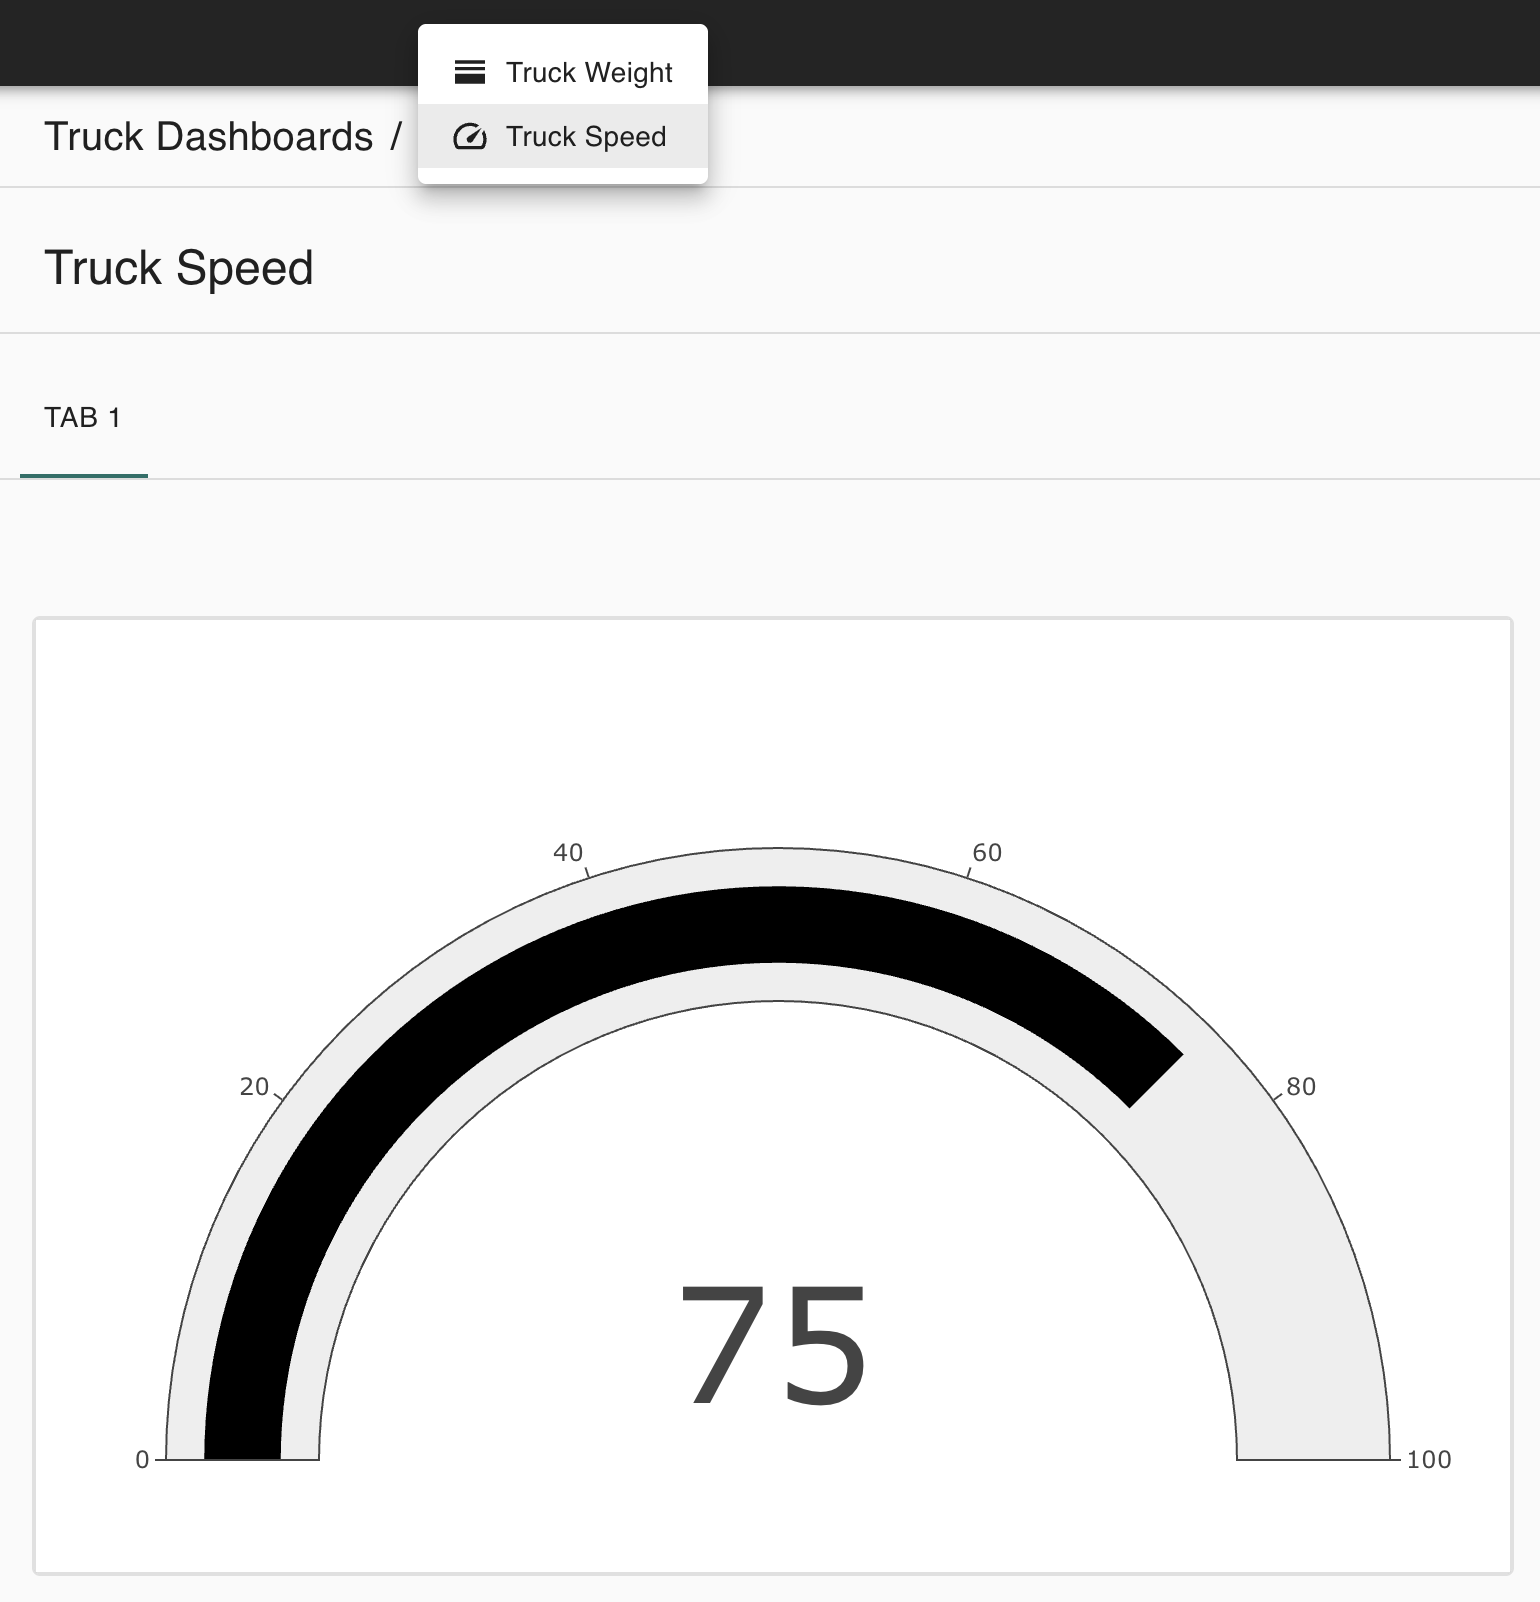
A page can point to one or more destinations, e.g. a dashboard, external link, or plugin. To have a page point to a single dashboard (in this example, a dashboard titled “Truck Speed”), the user selects a Single page type and a Dashboard destination type:
They then select the Truck Speed dashboard in the dropdown:
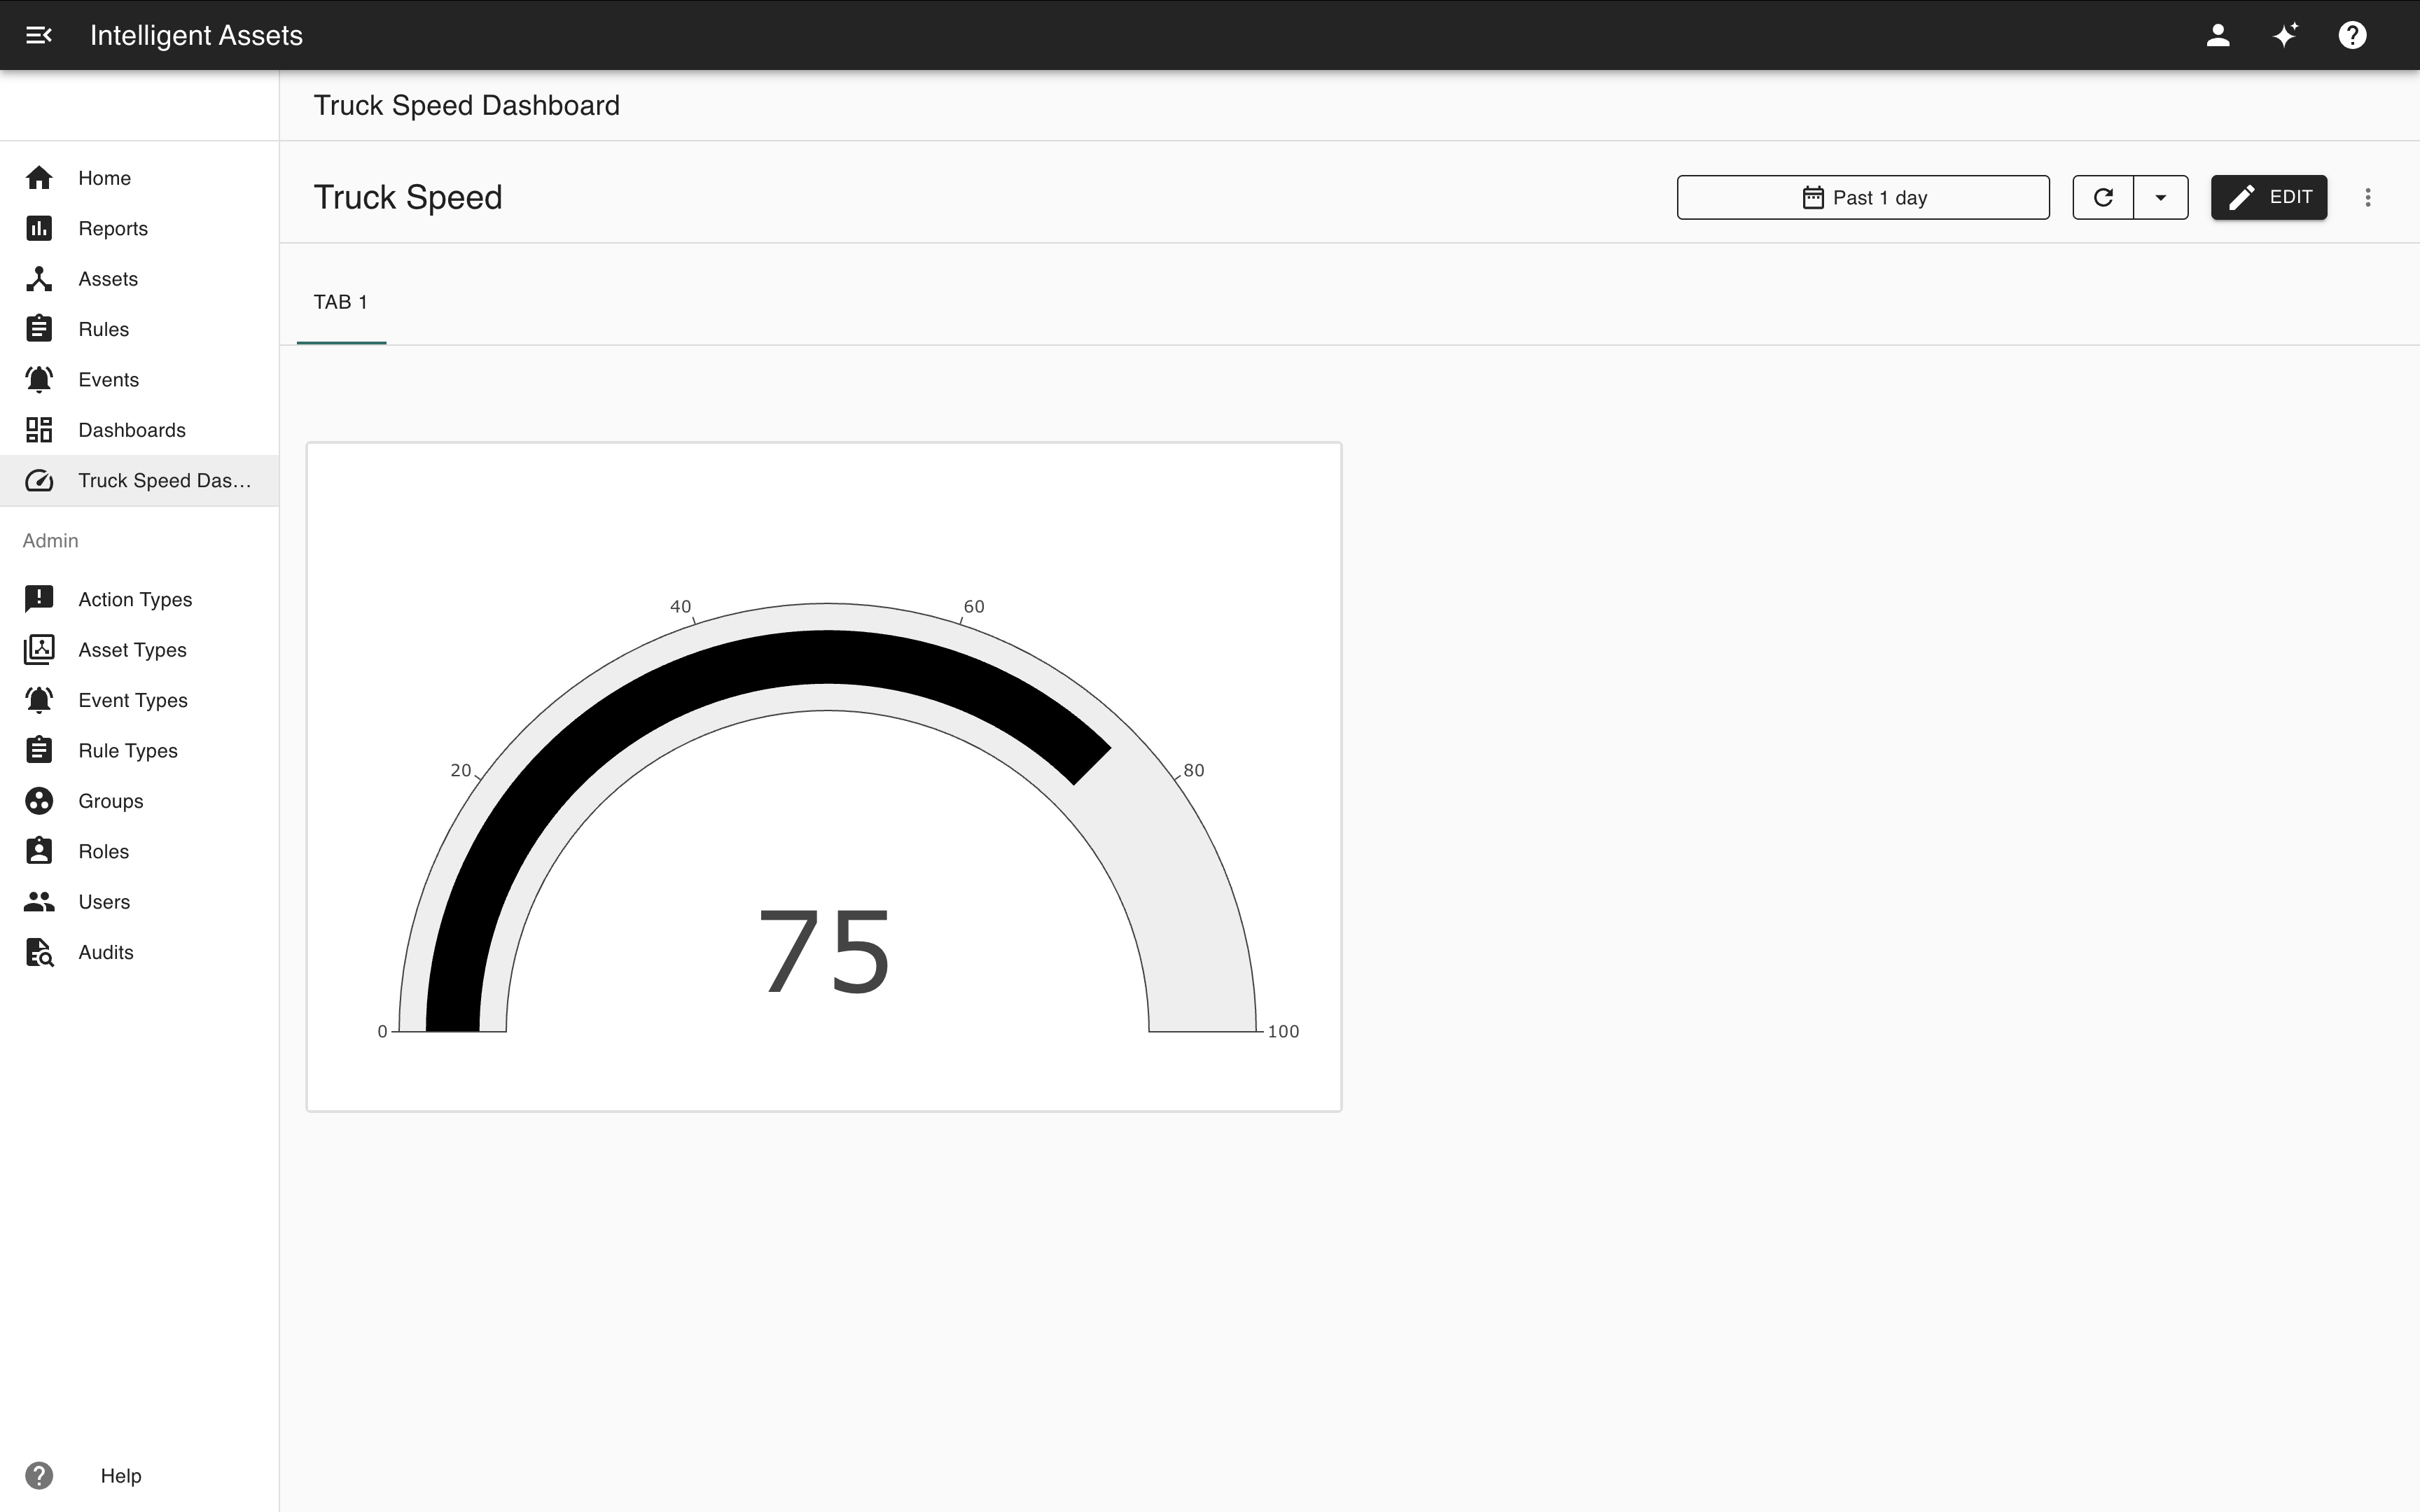
Ultimately, this will create a custom page with the Truck Speed dashboard immediately visible:
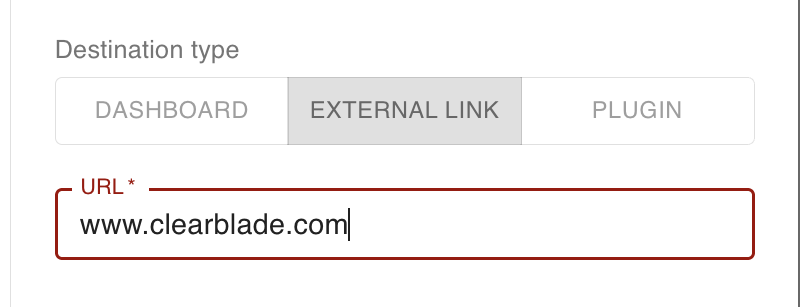
The user can also configure a page pointing directly to an External link. In this example, the page will point to https://www.clearblade.com/:
Which, when accessed from the app drawer, takes the user straight to the URL in a new tab:
You can also select the Plugin option. This allows you to render a completely standalone, custom application as a page in Intelligent Assets. These pages require you to provide a Microfrontend (MFE) URL.
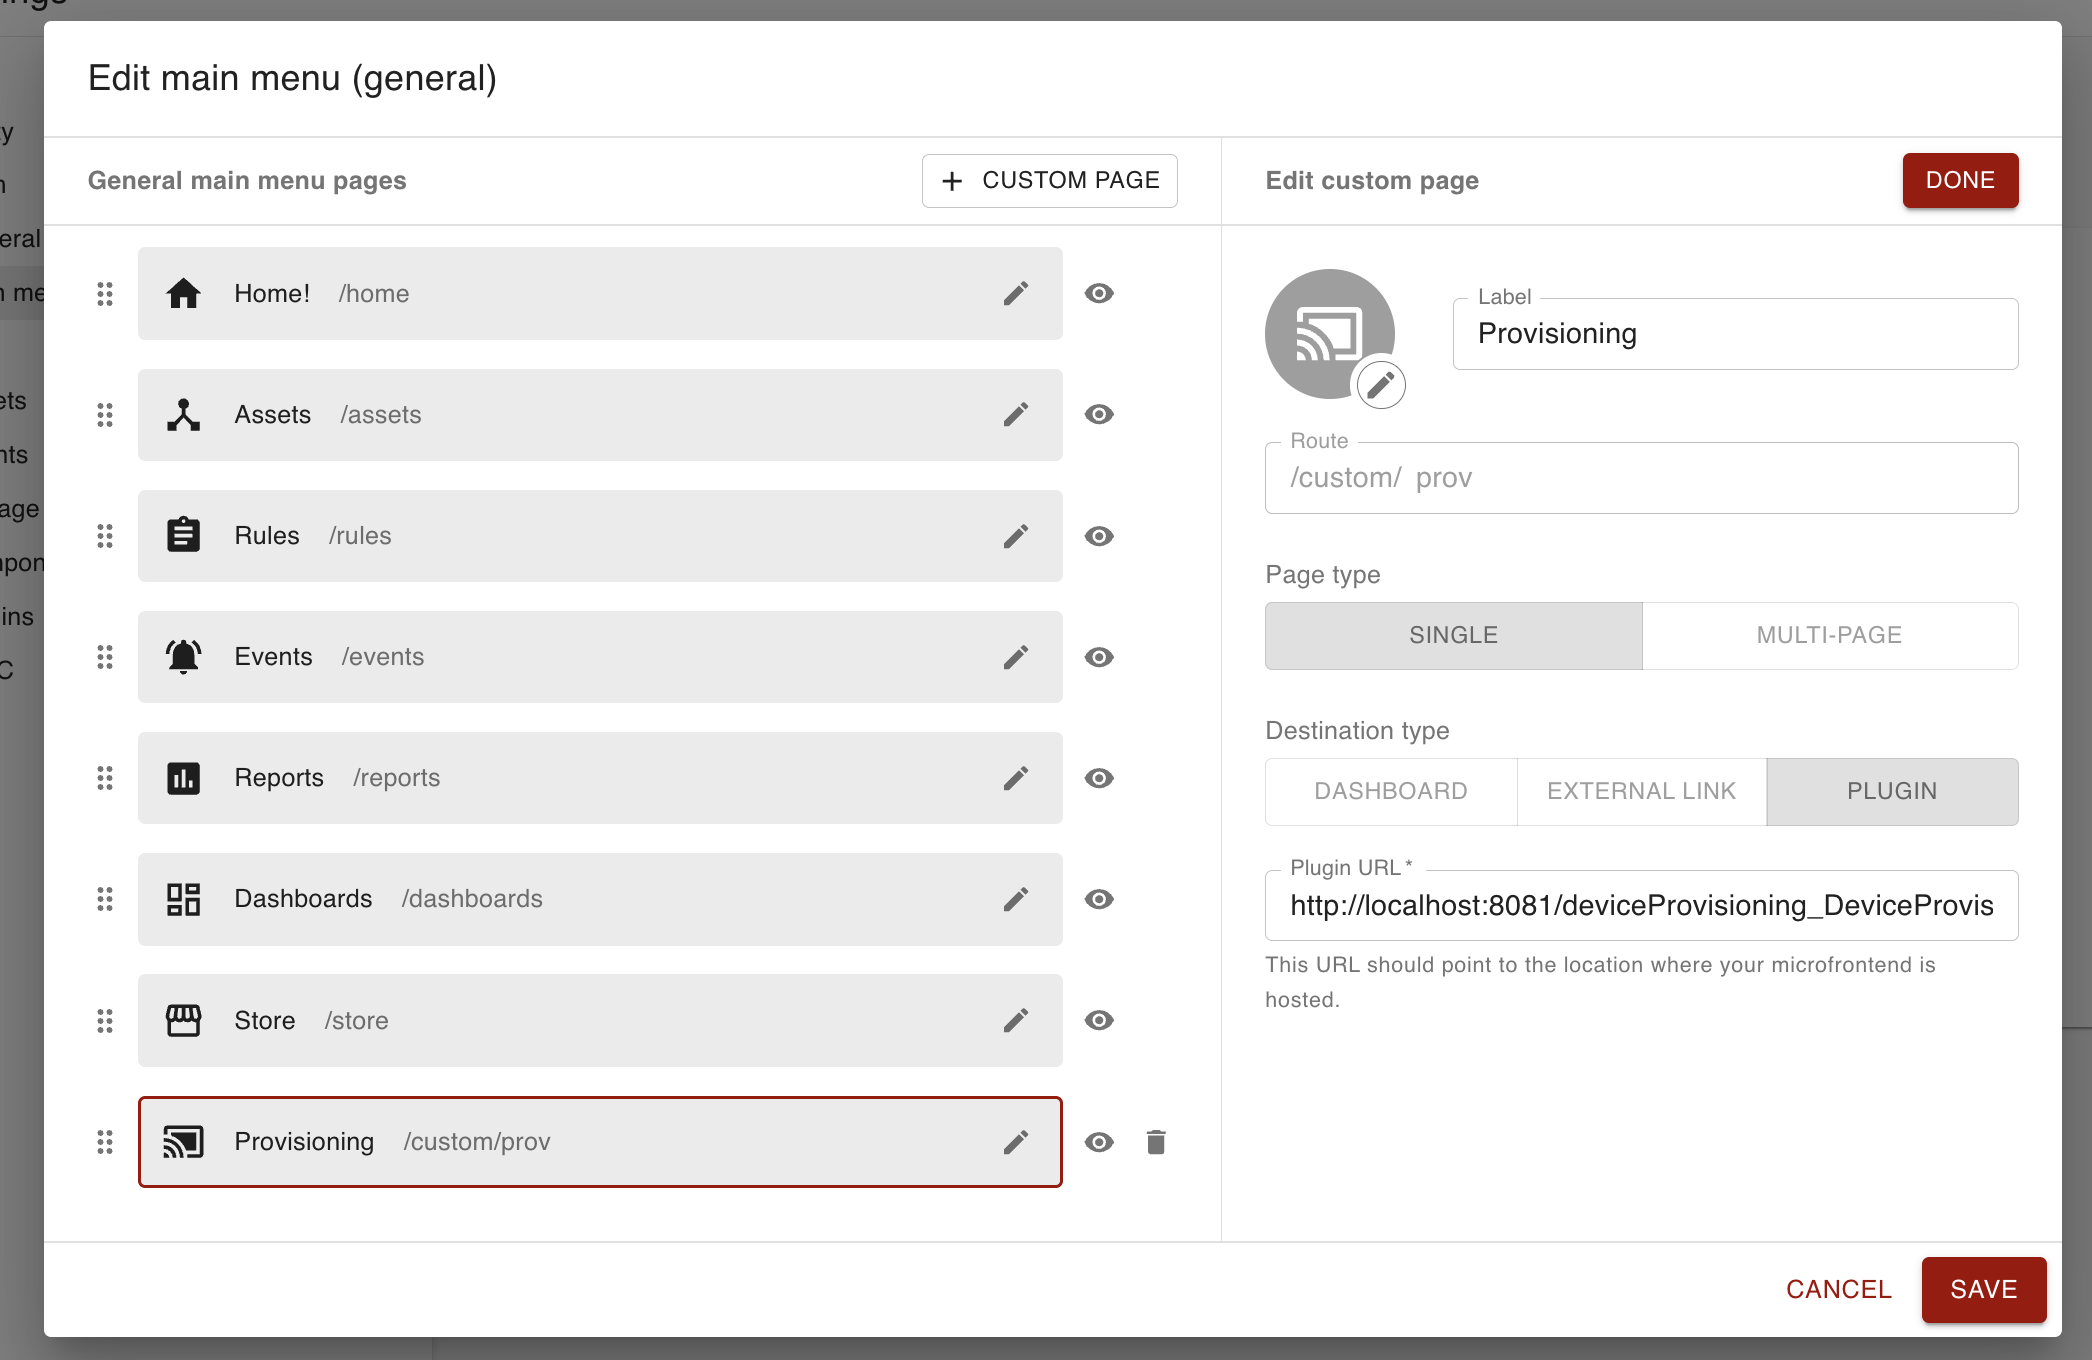
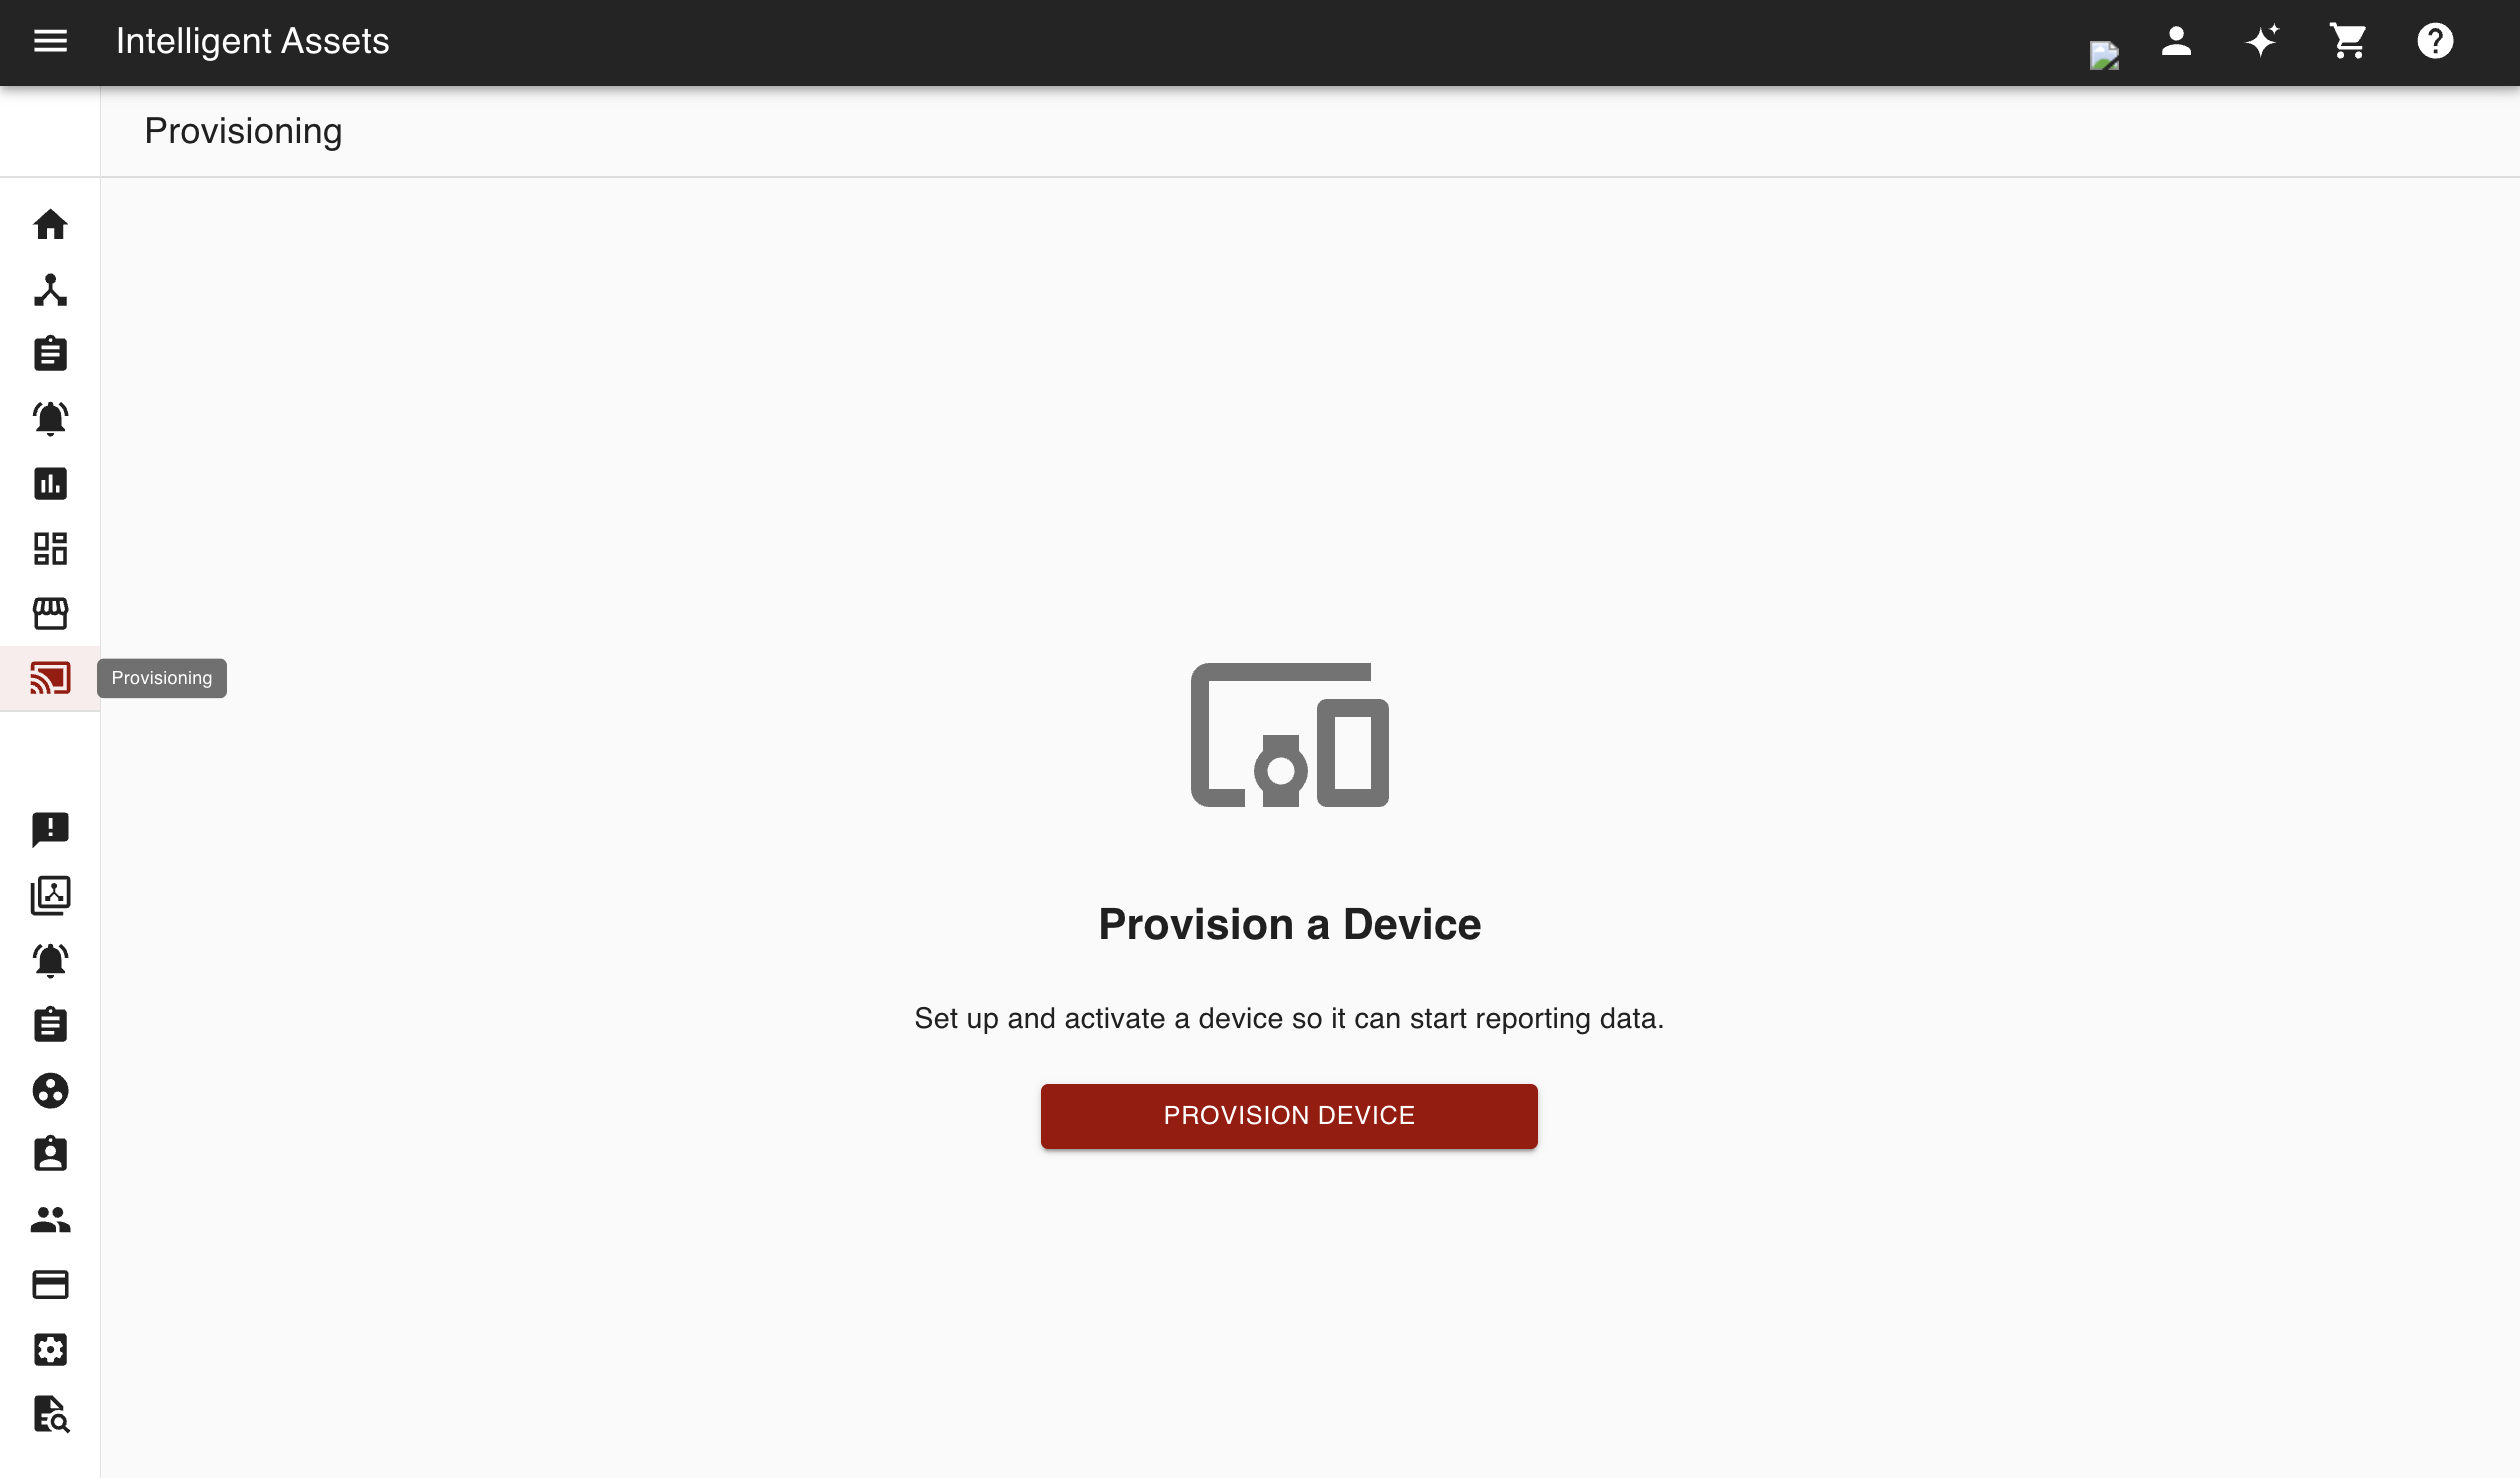
When you navigate to the plugin page, the contents of your MFE plugin will be rendered there.
Multi-content pages
A page can either contain a single piece of content or multiple. For example, the user can change the Page type to Multi-page:
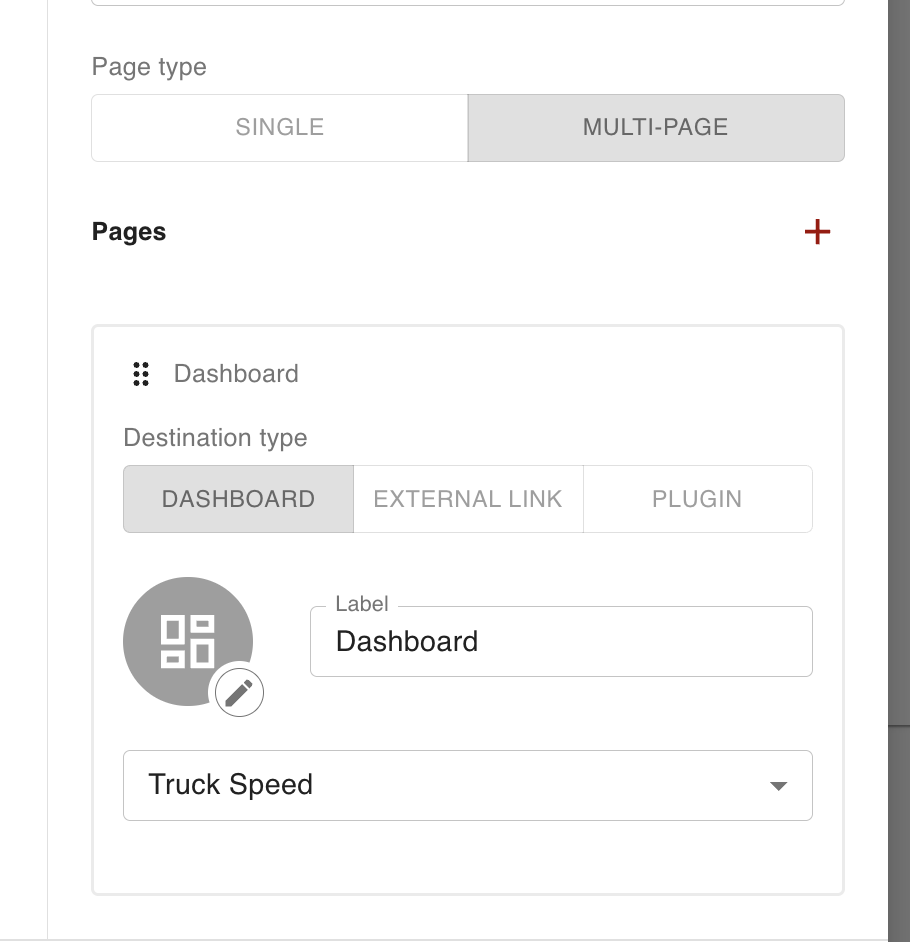
This allows the user to add new pages via the add button ( ![]()
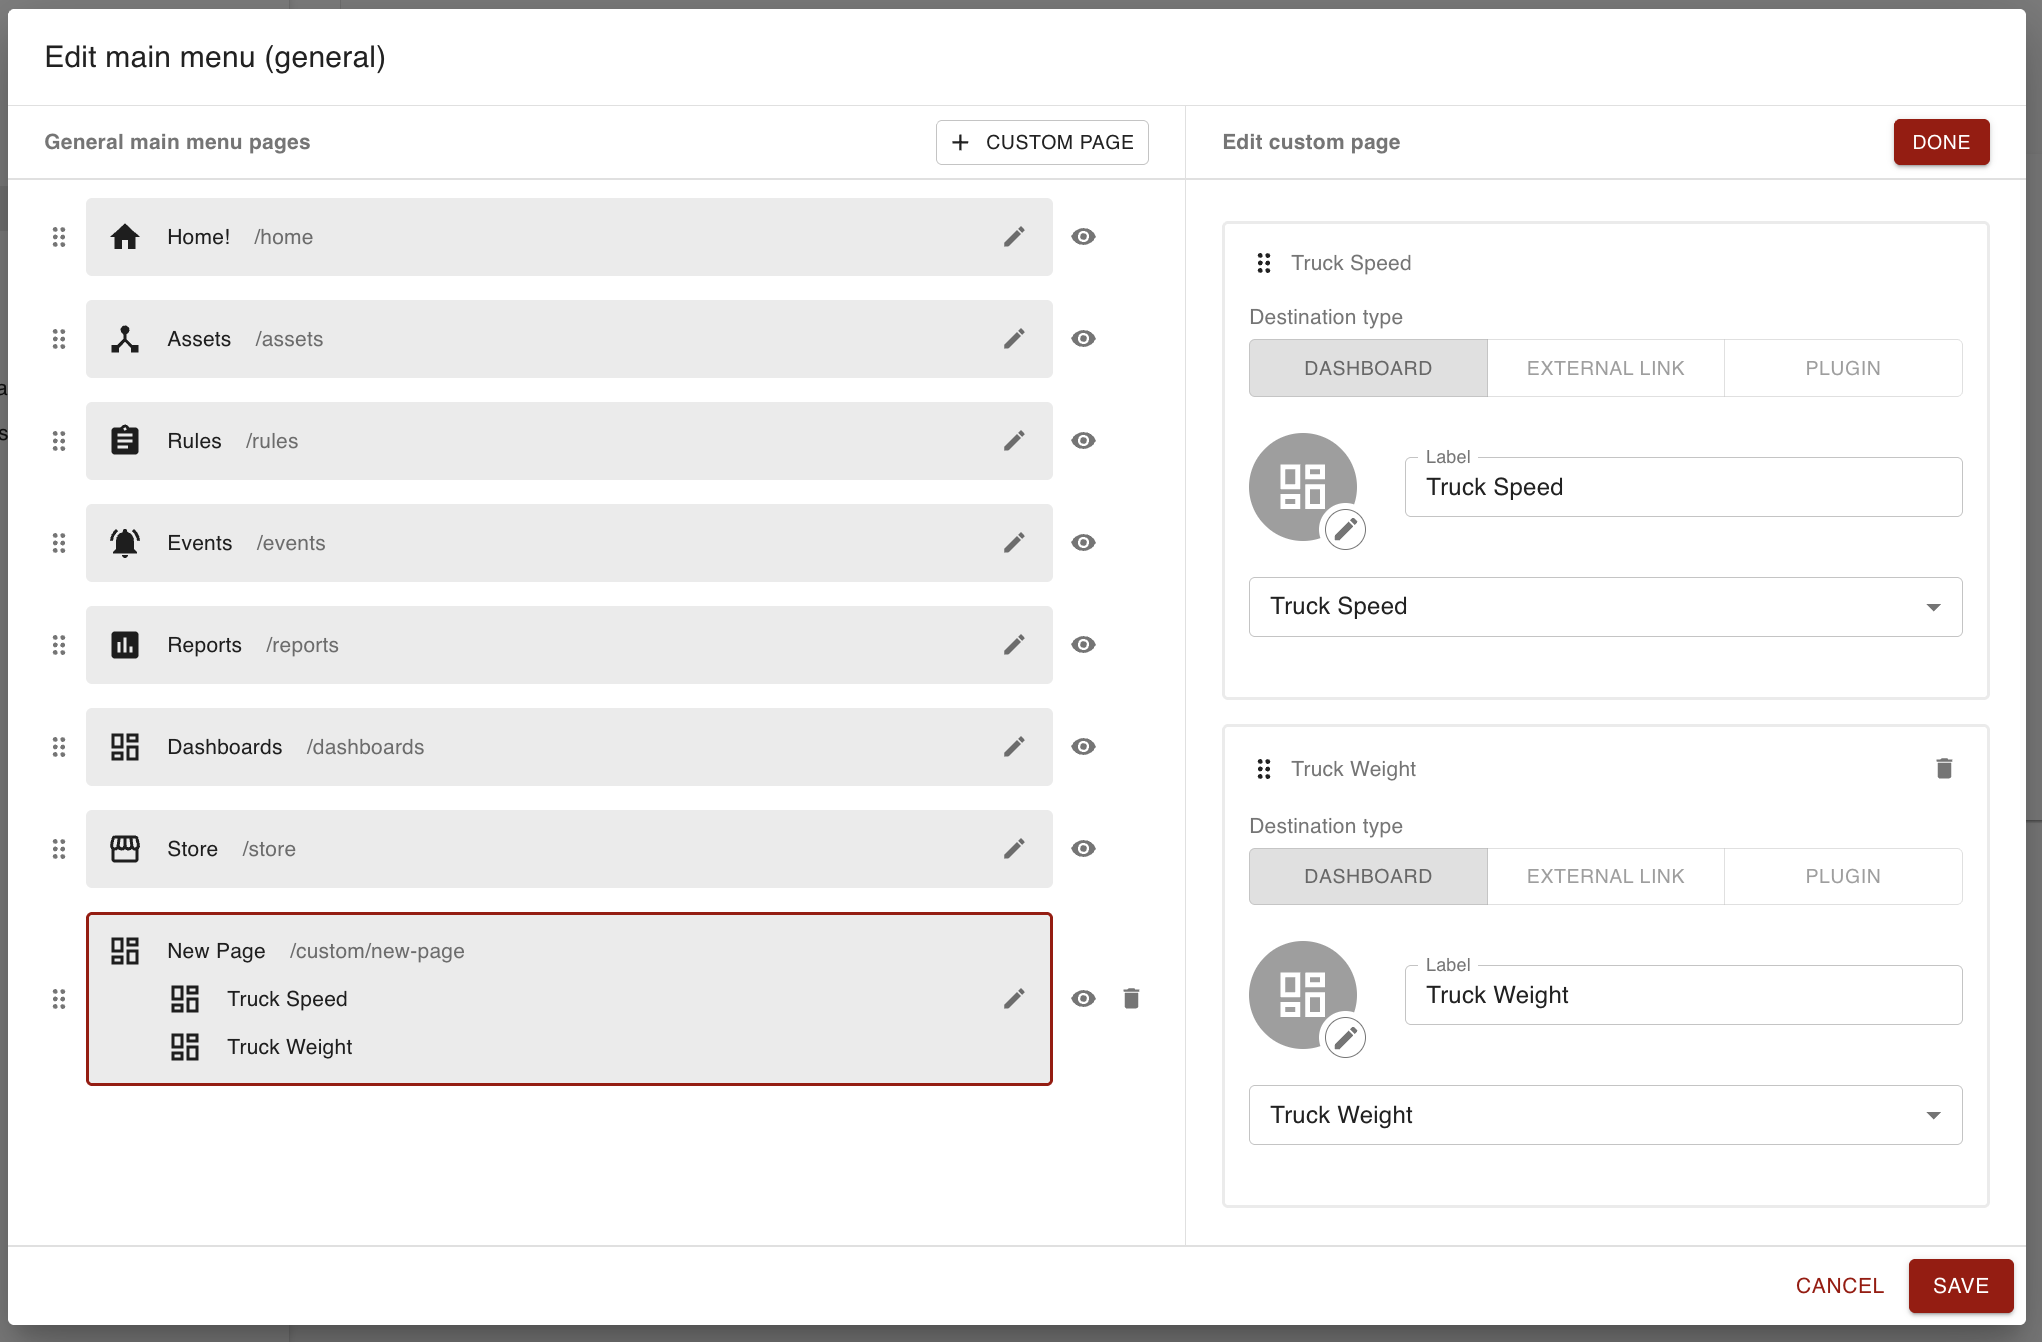
The user can also choose to reorder them via the same drag-and-drop mechanism as reordering the pages. Once this page is saved, both dashboards will appear in the app drawer:
The user can also use the dropdown at the top of the custom page to flip between the contents:
Deleting a custom page
To delete a custom page, click the delete icon ( ![]()

Core pages cannot be deleted.