
Create
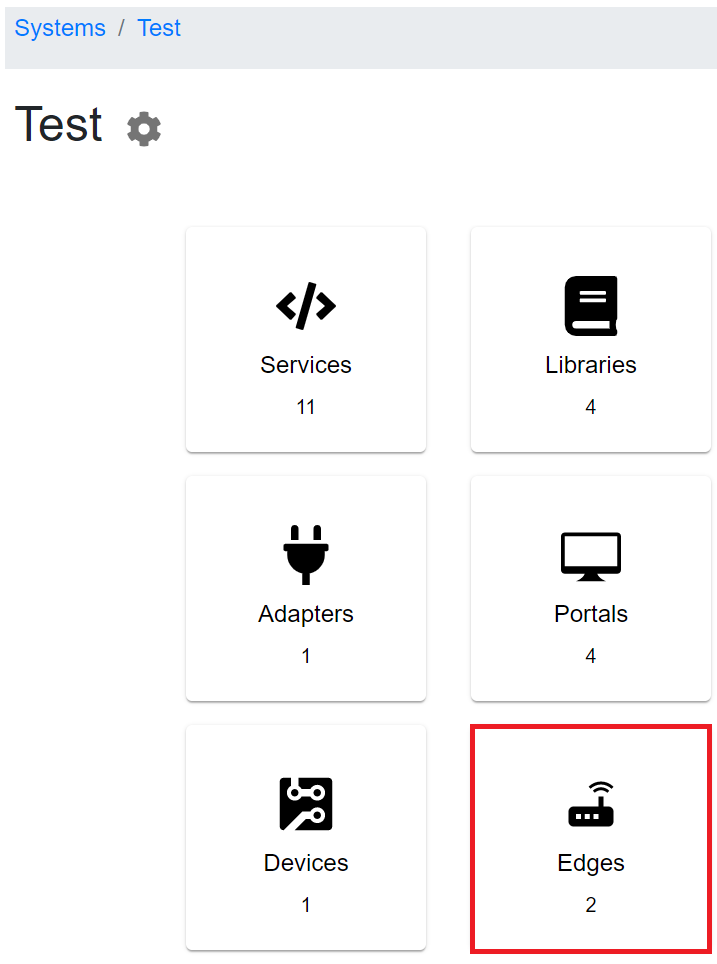
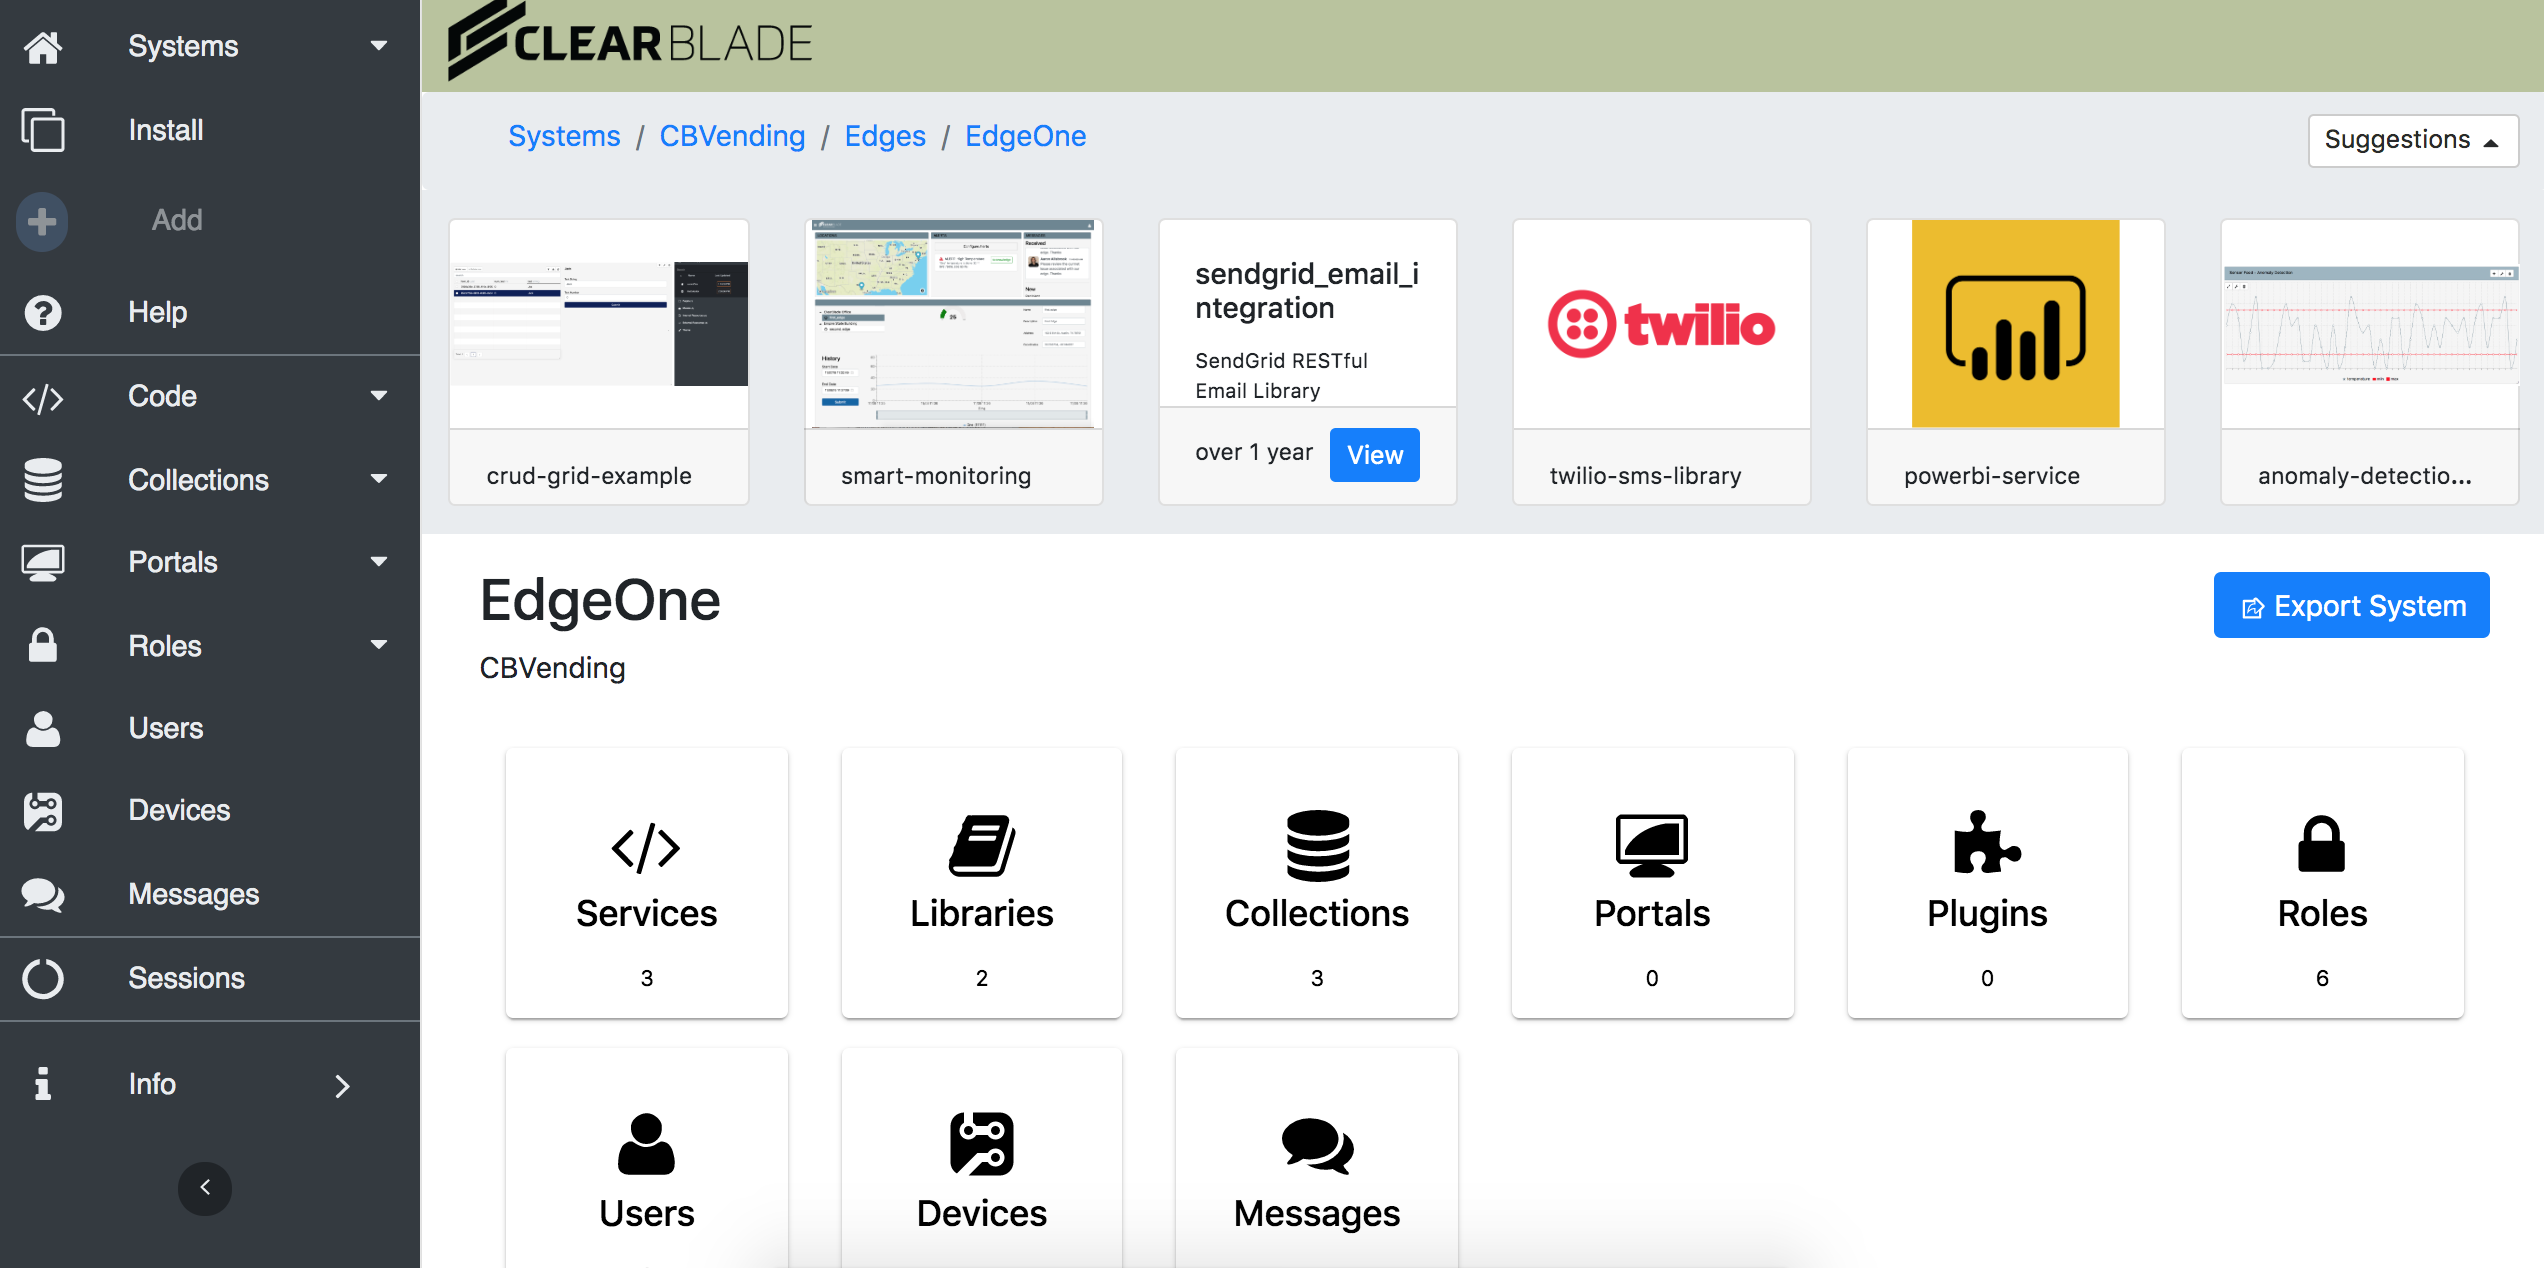
1. Click Edges within your system.
2. Click the + Add Edge button.
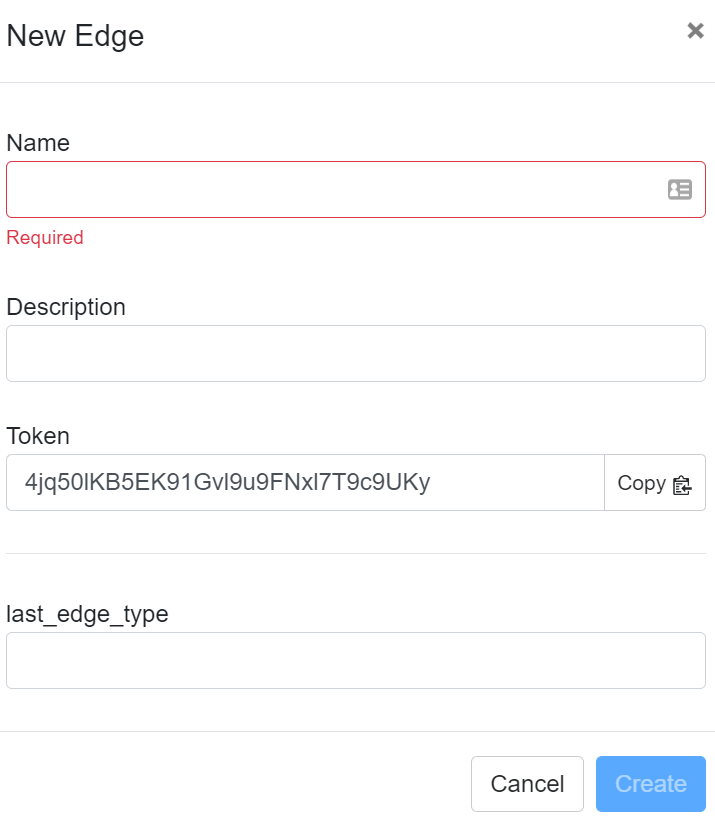
3. Name your edge, give it a suitable description, and click Create.
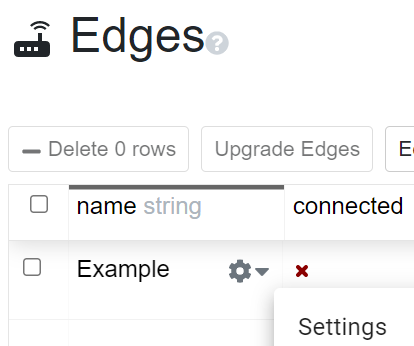
4. You can view the edge settings by clicking the gear icon to the right of an edge and clicking Settings.
Install and start
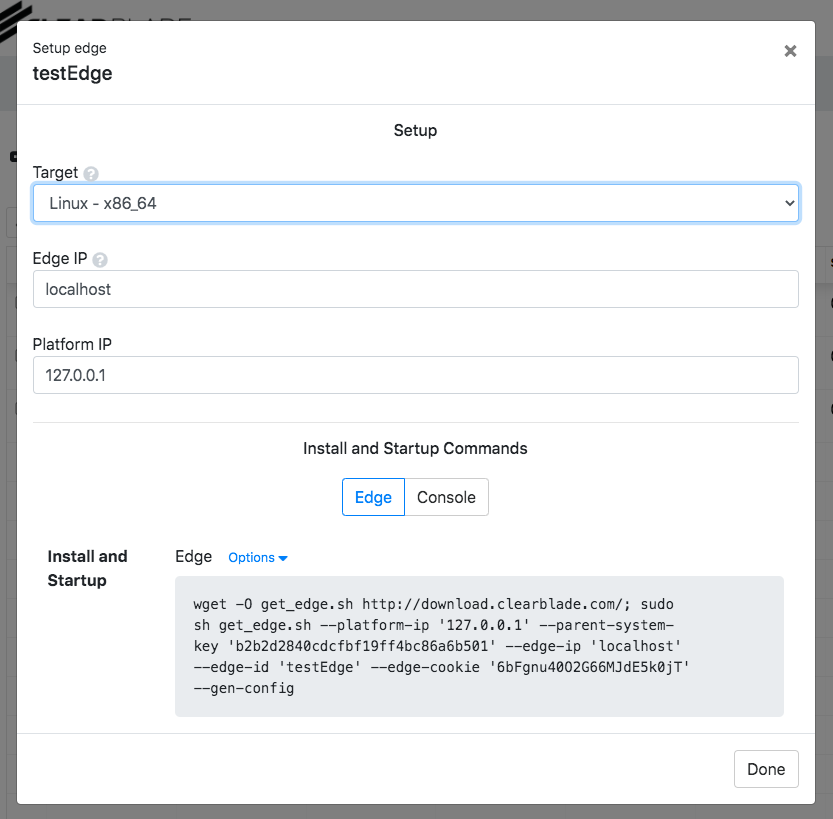
1. Click Setup instructions for the edge created in the previous step.

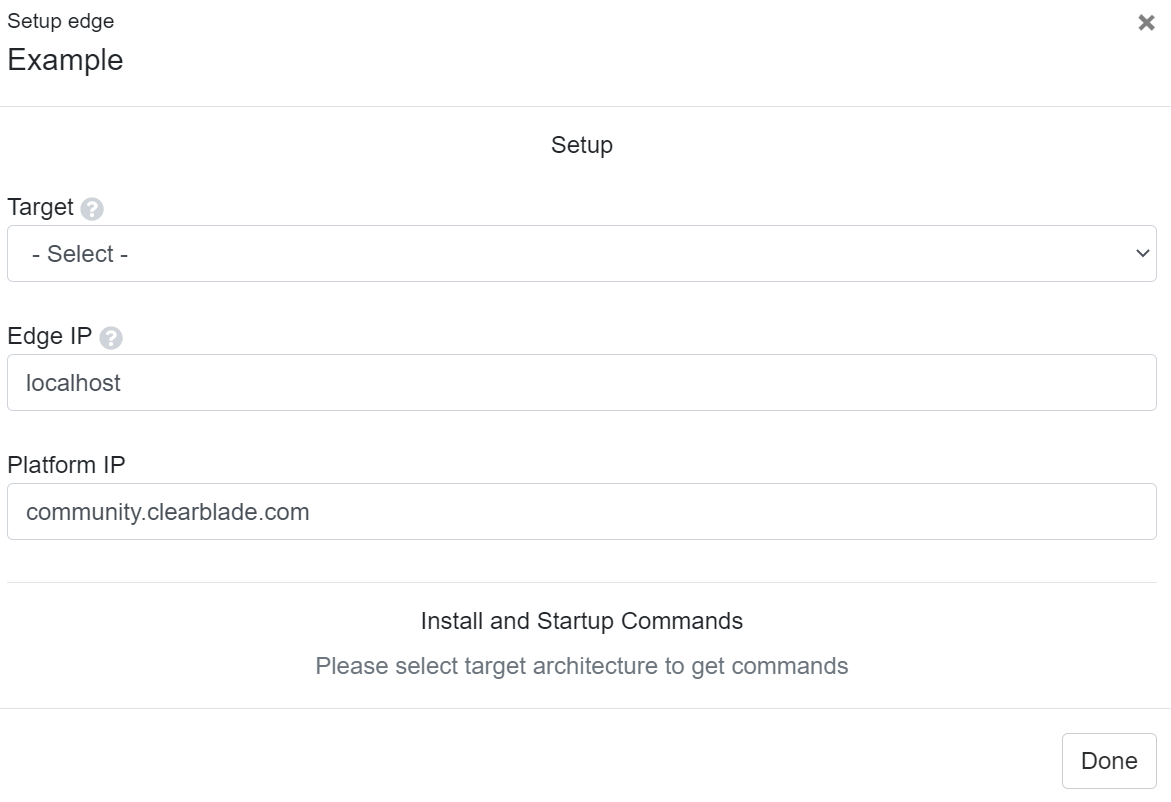
2. Select the operating system on which the edge will be installed from the Target dropdown in the setup dialog. We recommend you install a virtualizer and create a virtual machine with one of the dropdown’s target operating systems.
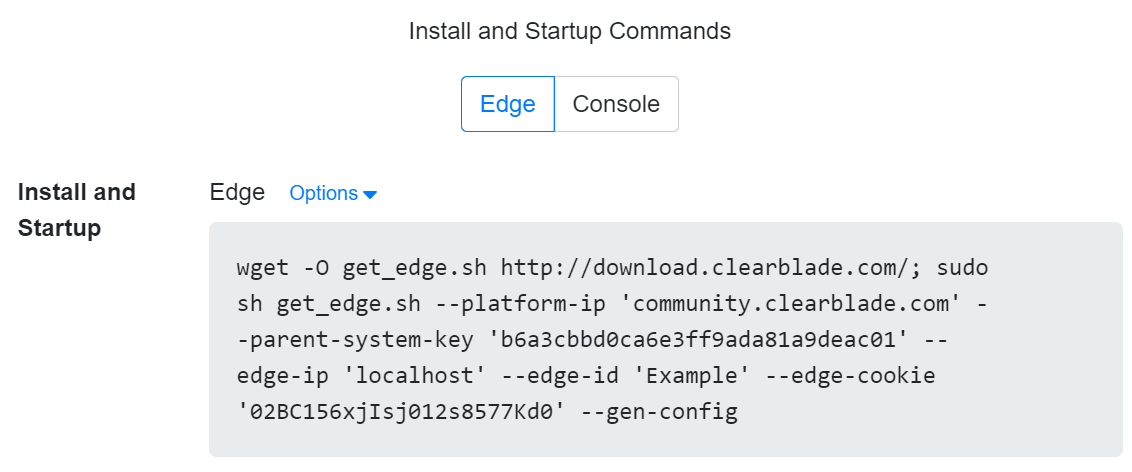
3. Once the operating system has been selected, an install command will be displayed for you to copy and paste into a terminal. Open a terminal prompt on the target operating system and run the command. You can run the edge or run it with the console.
4. In the Start section, enter the IP address of the machine the edge was installed on into the Edge IP field. This will also be used to access the edge console.
5. Copy and paste the startup command into a terminal on the gateway to which you're trying to install the edge (also use the console command if you run the console). Your edge should be connected, and you should have access to its console.
Edge-Linux options
Select a Linux option as the target. Separate edge and console install and startup commands will appear.
There will be an Options button next to each command.
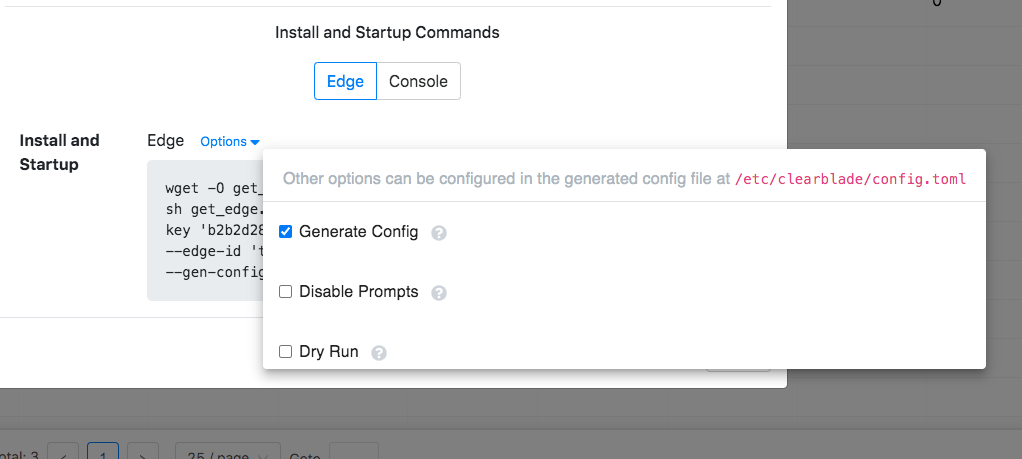
Edge options
|
Option |
Description |
|---|---|
|
Generate Config |
Creates a configuration file to run the edge as a service |
|
Disable Prompts |
Run the script without prompts (not recommended) |
|
Dry Run |
A practice run of the startup process |
Console options
|
Option |
Description |
|---|---|
|
Check Certificates |
Enables certificates to be checked when making platform requests |
|
Edge |
Treats the console as an edge binary when enabled |
|
Console Errors |
Enables sending JS errors from the console to this web server |
|
Portal Errors |
Enables sending JS errors from the portal to this web server |
Other options can be configured in the generated config file at /etc/clearblade/config.toml.
Remote login
To get access to the Edge console, click the edge you want to access and log in with your ClearBlade Platform’s email and password.
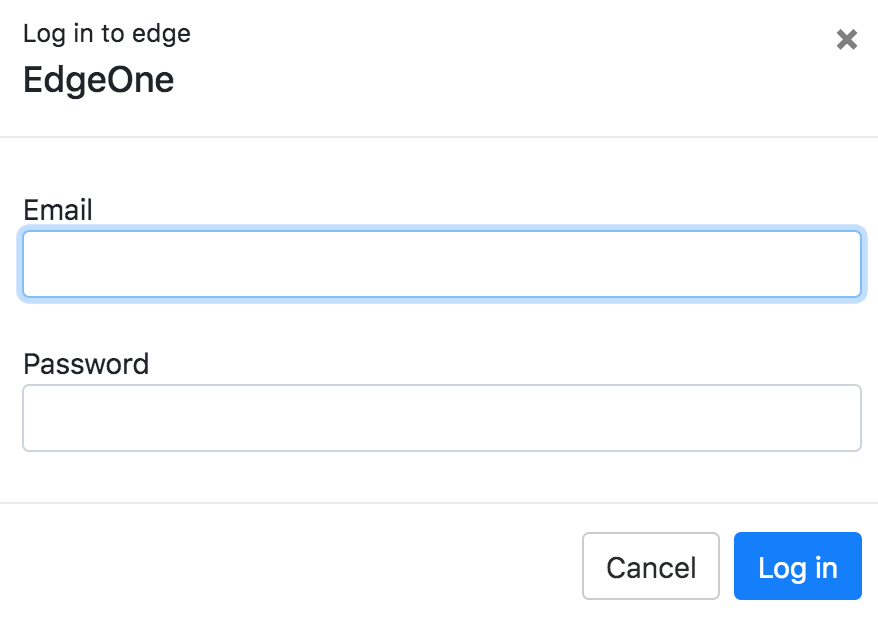
You should be able to see the Edge console.
Upgrade Edge
An edge’s older version must run on your device when you do over-the-air updates.
If you are using the console to upgrade your edge, do one of these tasks first:
-
If your edge binary is stored in any of the system directories (i.e.,
/usr/local/bin, etc.), start your edge usingsudoOR -
Move your edge binary to where your user can read/write files.
This is required because we need access to the file system to back up the old edge binary and store the new binary.
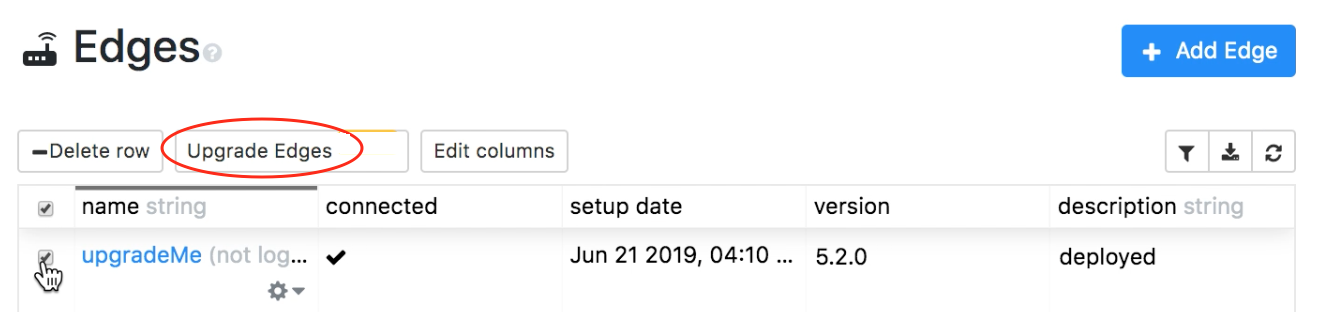
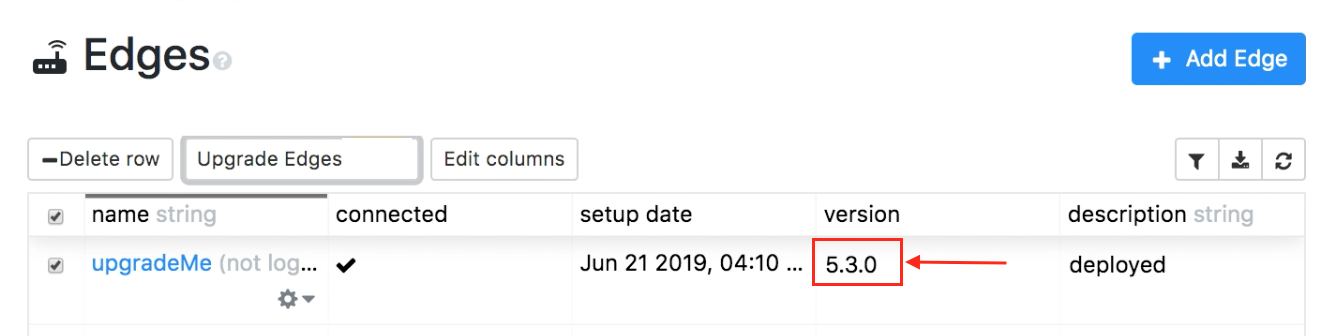
1. Choose the edge(s) you want to upgrade and click Upgrade Edges.
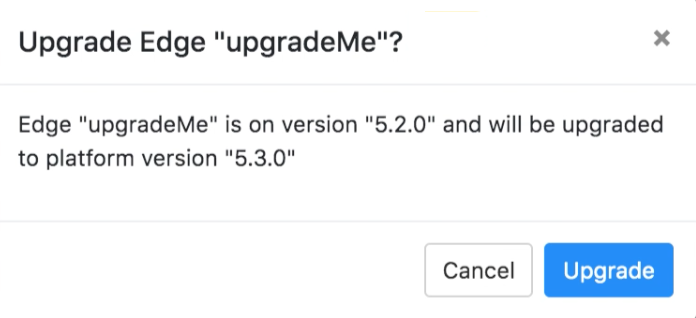
2. Verify the edge(s) and versions being updated and click Update.
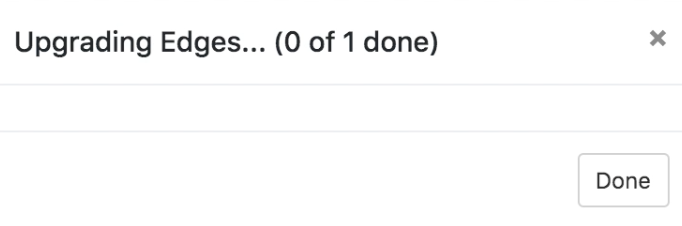
3. The upgrade will start and be monitored on your platform. Changes will appear on your terminal. Once the upgrade is completed, click Done.
4. The edge(s) should be updated, and the new version should be listed.