Create
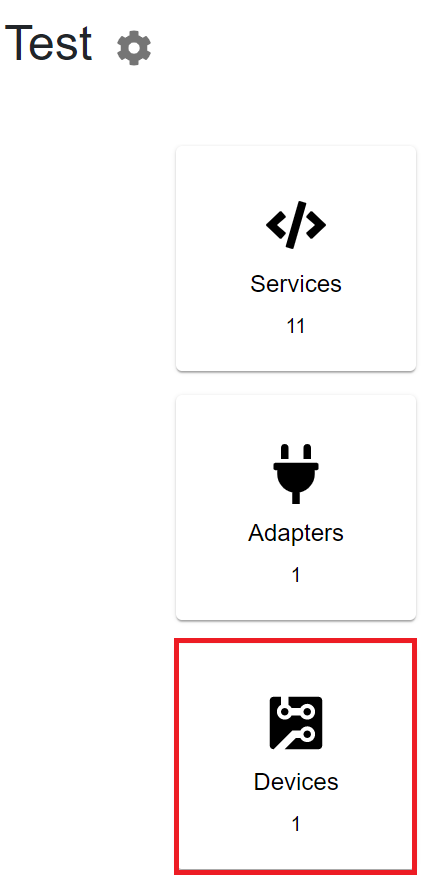
1. Navigate to the devices page.
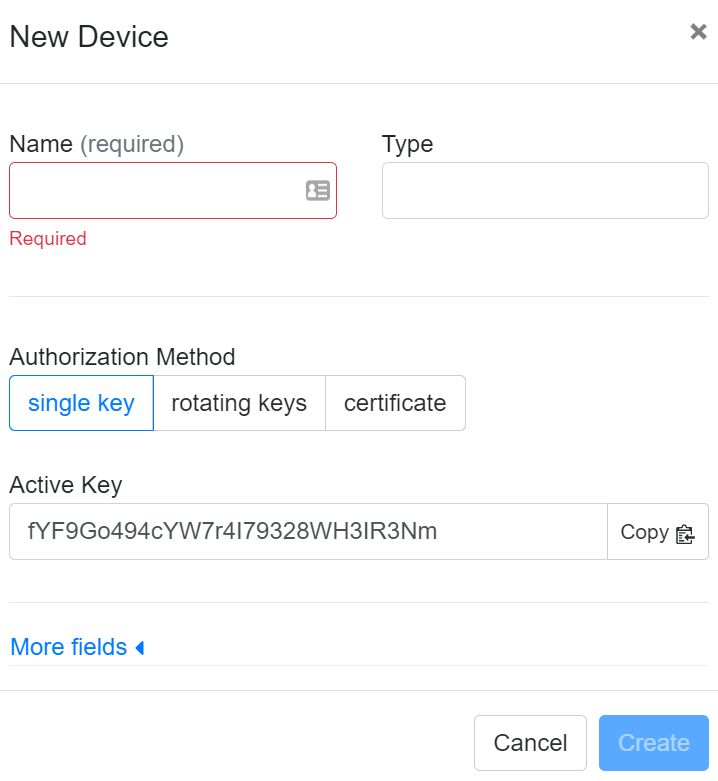
2. Click the + Add Device button.
3. Provide a name and type in the default fields, choose an authorization method, provide an active key analogous to a password, expand More fields to add more information, and click Create.
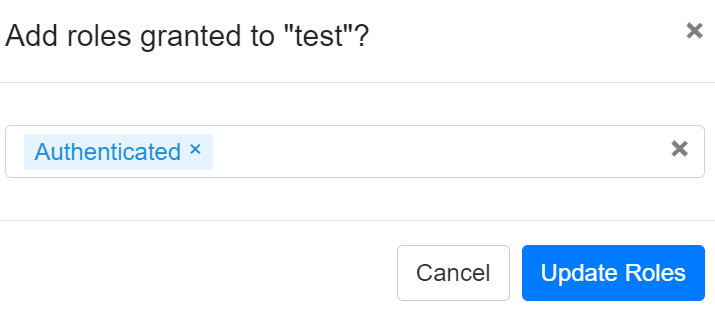
4. Add roles to the device and click Update Roles. Authenticated is the default role.
Add public keys
1. Click the gear icon next to a device and select Public Keys.
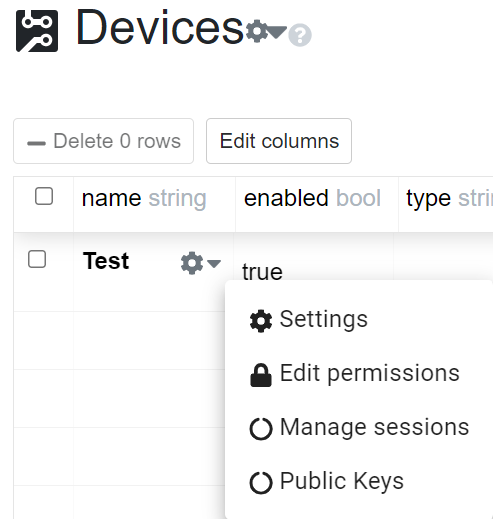
2. Click the Add button.
3. Select the key format, input your public key in PEM format, and click Save.
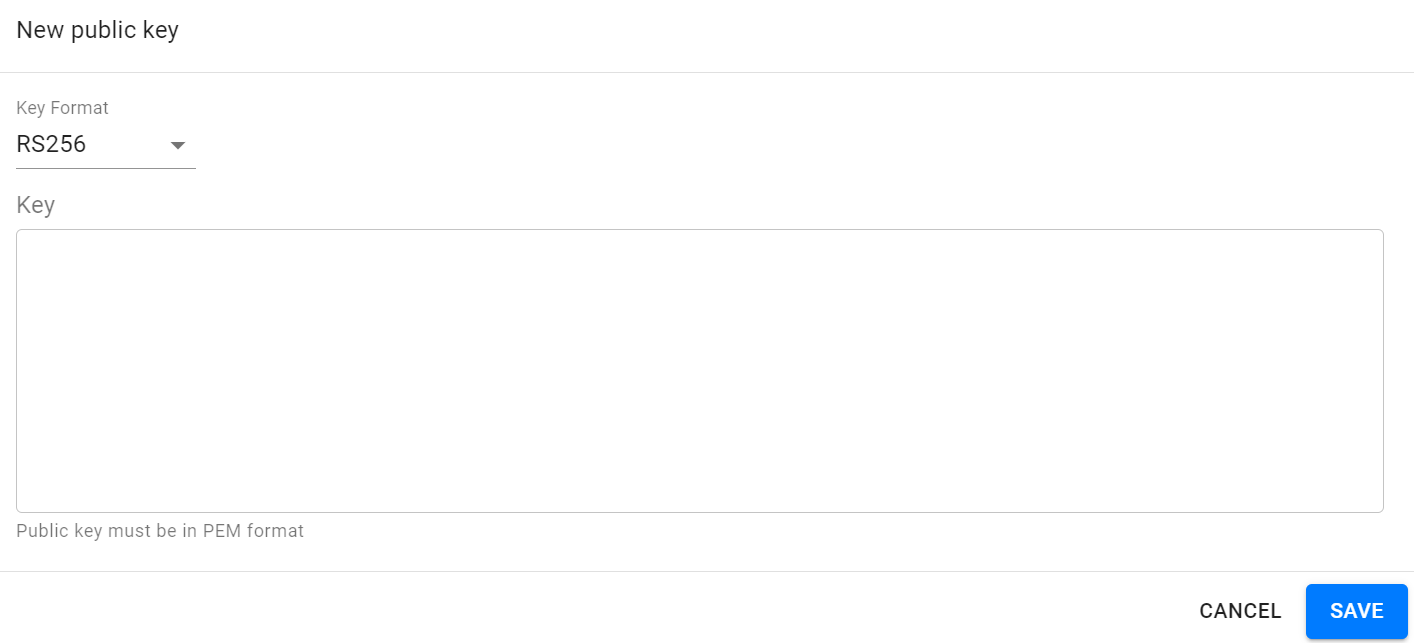
Adding CA certificate(s) to the CA certificates page prevents certificates not signed by those CA(s) from being added to devices. This doesn't affect self-signed or signed certificates already added to devices before the CA certificate(s) were uploaded.
Update
1. Go to the settings icon next to the device’s name and click Settings.
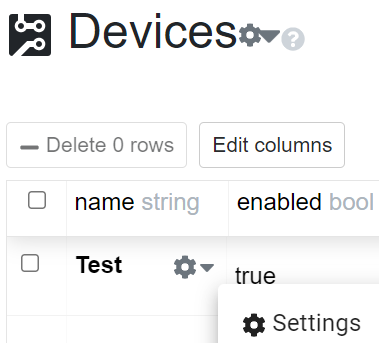
2. You can update everything except the name. Click Update to save the new settings.
Delete/disable
1. Delete the device by selecting the checkbox before the one you want to delete and clicking the Delete row button.

2. Click Confirm when the prompt appears.

To disable a device: Uncheck next to the device, but do not delete.
Edit columns
1. You can add properties to your device by clicking the Edit columns button.
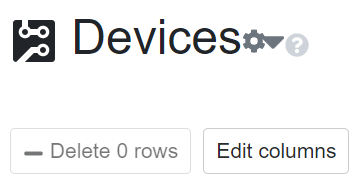
2. This will add some properties as columns to your device table.
3. The additional column will be added at the end of the columns list.
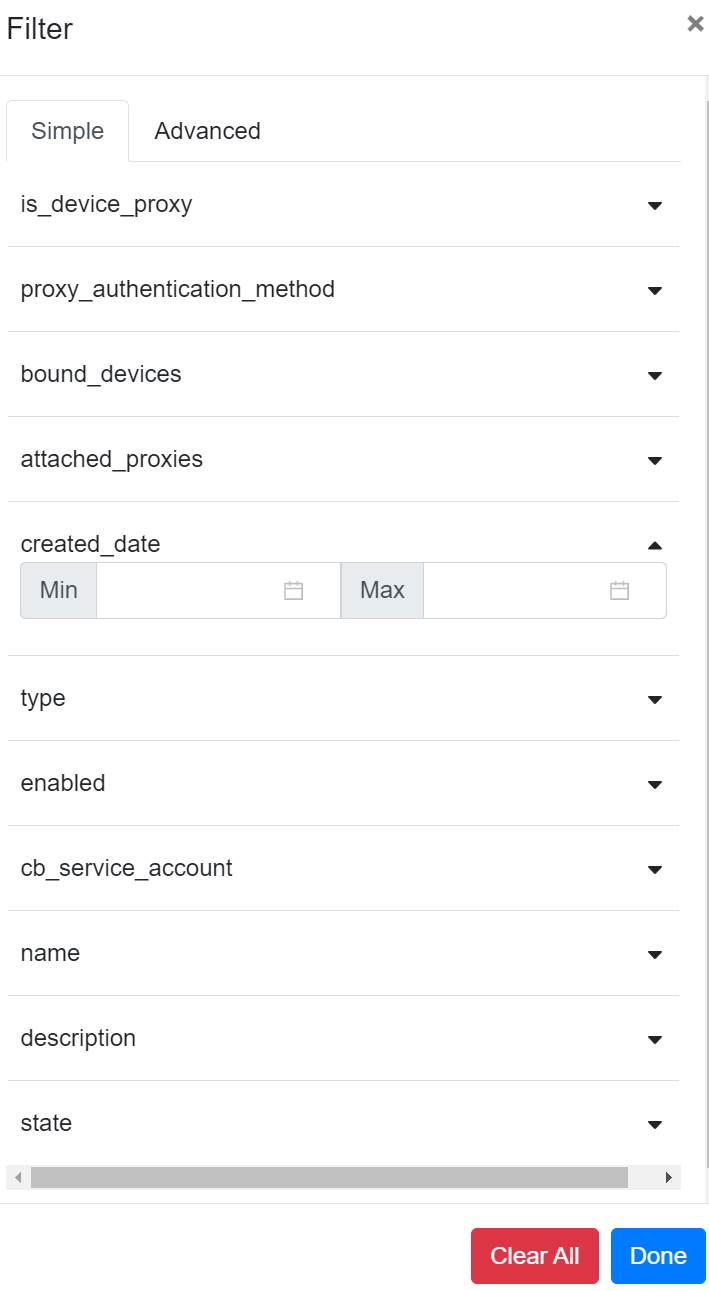
Filter
1. Click the filter icon.
2. Set an attribute to filter on, enter the appropriate values, and click Done.